
Previous
How to Improve SEO in Fashion ECommerce and Online Retail


Join us to learn how to photograph a t-shirt with a ghost mannequin effect for authentic, true-to-life images that maintain focus strongly on the product.
In this post, we’ll help you learn how to photograph a t-shirt on a ghost mannequin. T-shirts are often a staple product in any fashion retail. However, getting the best photographs of t-shirts requires some special techniques with lighting setups, cameras, and post production.
With flat lay product photography, shirts tend to lose their appeal. Results come out looking a little flat and often out of proportion. The ghost mannequin effect, on the other hand, provides a way to remove the model or mannequin in post production.
This creates a “hollow man effect”, as if an invisible person were wearing the photographed clothing. To achieve this, we take multiple photos of a t-shirt on a mannequin or model, and then combine the images to remove the model or mannequin in post processing.
In this way, the results are lifelike product photos of t-shirts that keep the focus firmly on the product. T-shirts look more 3-dimensional, rounded and overall more presentable for online fashion retail.
Continue reading to learn how to photograph a t-shirt with a ghost mannequin effect and discover PhotoRobot solutions.
Ready to get started? Let’s look at what goes into creating the ghost mannequin effect for fashion product photography.

Unlike other software image editing techniques, using a ghost mannequin makes the photographed t-shirt appear to be worn by an invisible person. We accomplish this by removing the arm and chest pieces so that the mannequin is not visible in the final image.
Using a ghost mannequin can amount to dramatic savings in content production costs. With PhotoRobot’s_Cube and our mannequins designed for quick-exchange, the savings in effort and costs are even more remarkable.
What other photography equipment and software do we need? Let’s run through the list now.
The traditional PhotoRobot setup for the ghost mannequin effect on t-shirts revolves around the CUBE. This is thanks to its system for quick mannequin exchange, coupled with PhotoRobot automation software for streamlining post processing.

Use PhotoRobot’s Chromakey to automatically remove mannequin poles from final images, combine photos, and achieve the perfect ghost mannequin effect every time.
As for other fashion photography equipment, you’ll need the following.
Now, let’s run through the process of how to photograph a t-shirt with a ghost mannequin. The entire process for applying the ghost mannequin effect to apparel takes no longer than a matter of minutes.
The software manages all post-processing and publishing online, with all of these features available as part of PhotoRobot PRESET categories. These presets are a set of commands that let you record and apply settings to all later items based on this style.

This means that you can focus on the photography, while PhotoRobot handles the majority of the heavy-lifting. The process then becomes routine, no matter if you’re using a regular or an invisible torso.
When styling t-shirts to set the scene, the shape of the tee matters most. You want the apparel to look as appealing as if it were fitted perfectly on a live model. It also doesn’t hurt if the mannequin has an athletic build (such as with PhotoRobot’s mannequins for quick exchange).

Beyond this, all you need to do is take off the removable pieces of the mannequin, and you’re now ready to dress it up.
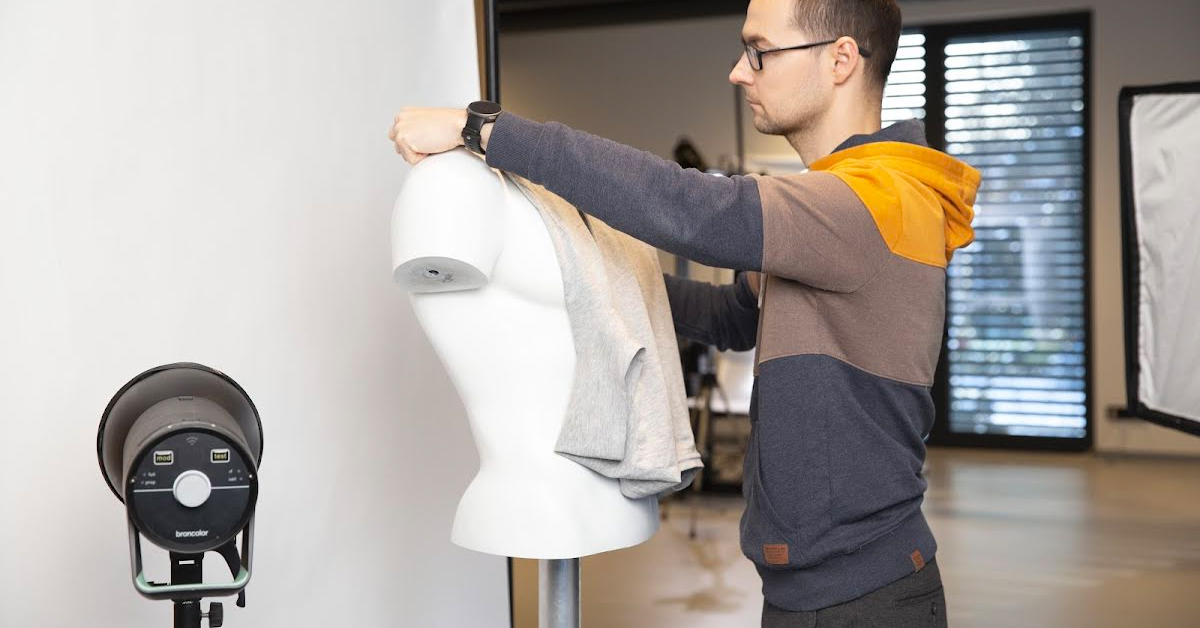
Next, simply pull your t-shirt down over the head of the mannequin, just as you would when dressing yourself.
Now, the mannequin is ready for styling. Just remember to replace the arm and shoulder pieces before getting started.
From here, you want to make sure the arms and shoulders of the shirt are styled and ready for photography.

Ensure there is no fabric pinched under the shoulders, and that both are aligned perfectly.
Finally, pull the material taut over the mannequin, just like you see in the example below.

Be sure you remove any creases that might distract away from the shirt’s design, and that it looks flawless for the photoshoot.
And that’s it. Now you’re ready to photograph the t-shirt with the magic of PhotoRobot. This process is also straightforward and becomes routine on any torso.

Notice how we’ve made the arms invisible in post production. Directional lighting also provides us with extra shadowing to make the shirt look more appealing.
We know there’s always more to discover. Sign up for our Product Photography Newsletter below for the latest blogs, tutorials, and videos. Also follow us on LinkedIn, Facebook, and YouTube to stay up-to-date on everything happening in the industry. We’re here to help, from photographing t-shirts on a ghost mannequin to product photography of any type or scale.


