Editing Images Using Post-Processing Tools
Retouch and edit any image or video with one of many advanced post-processing tools and functions. Apply changes to items individually or across all images in a given folder at once.
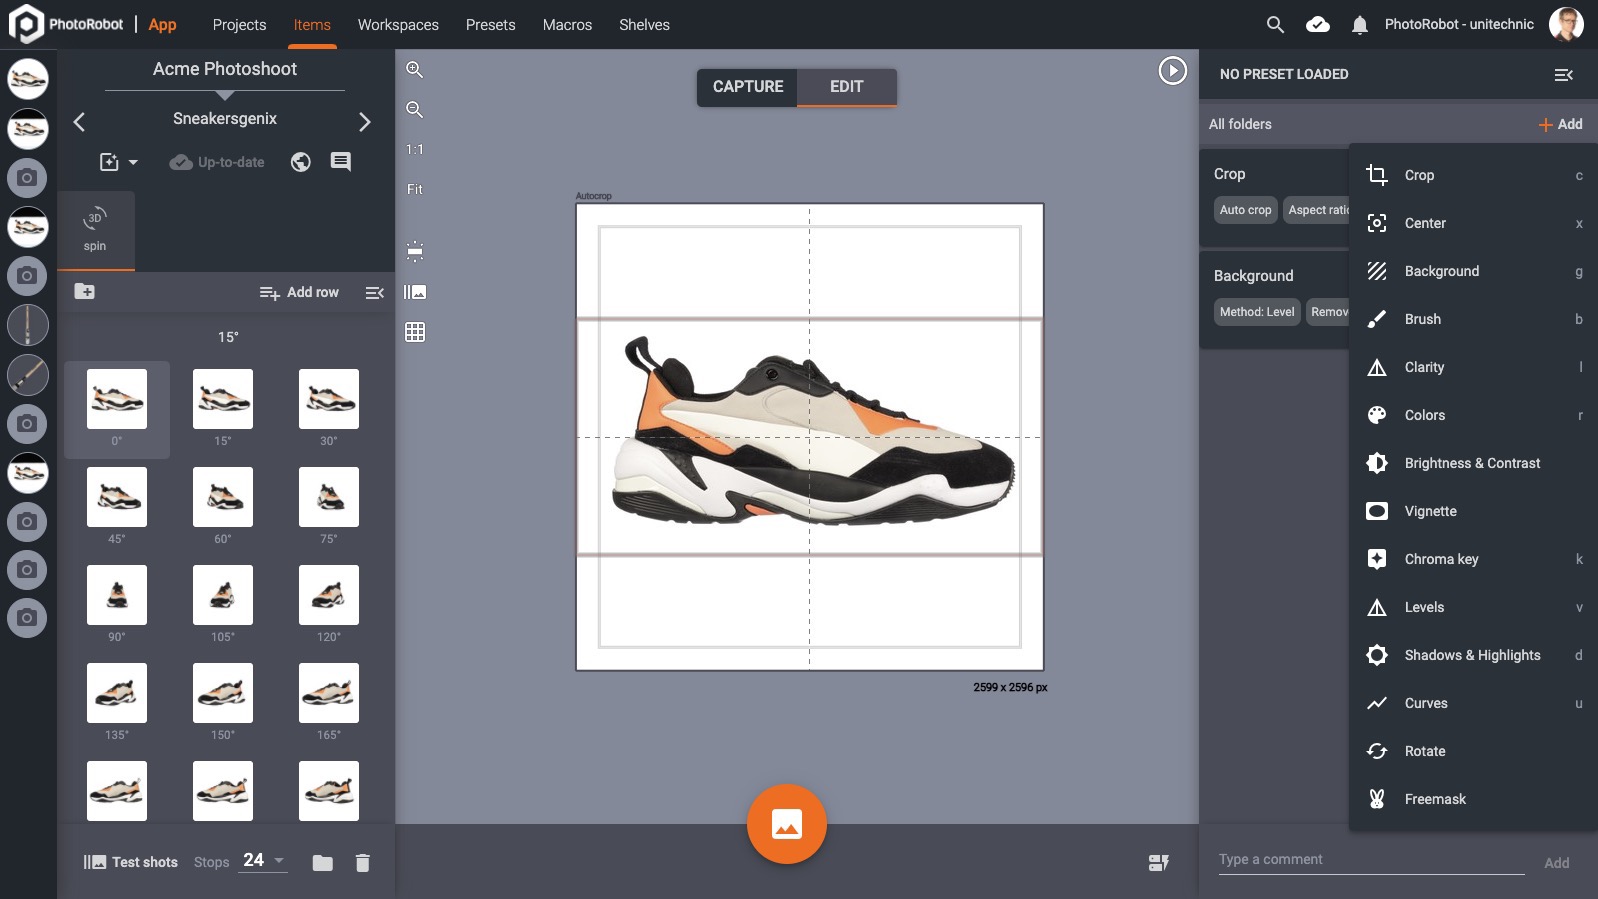
Scopes
By default, using any of the edit operations will have an effect on all images within the item. To limit which images will be affected, create scopes by selecting Add scope:
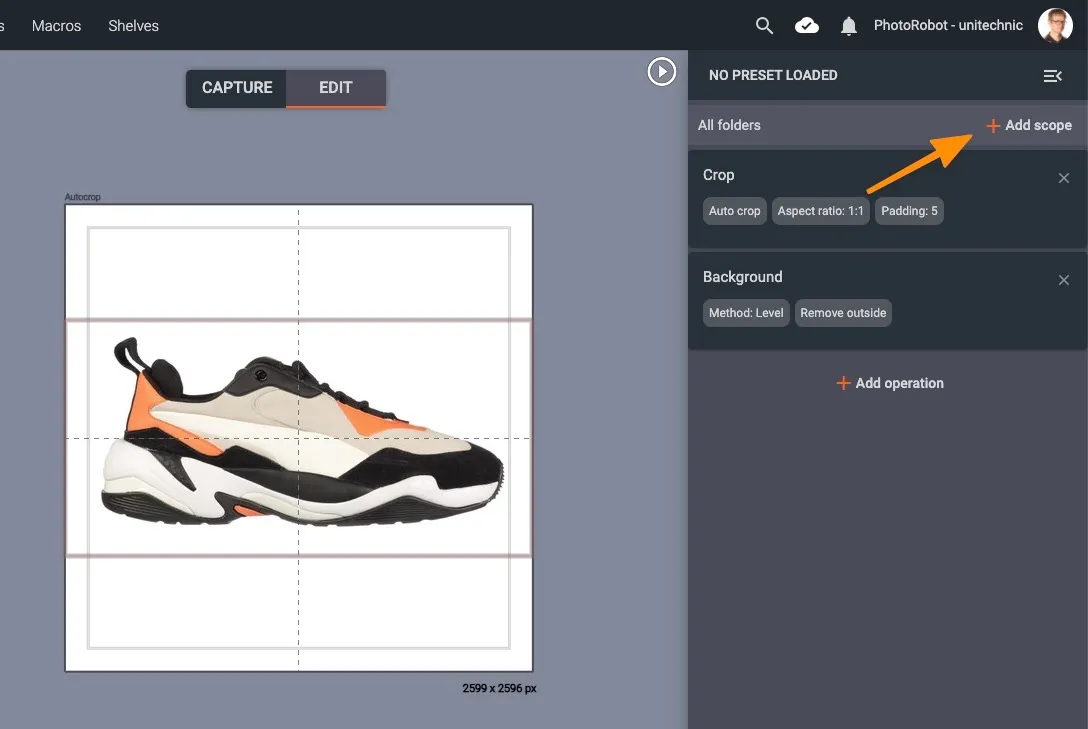
- Each scope contains one or more edit operations.
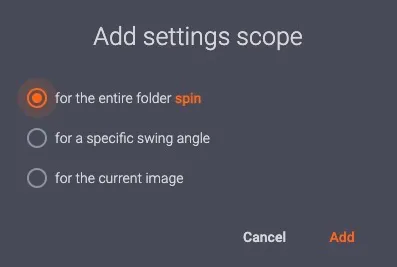
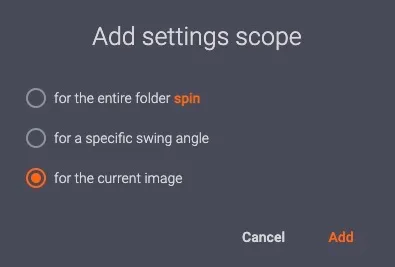
- Select scopes either for the entire folder spin, for a specific swing angle, or for the current image only.
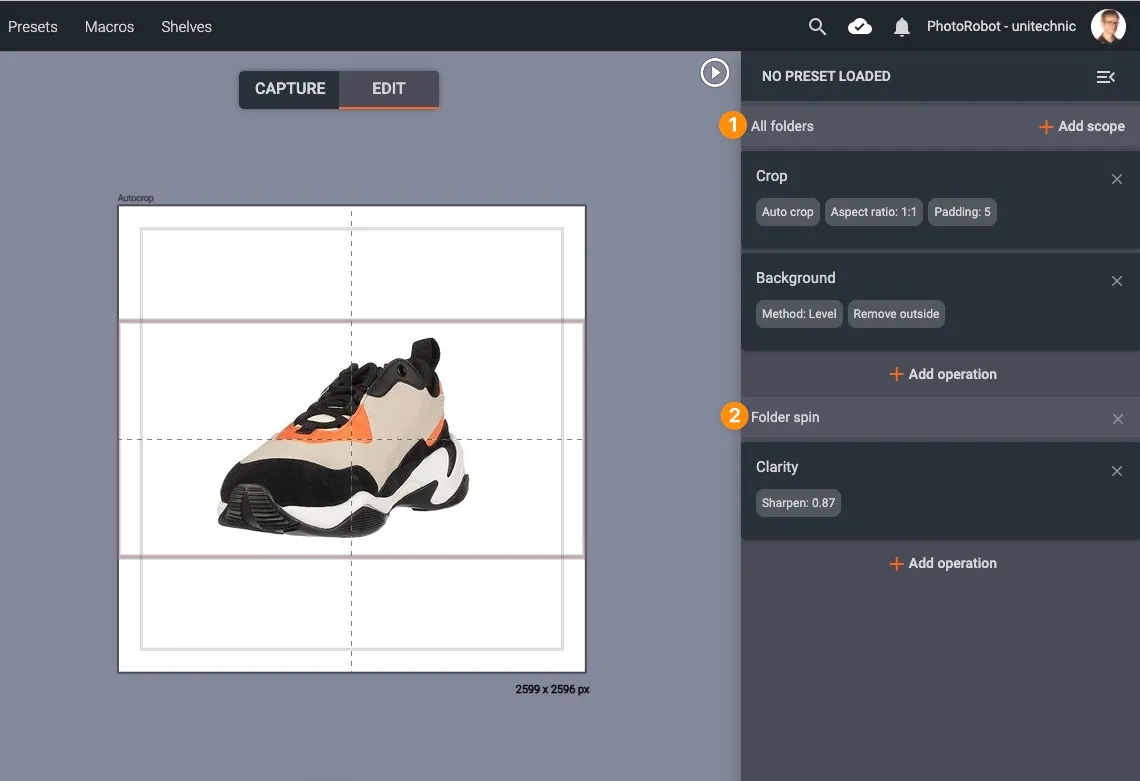
In the following example, there are two scopes (1, 2). In All folders, the Crop and Background operations will affect all images in all folders. In Folder spin, the Clarity operation will affect only images within the spin folder:
Add Scopes for a Specific Swing Angle
If applying scope settings for a specific swing angle, specify the angle on which the capture Presets will apply (e.g. 15°, 45°, etc):
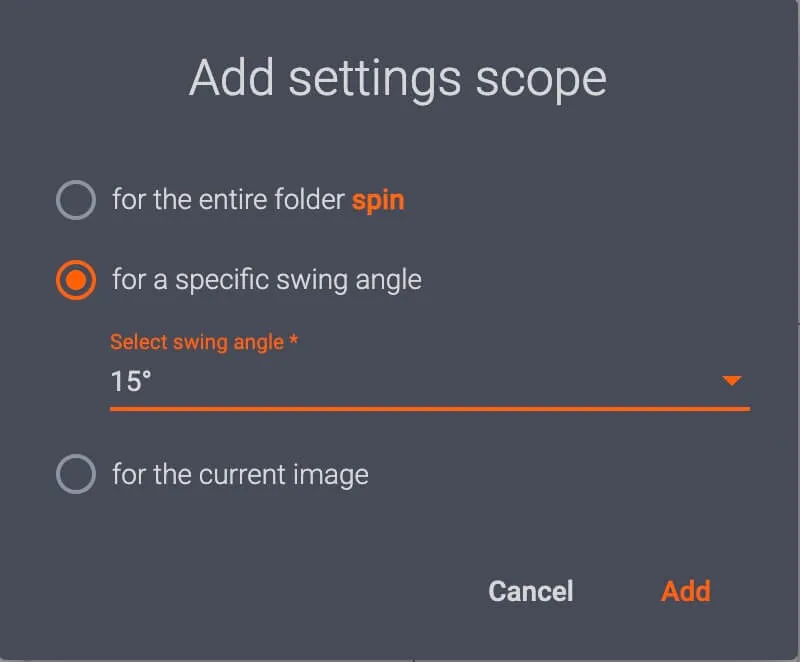
- Settings scopes can apply to one or more swing angles via Select swing angle.
- Specify the swing angle, and click Add to assign scope settings to a folder.
- The target folder with its assigned presets then displays in the top-right part of the interface:
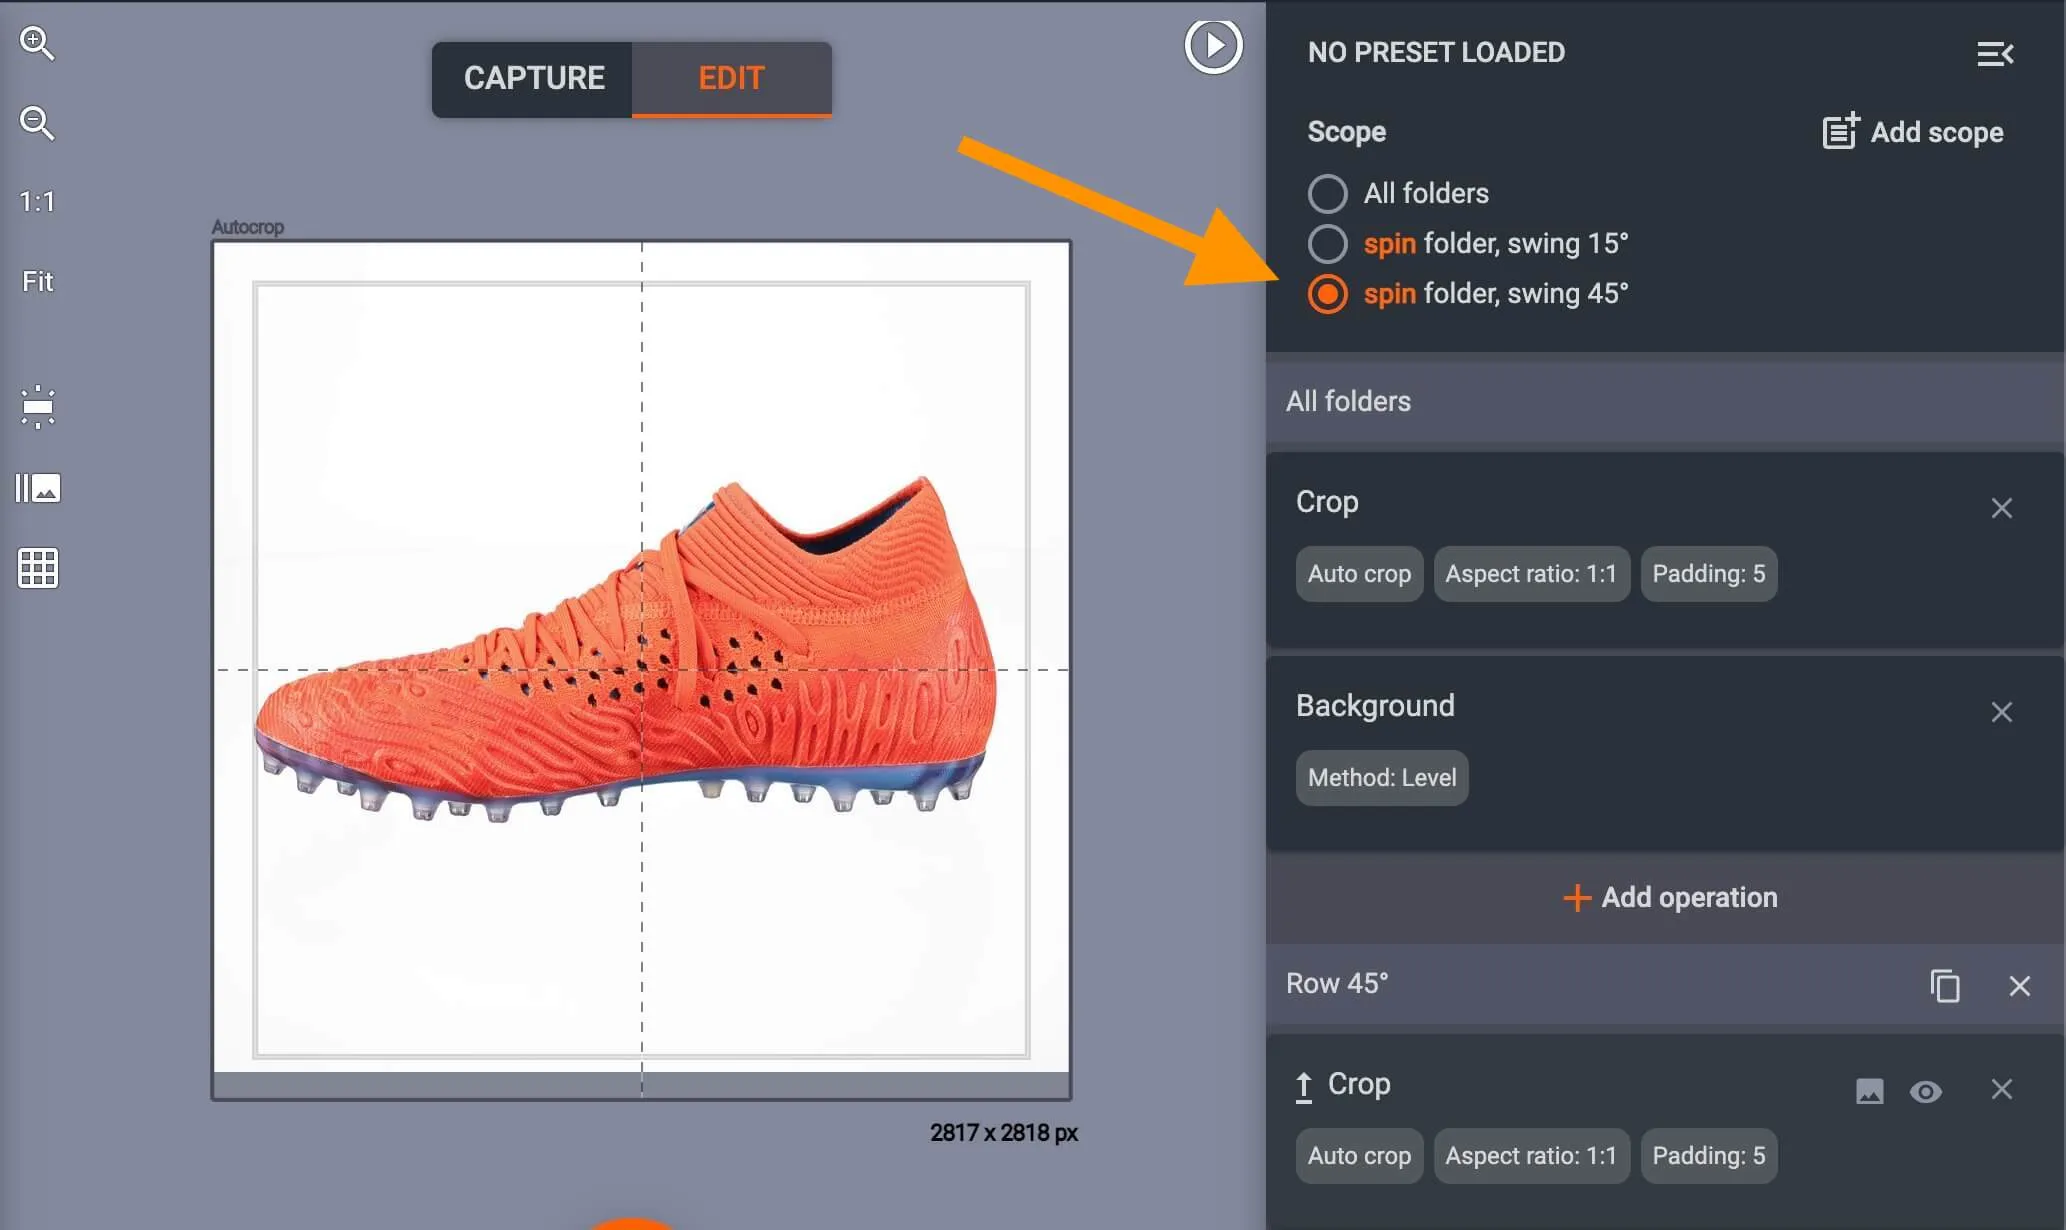
If applying different scope settings to multiple swing angles, click the specific swing angle to view or configure the settings assigned to its folder.
- For example, it is possible to configure one editing operation for a spin folder at a swing angle of 15°, and a different editing operation for a spin folder at a swing angle of 45°.
- It is also possible to create settings scopes for only a still image folder, or any other folder within the item.
- The system will then limit the settings scopes of the operations to each specific folder.
To view or configure the settings scopes across all images, click All folders.
After configuring the settings scope, clicking the start button in edit mode will apply the editing operations to the selected folders.
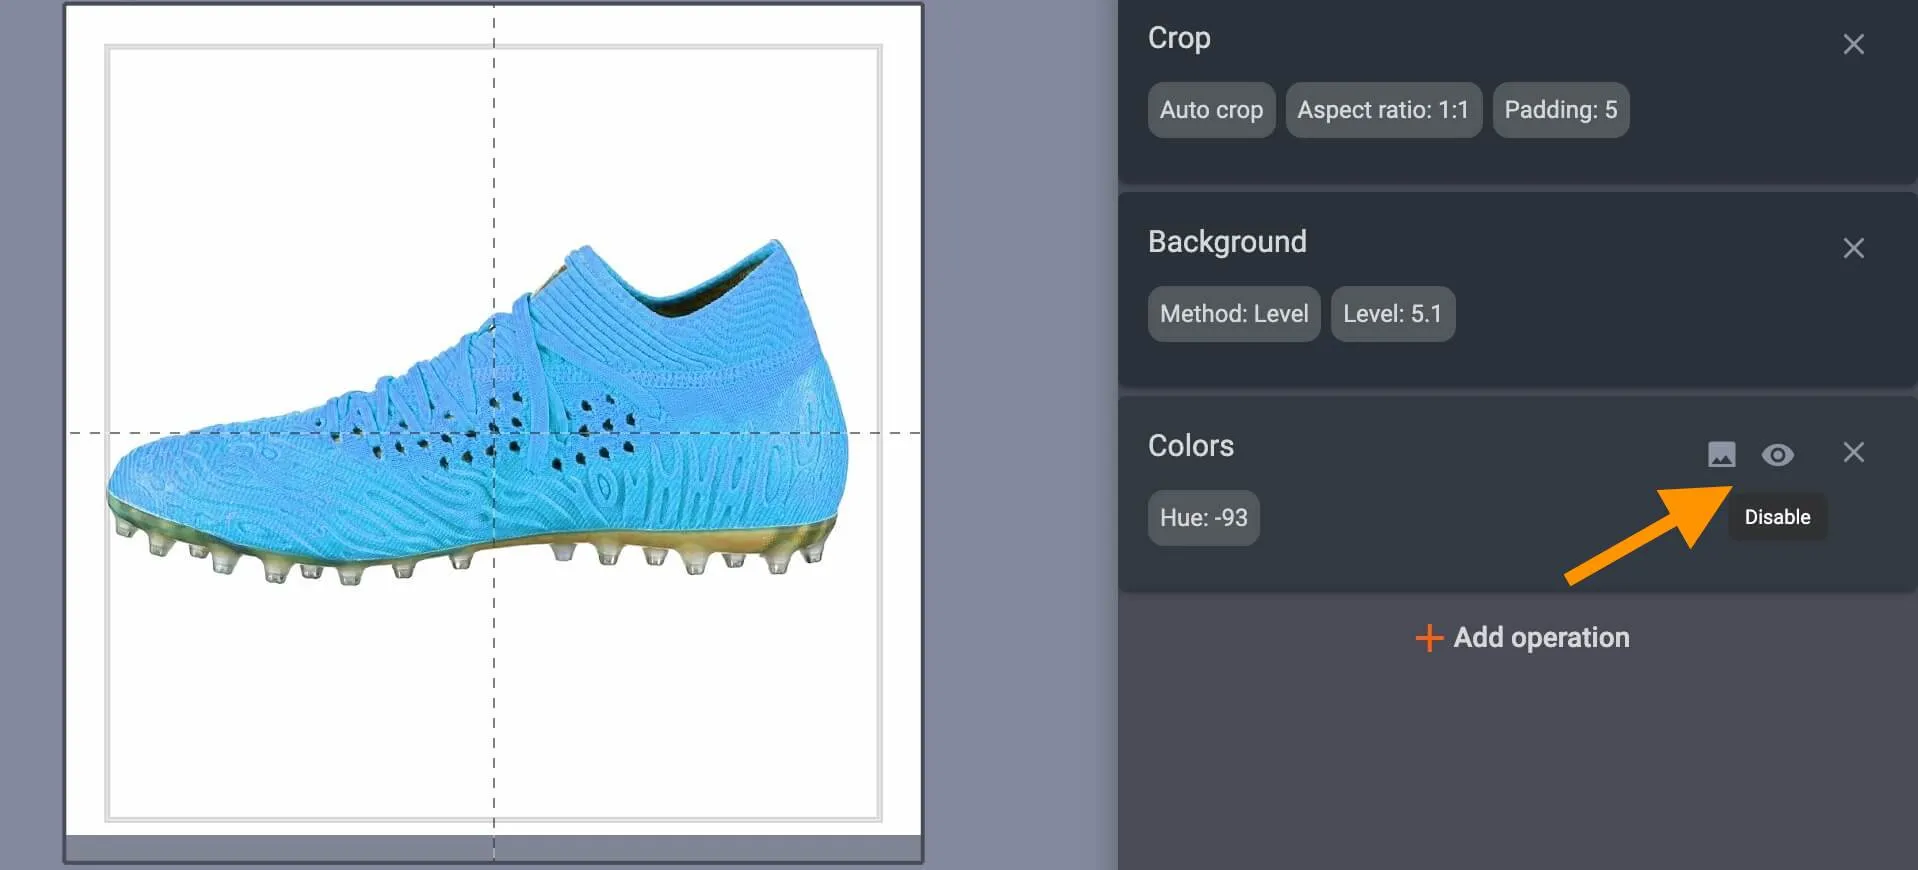
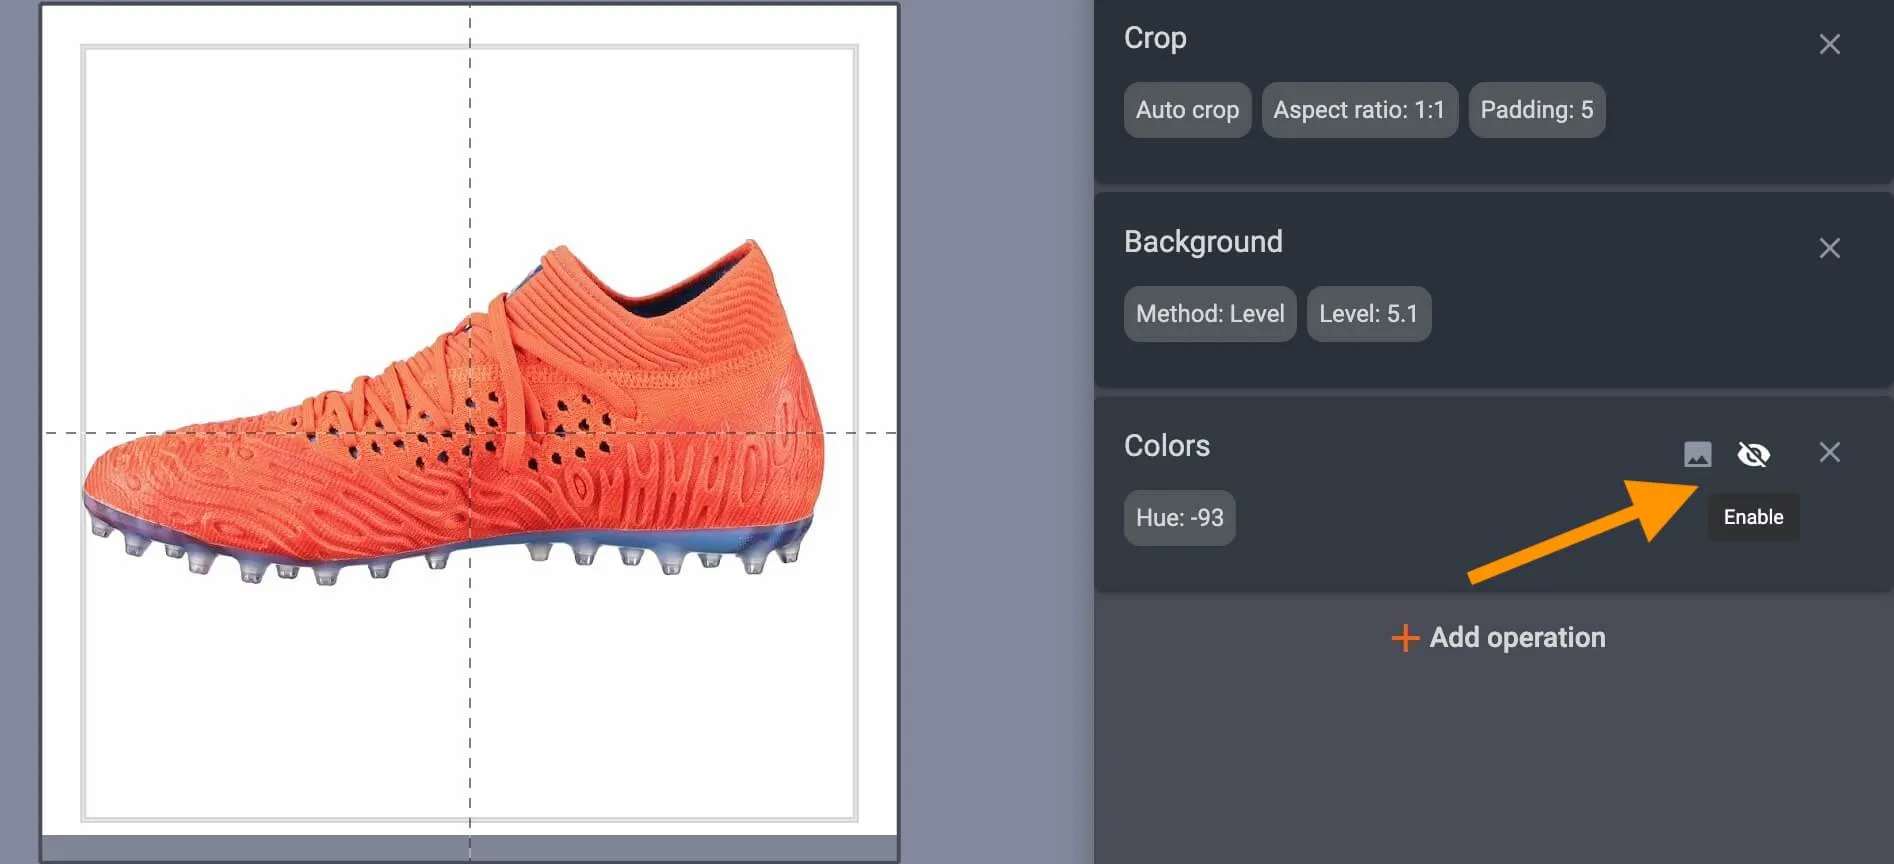
Note: Use the Disable / Enable button to the right of each editing operation to view the effect it has on images:
Single Image Mode
Sometimes, you need to do per-picture edits. Take for example when you need to remove part of an object that is in a different location within each frame.
To do this effectively, you can switch to Single Image mode. Activate Single image mode via one of two ways:
1. Add settings scope for the current selected image:
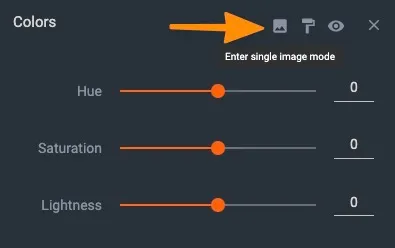
2. Select Enter single image mode from the operation menu:
Mask
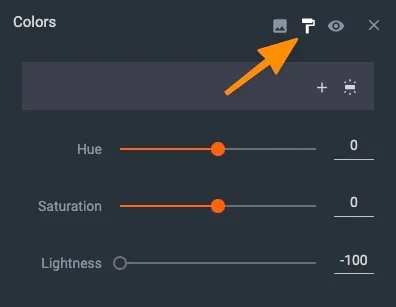
For each edit operation, you can limit the area in the image where it is applied. To activate the mask, click the Mask button in the operation menu:
To start masking, use the Plus (+) button:
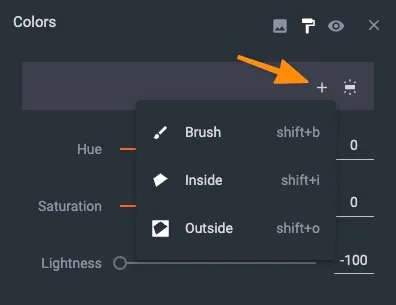
There are three possible ways to edit the mask:
- Brush - Draw with the mouse to mark where the operation should be applied. Hold the Alt key to mark areas where the operation should not be applied.
- Inside - Apply the operation only inside the selected area.
- Outside - Apply the operation only outside of the selected area.
Presets
All scopes and operations can be saved for later use as a preset:
Assign Presets
In CAPP, there are 3 methods to load / assign Presets for an item or multiple items.
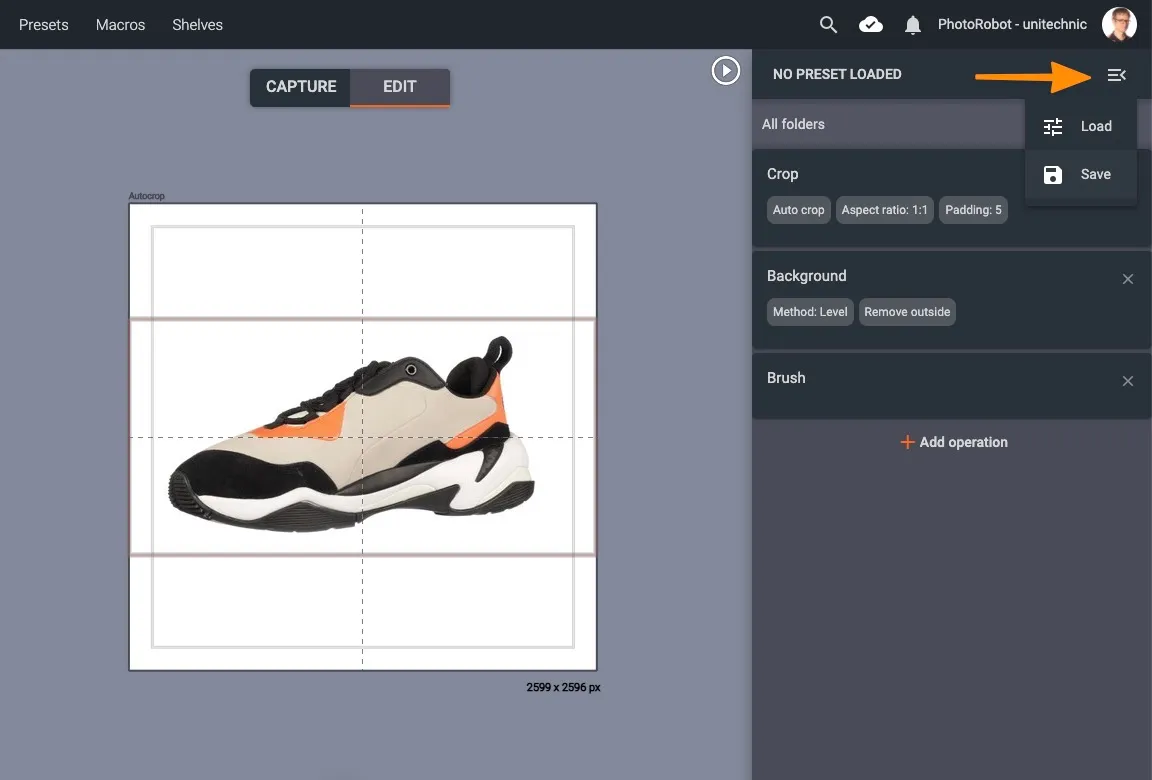
1. Select an item, and load a Preset via the drop-down menu icon in the upper-right part of the interface:
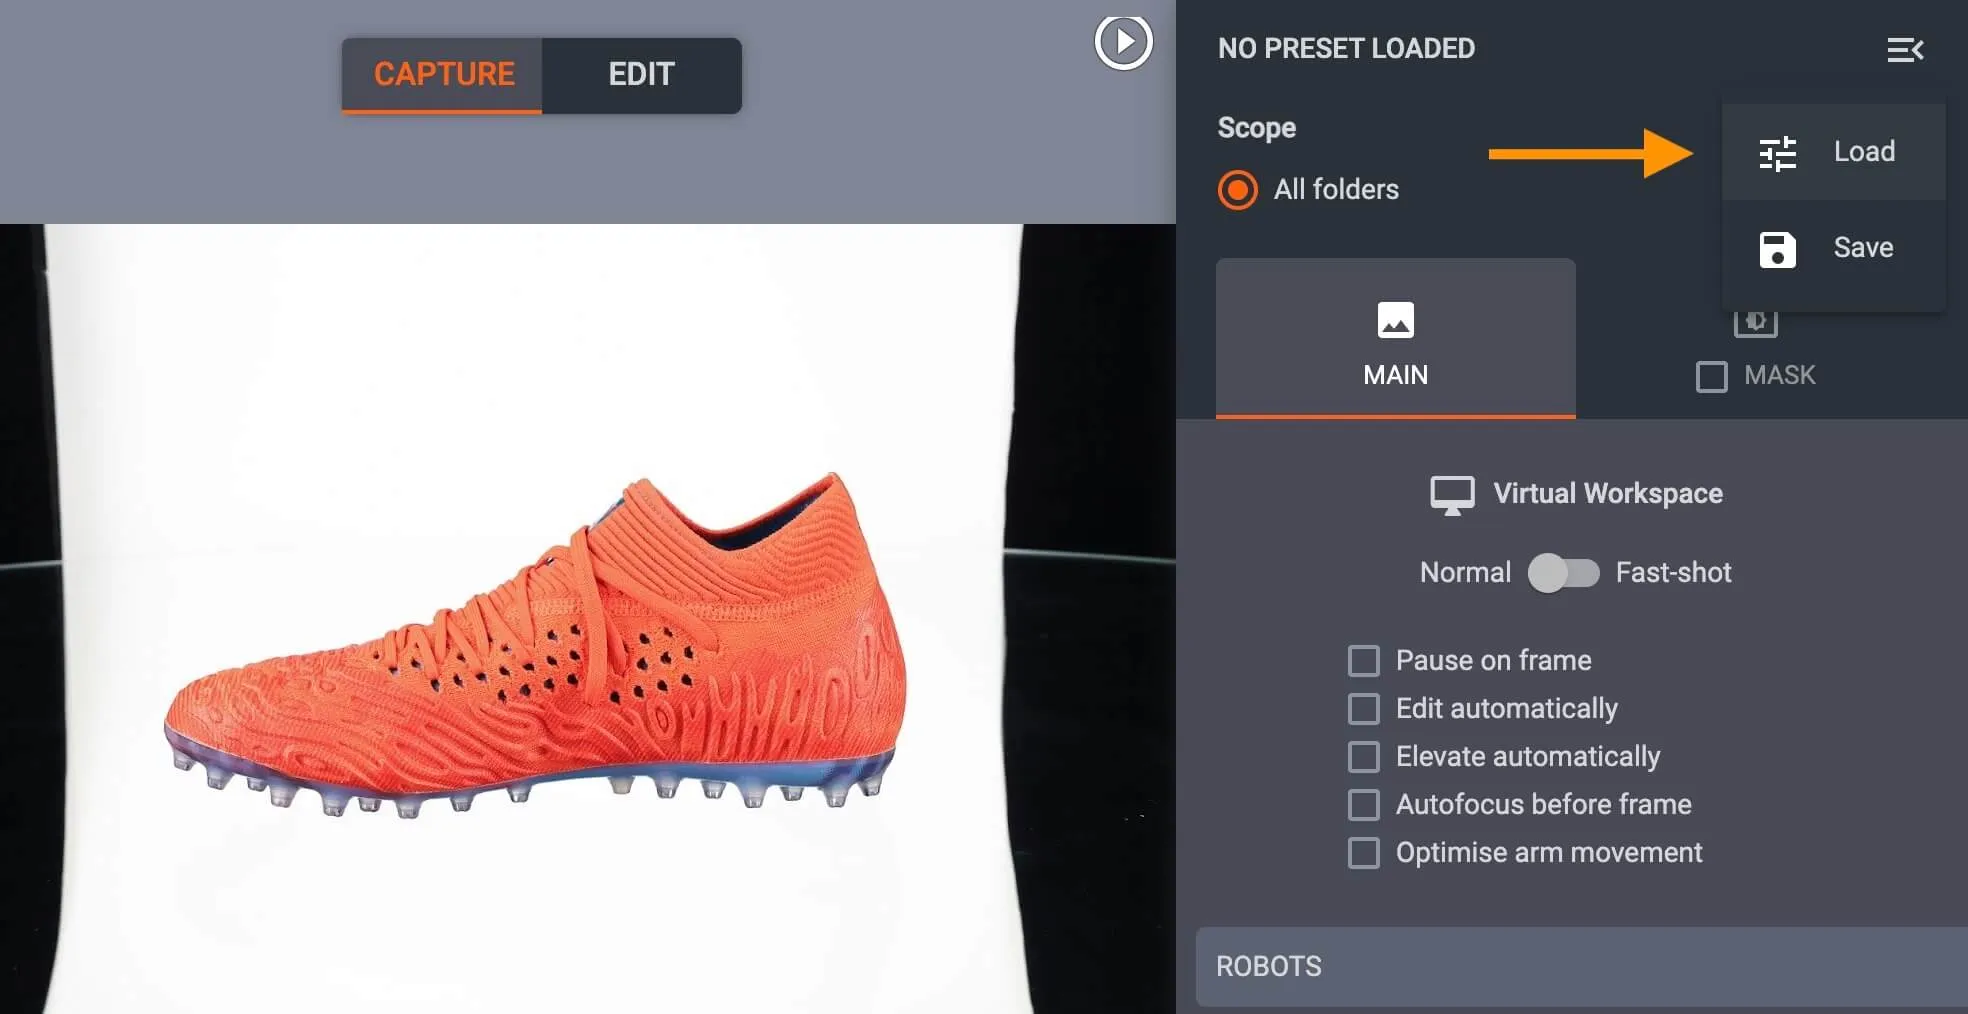
- Alternatively, use the hot key “P” to open saved Presets. Then, select a configuration to apply to the item. This will create folders for the frames that will be shot, along with all capture settings and predefined editing operations.
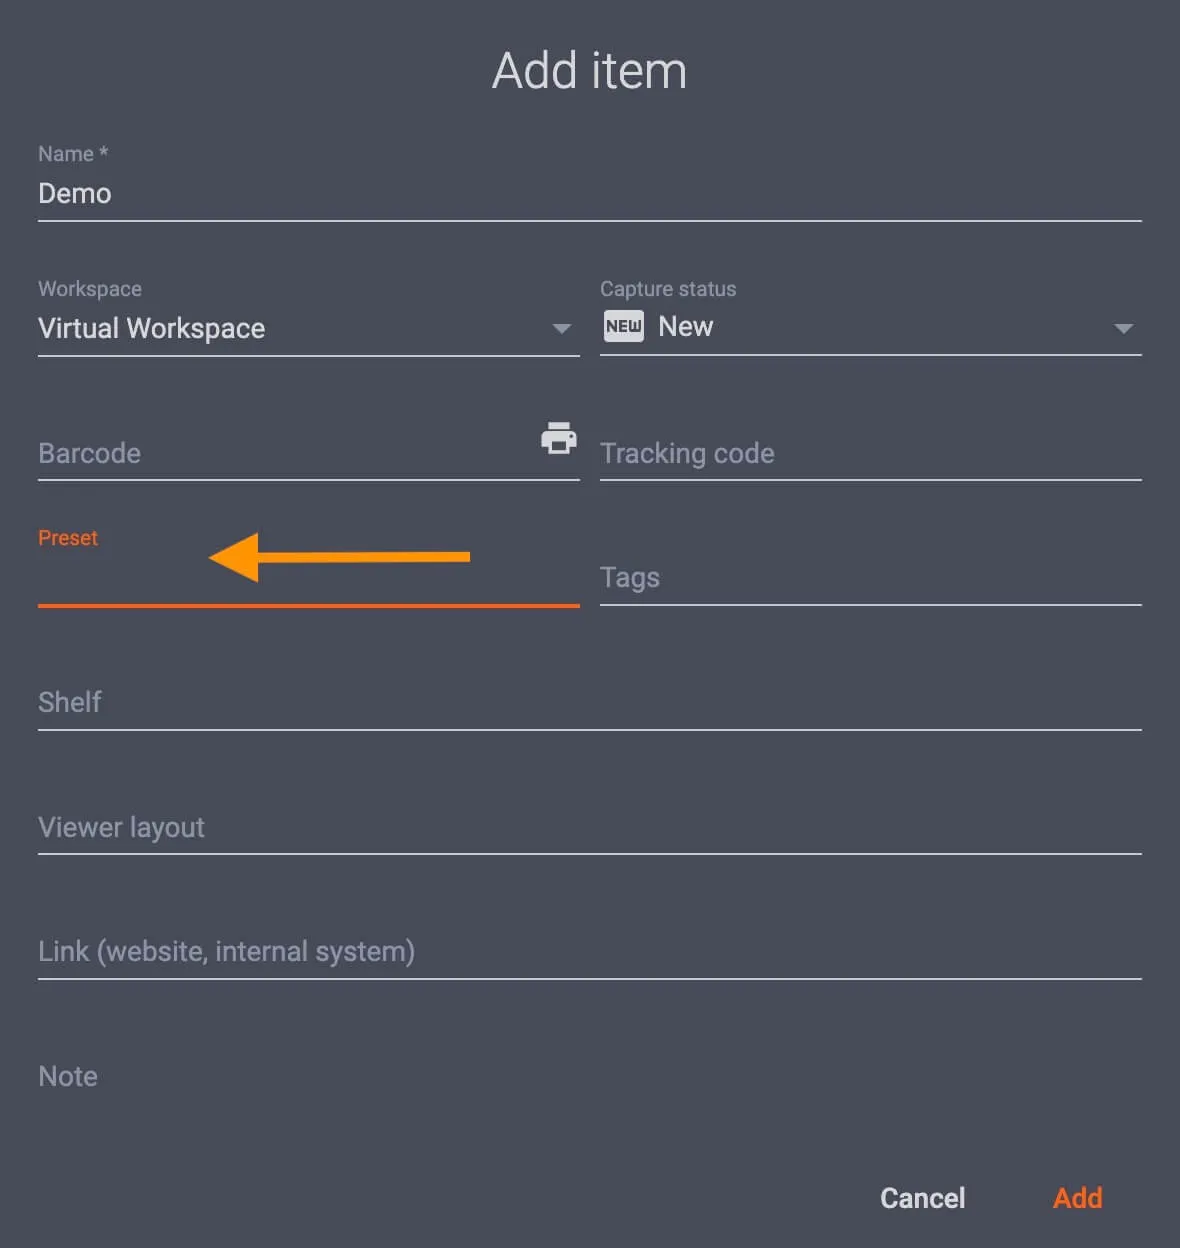
2. When creating an item, users can select a configuration via the Add item menu by clicking on the Preset field:
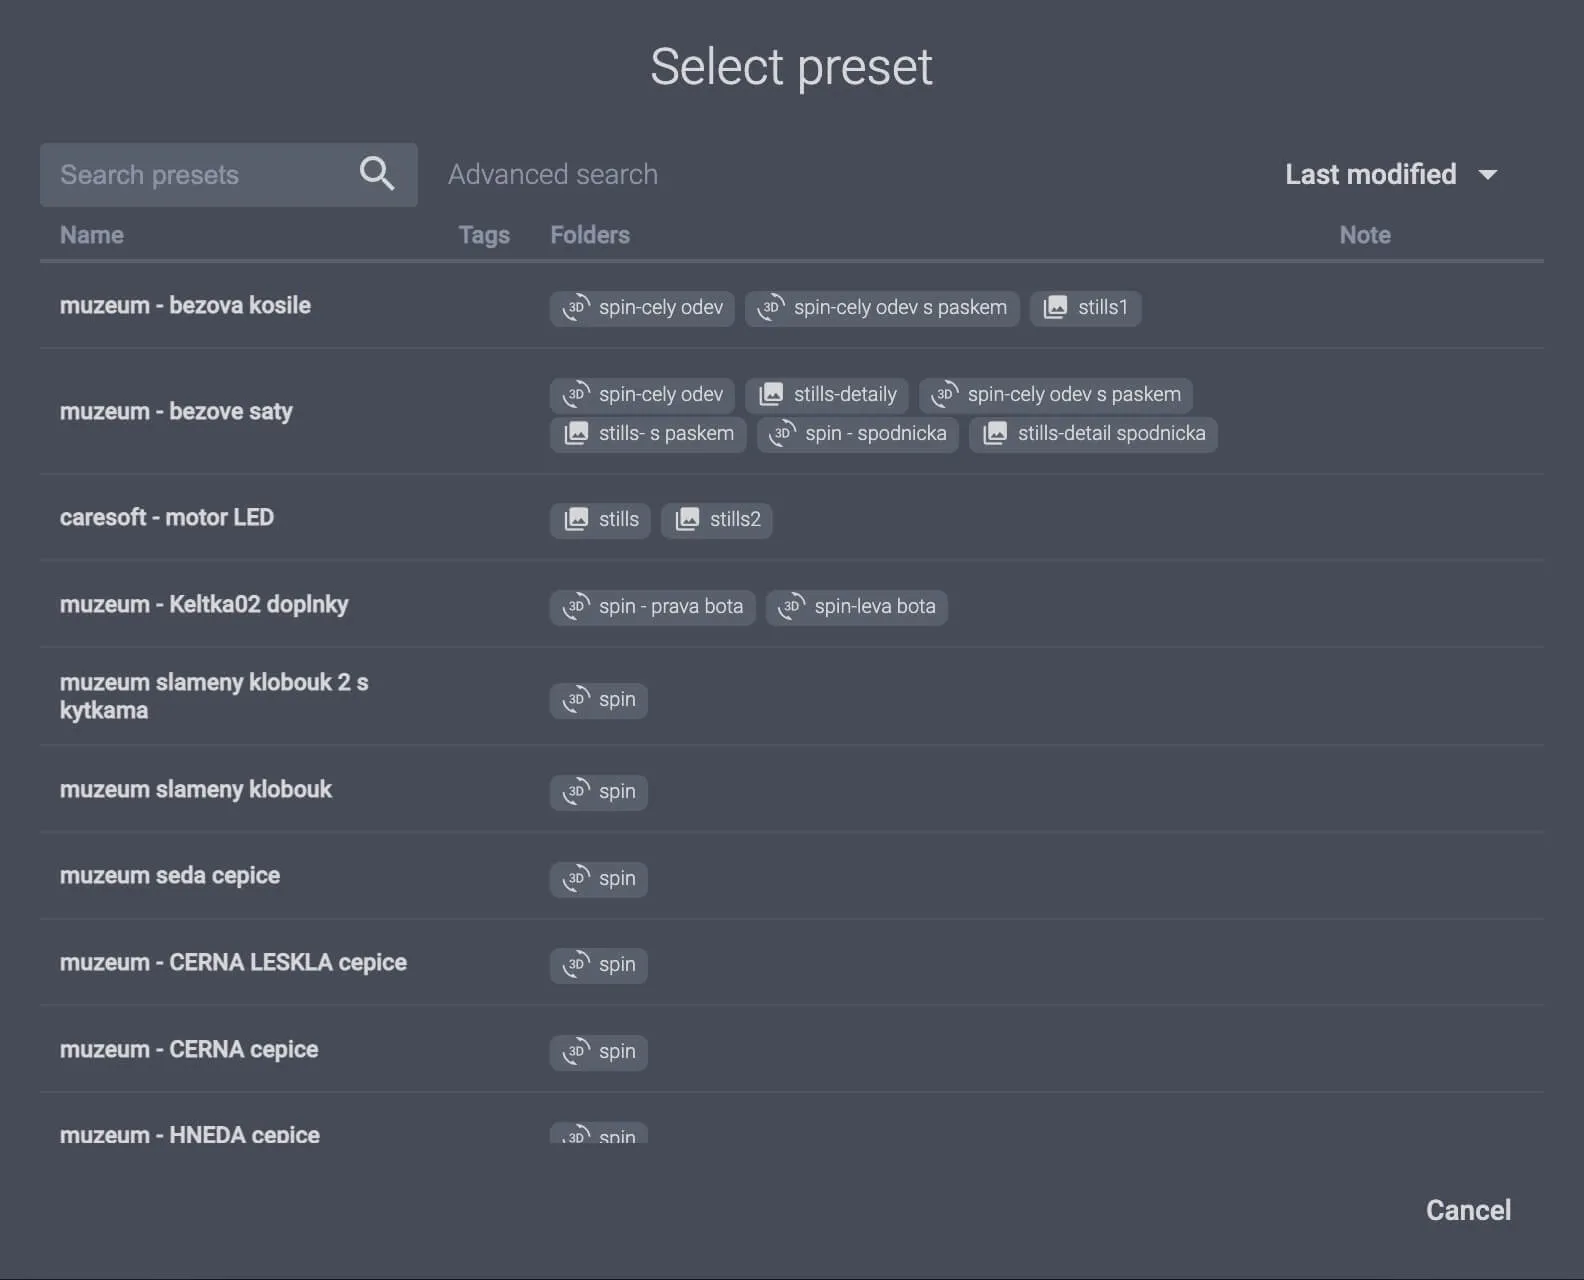
- To assign a Preset to multiple items, select the items from the Items menu, and click Assign preset:
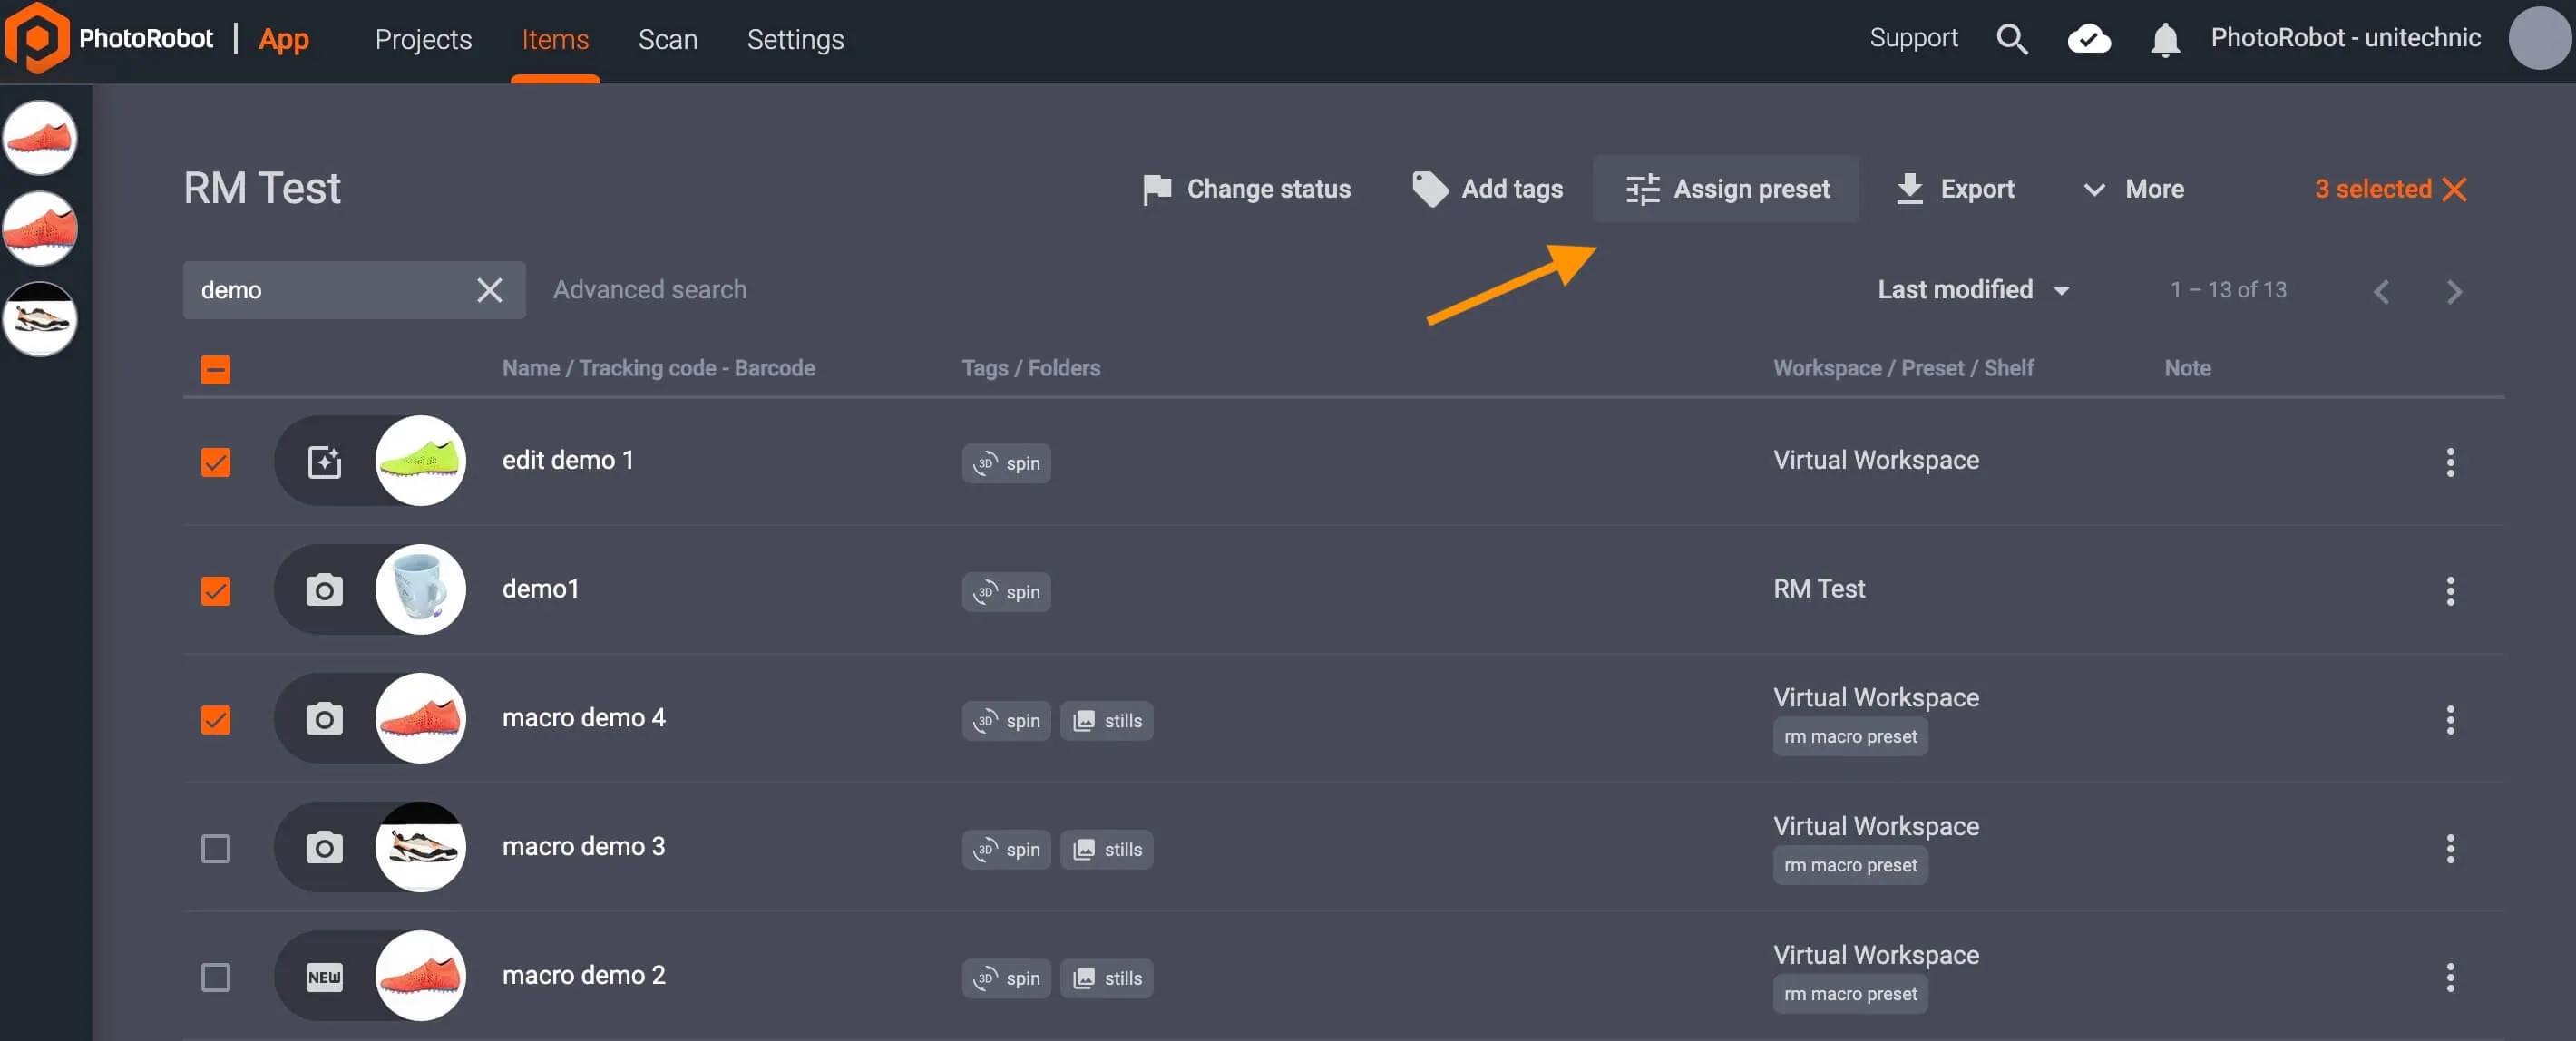
- Select the preset by name, and assign it to the items by clicking Assign preset again:

3. Alternatively, in the Items menu, click Import to import items from CSV:
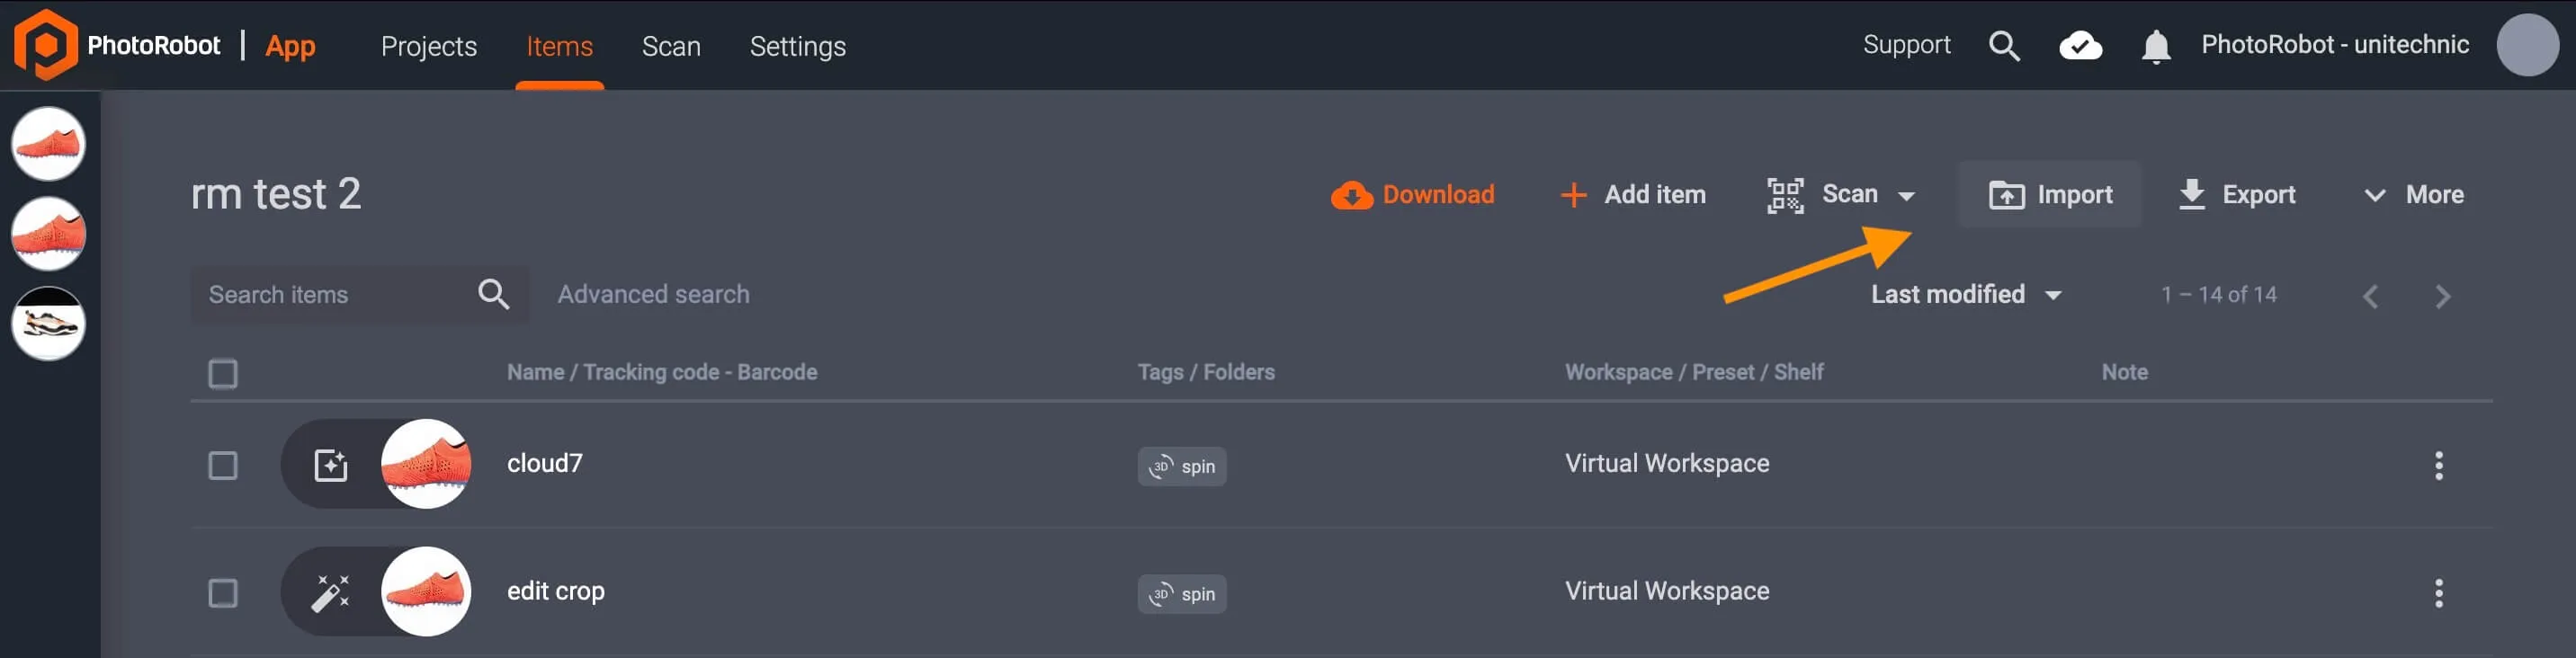
- CSV import functionality enables PhotoRobot users to create an item with its configurations in Excel to import into the system.
- CSV files may contain the following customizable columns, and one functions to assign a preset by preset name to the item:
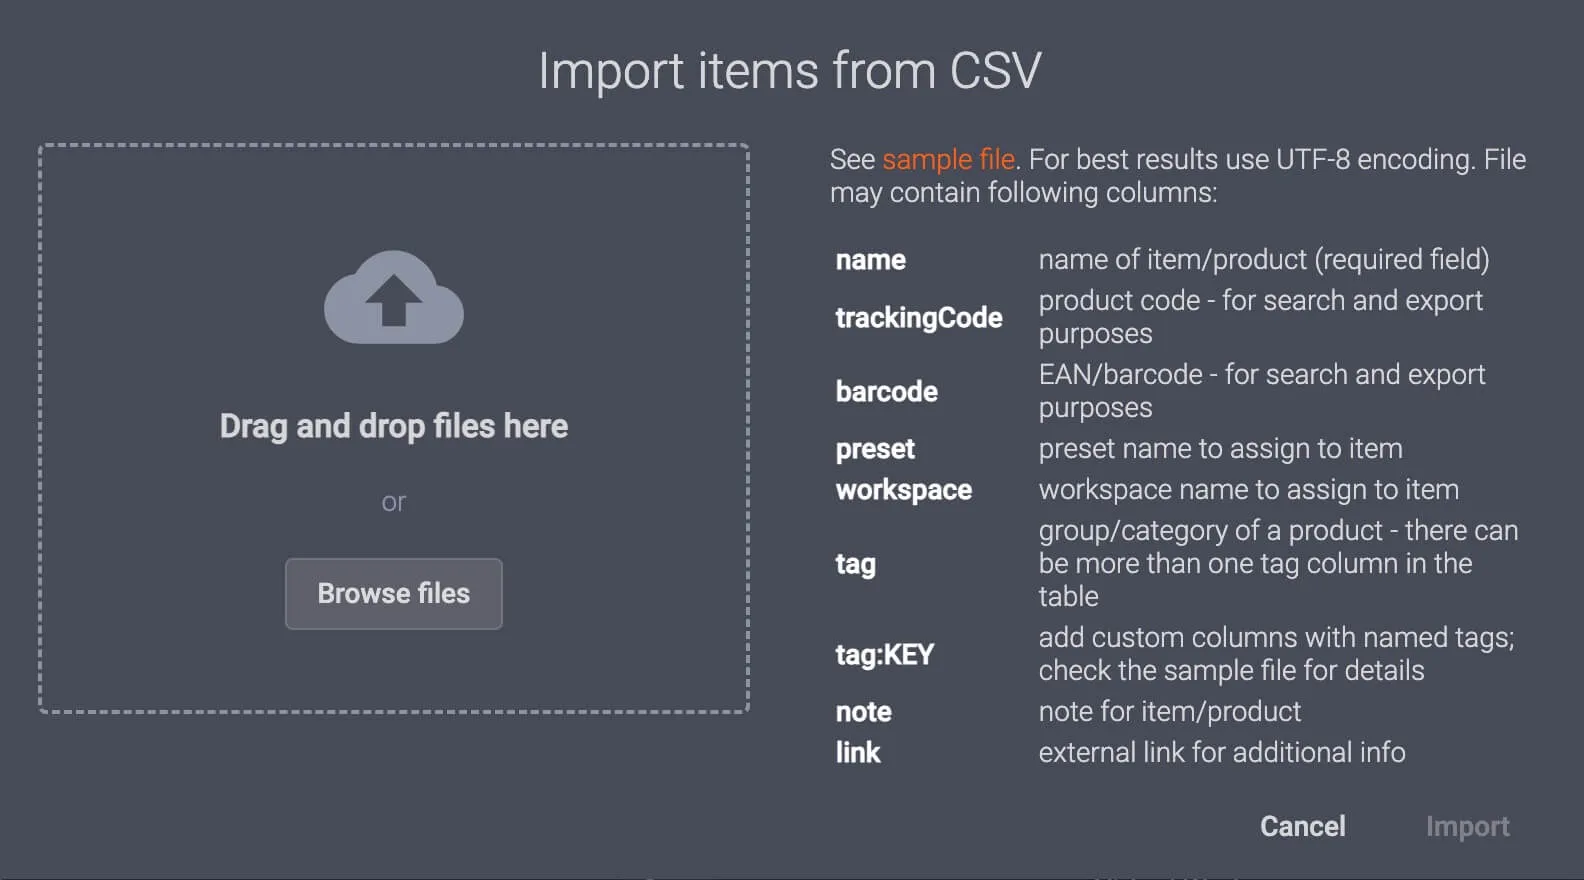
( ! ) - Note: When using CSV import, UTF-8 encoding is recommended for the best results.
Sorting Items to Shelves (Carts)
Additionally, in CAPP, sorting items to Shelves (or Carts) enables you to simplify the workflow by automatically setting up a workspace and preset after assigning a shelf to an item.
Creating Shelf (or Cart) codes in the system helps to sort items into categories with configurable photoshoot settings. It is possible to assign a shelf to an item by configuring its settings in the app, or, alternatively, by CAPP integration of barcode reader support.
Barcode reader support enables teams to print a unique barcode which they can simply scan to assign an item to its shelf. In this way, teams scan a shelf code, and then scan an item to quickly assign its preset photoshoot settings without clicking a mouse, or moving to a workstation computer.
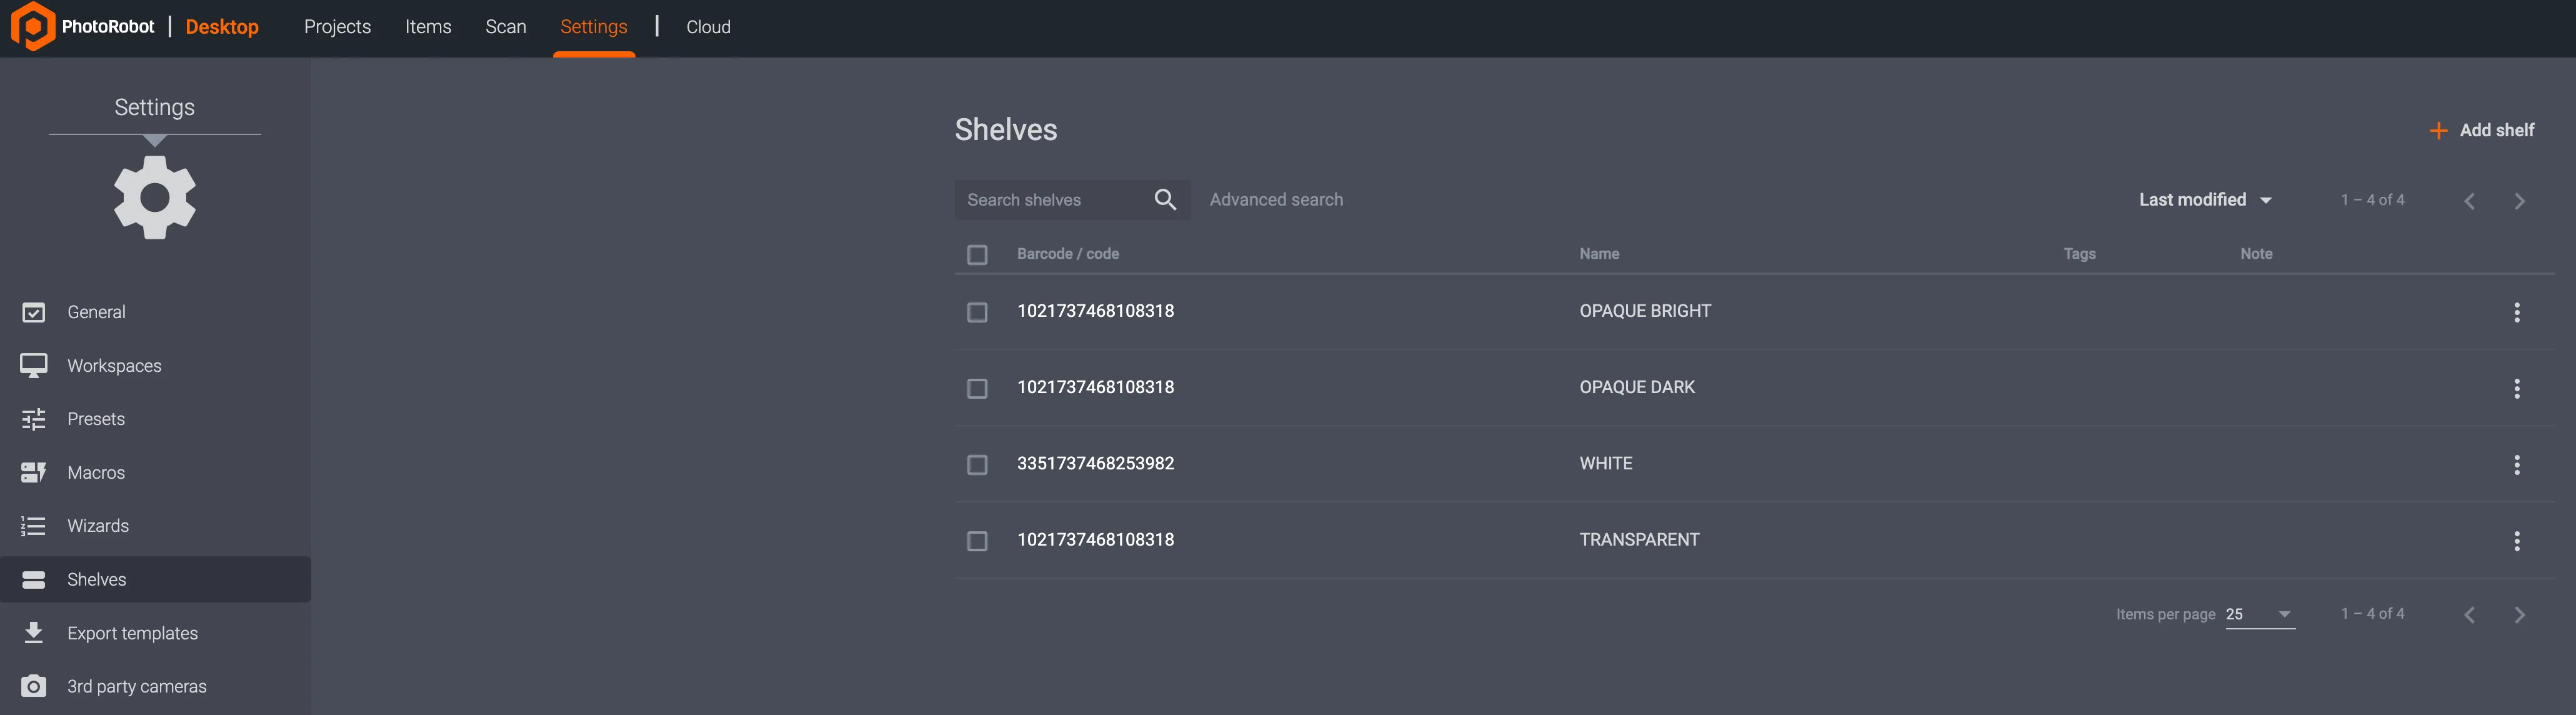
To access Shelves settings in CAPP, open Settings in the local or cloud version of the app:
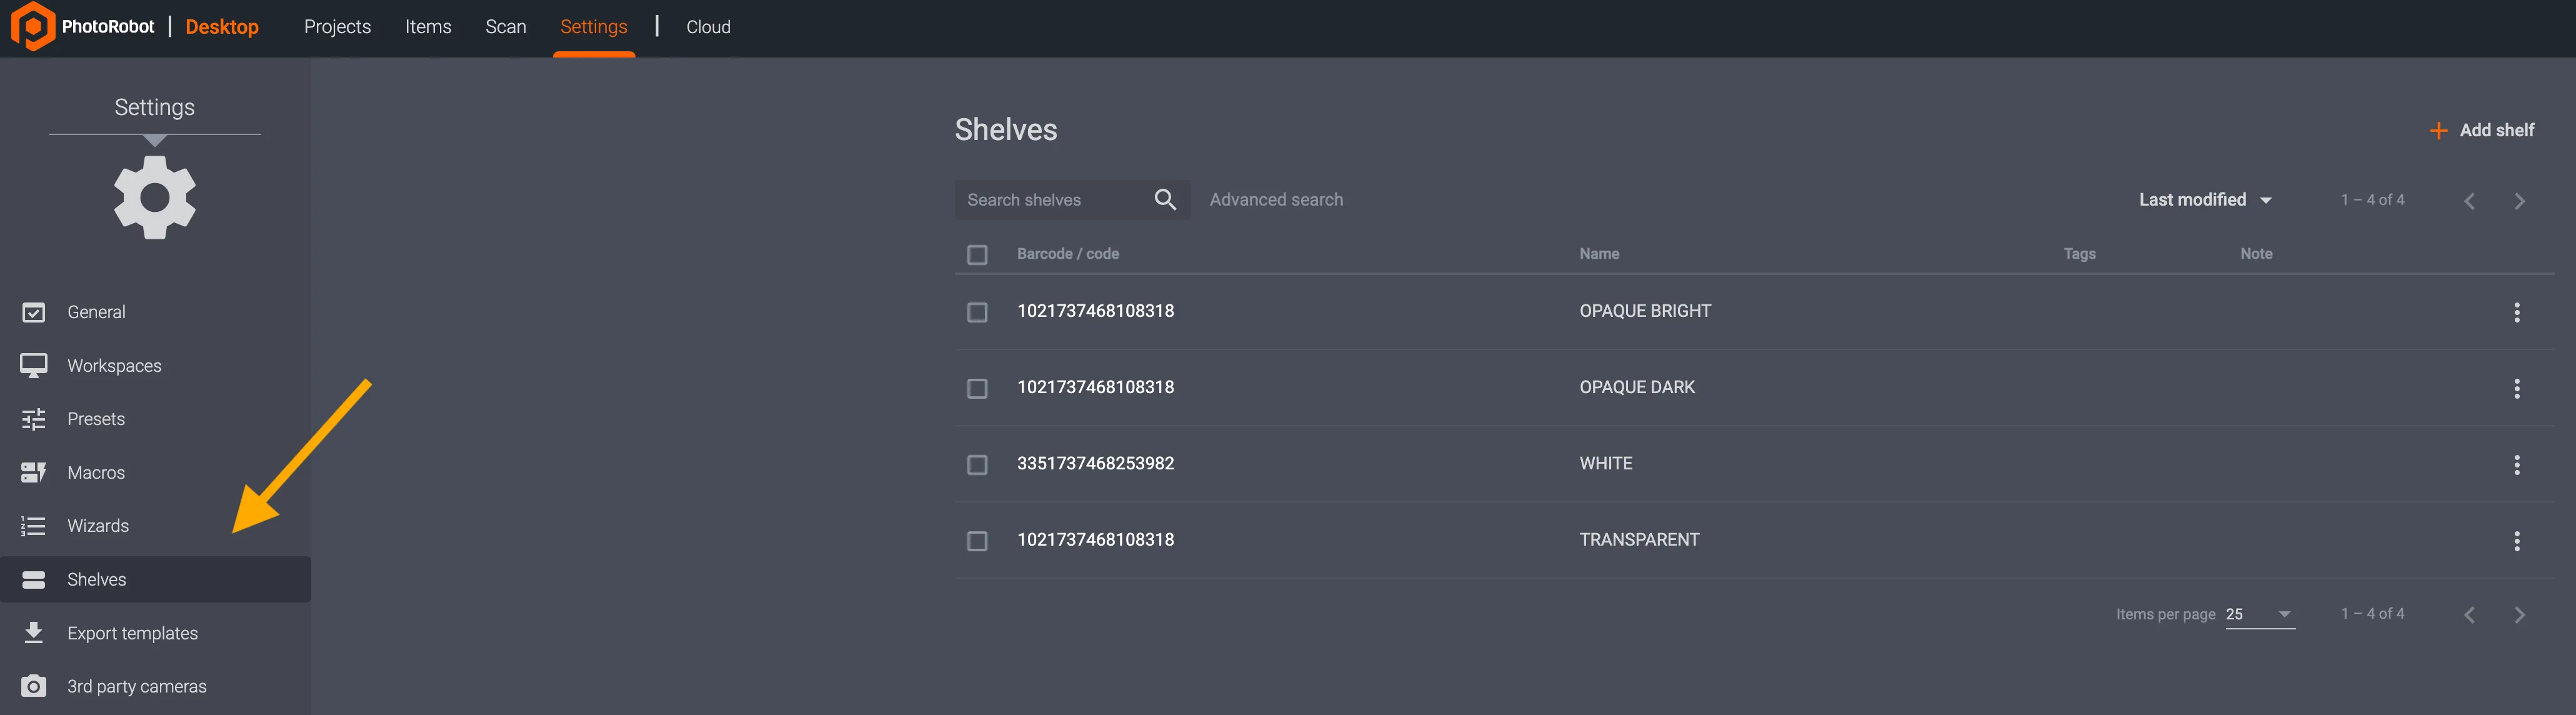
- Click the Shelves menu item on the left-hand side of the Settings interface to view saved shelves (if any).
- Search for Shelves via Advanced search, or select Shelves via the box to the left of the shelf Barcode / code.
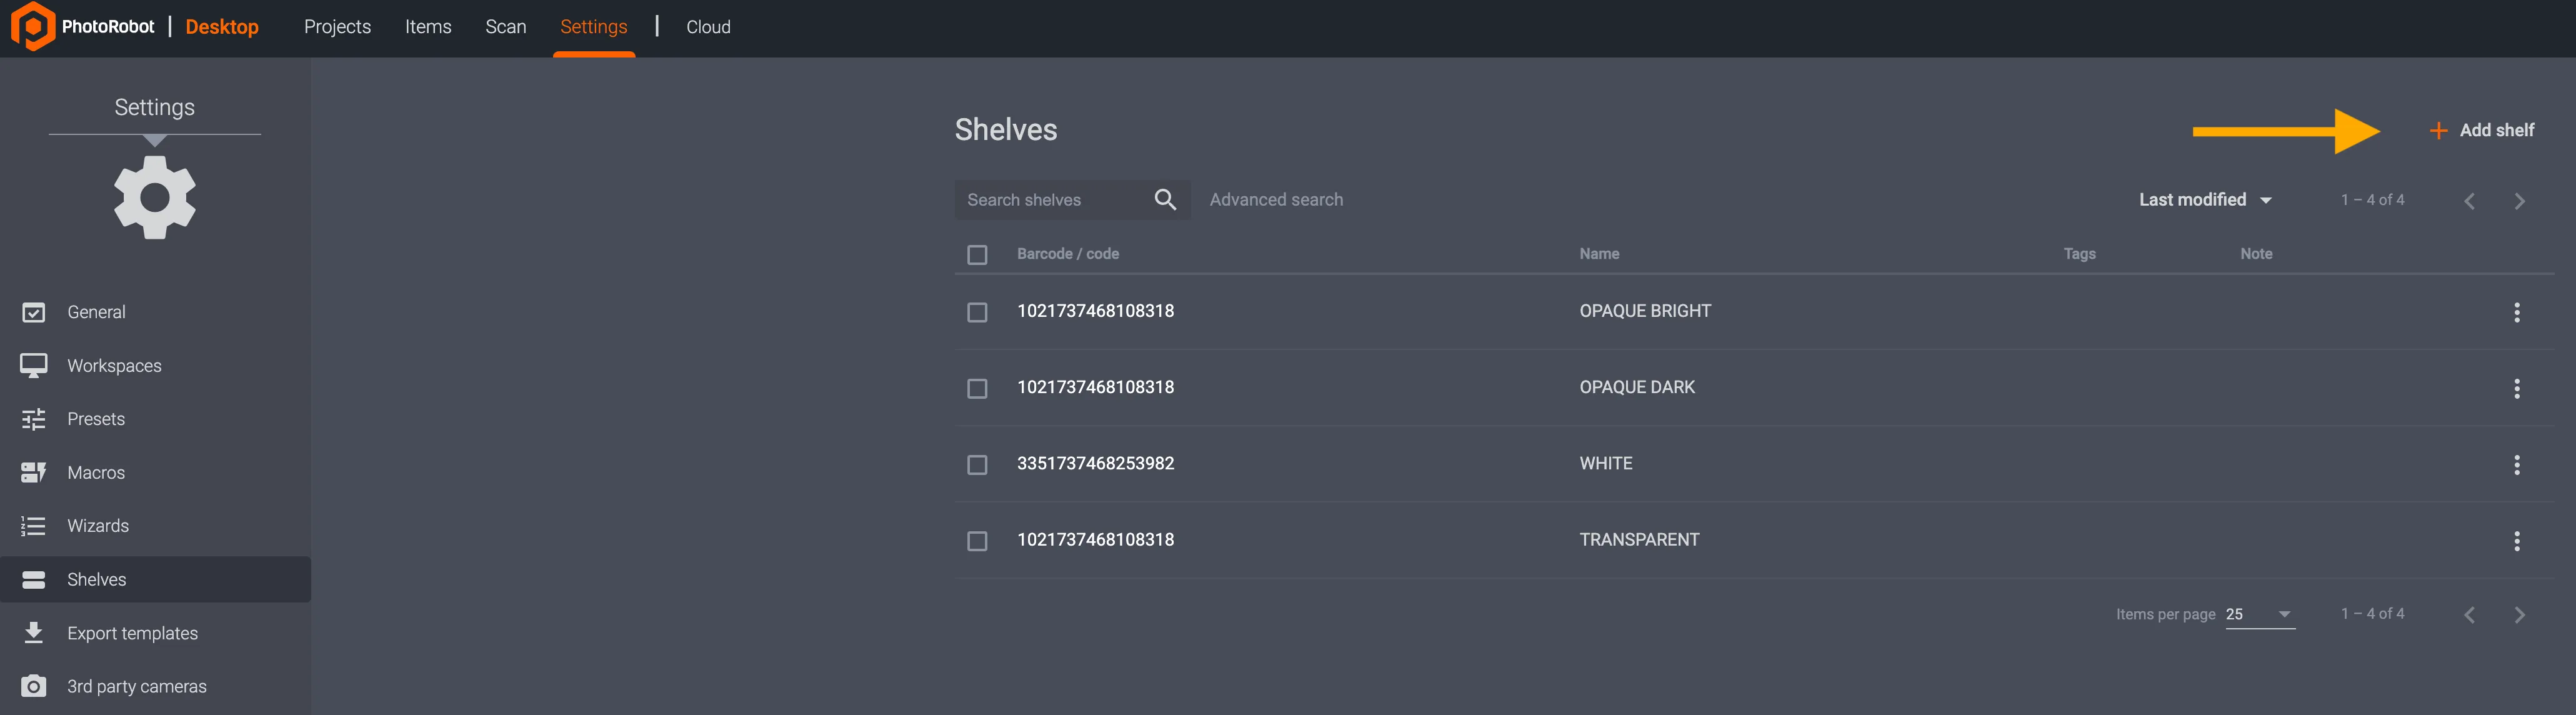
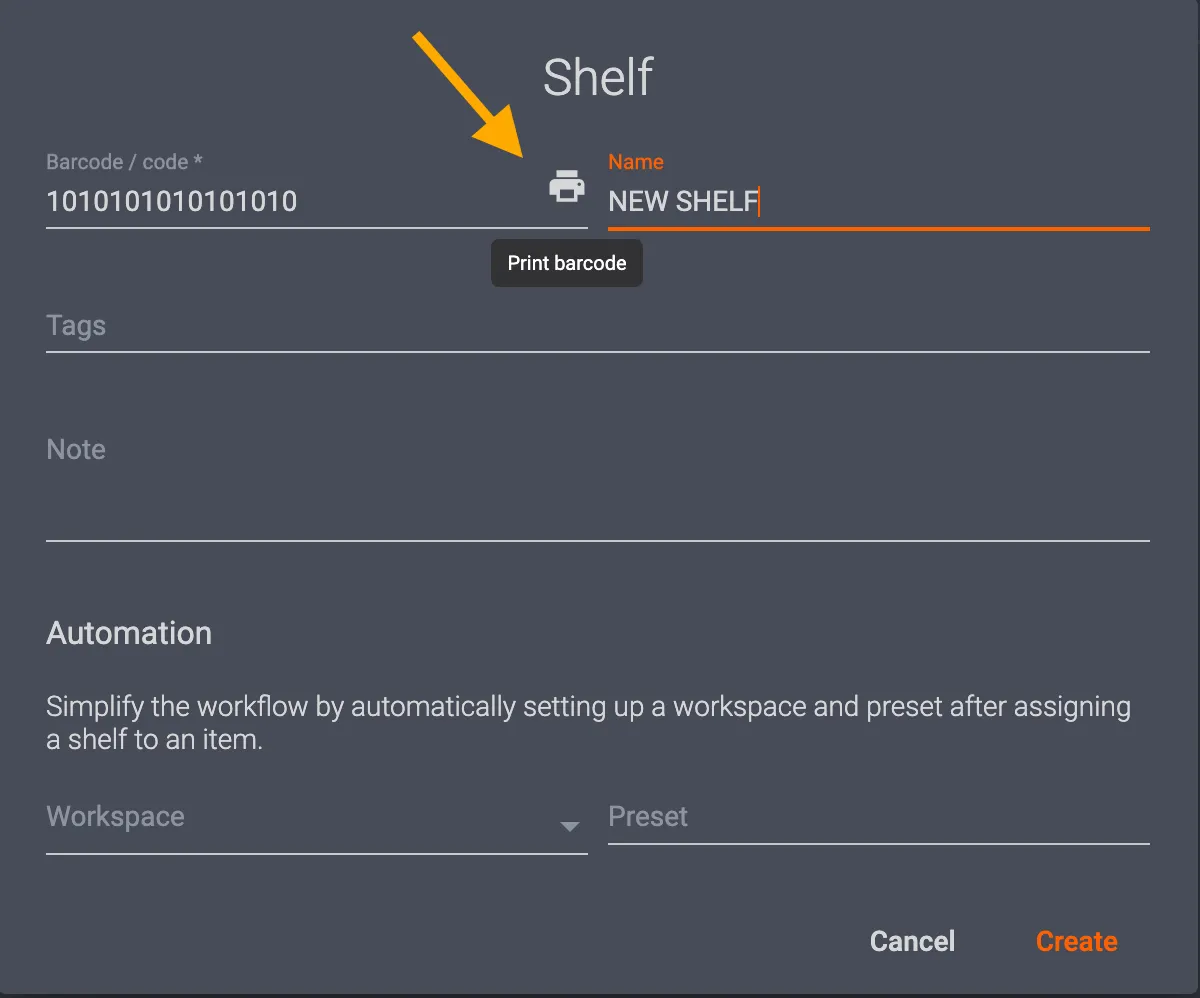
To create a new shelf, use + Add shelf in the top-right corner of the Shelves menu:
New shelf settings then enable the creation of custom Barcode / codes to use with a barcode reader, Name creation, Tags, Notes, Workspace and Preset selection.
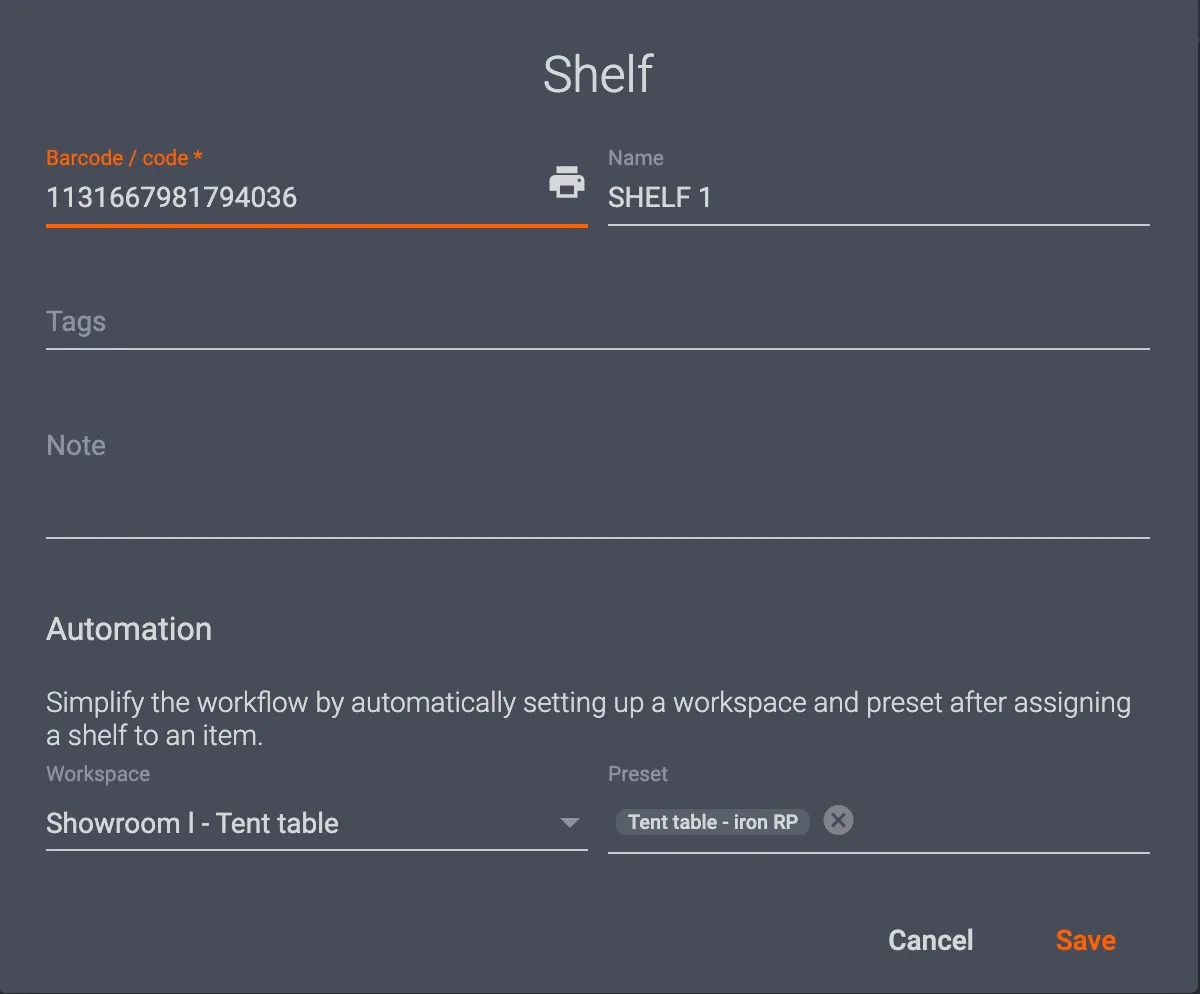
- Barcode / code is customizable to create a unique Shelf code the system can use to assign settings via barcode reader.
- Name is customizable to most often distinguish the types of objects being photographed (for example: small, medium, and large items; footwear, versus jewelry, clothing, or any similar types of object).
- Workspace and Preset fields are then configurable by robotic workstation (and its location in the studio), and Preset fields for the shelf’s automated capture and post-processing settings.
- Save in the bottom-right corner of the interface creates the shelf in the system for future assignment via the app or via barcode reader.
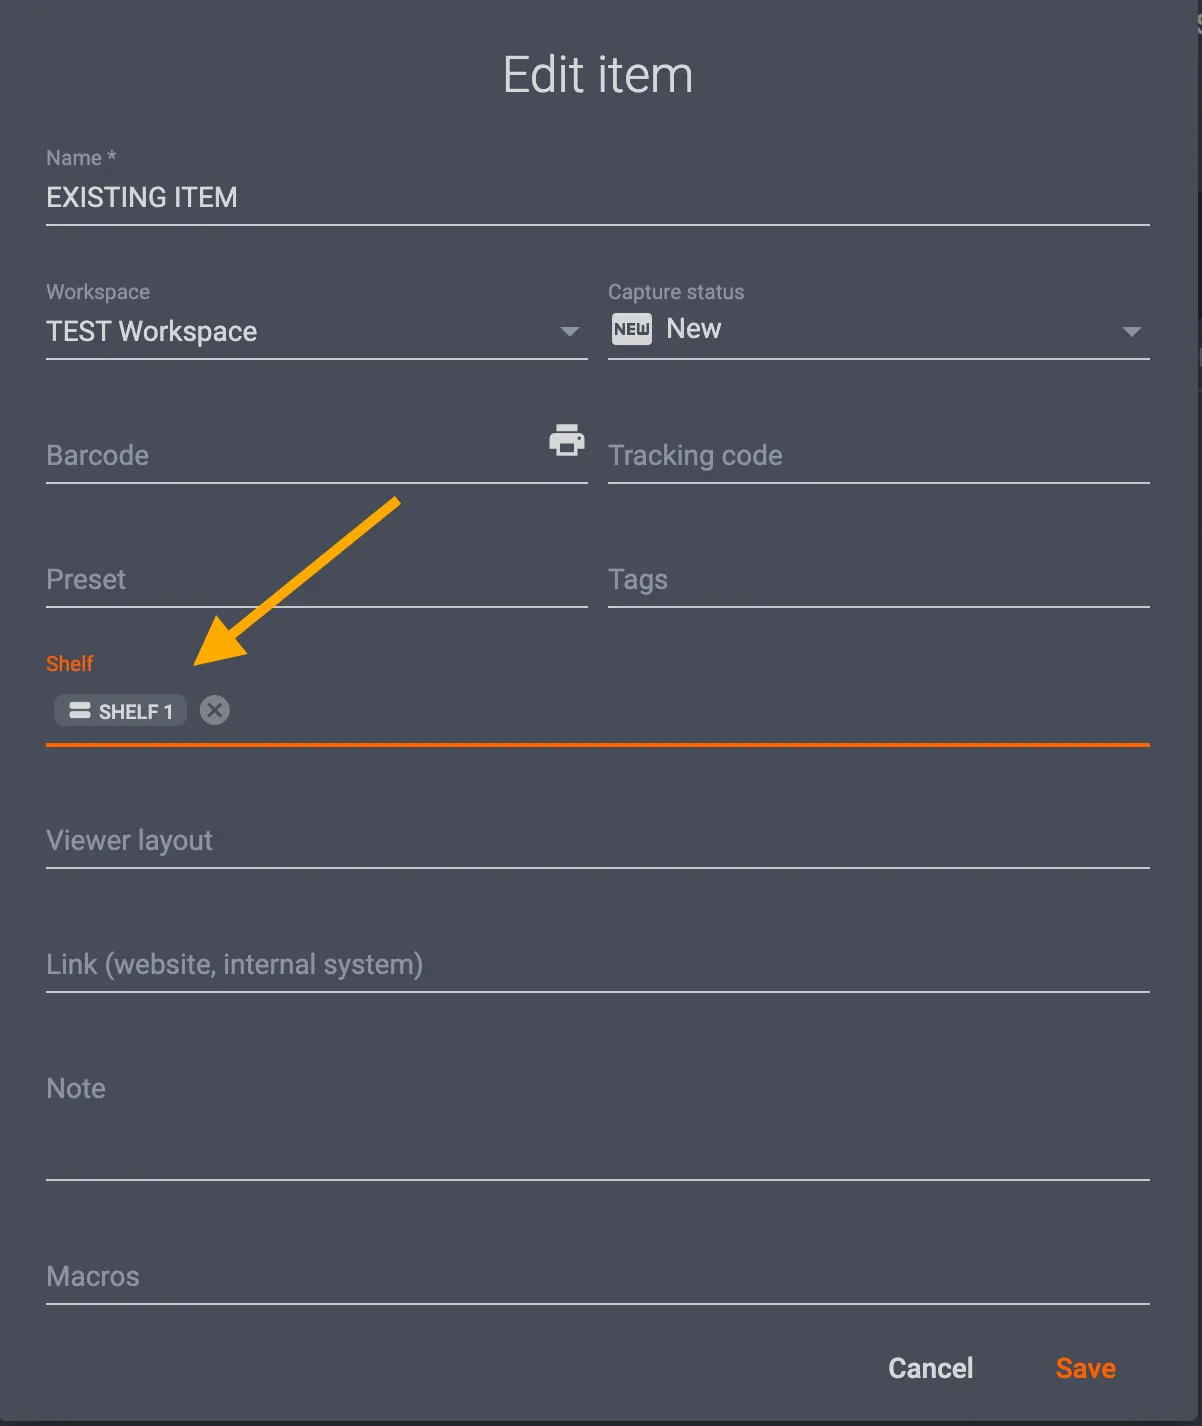
Later, to assign a Shelf code to a new or existing item in the app, select the Shelf field in the Item settings menu, and select the Shelf to assign it to the item:
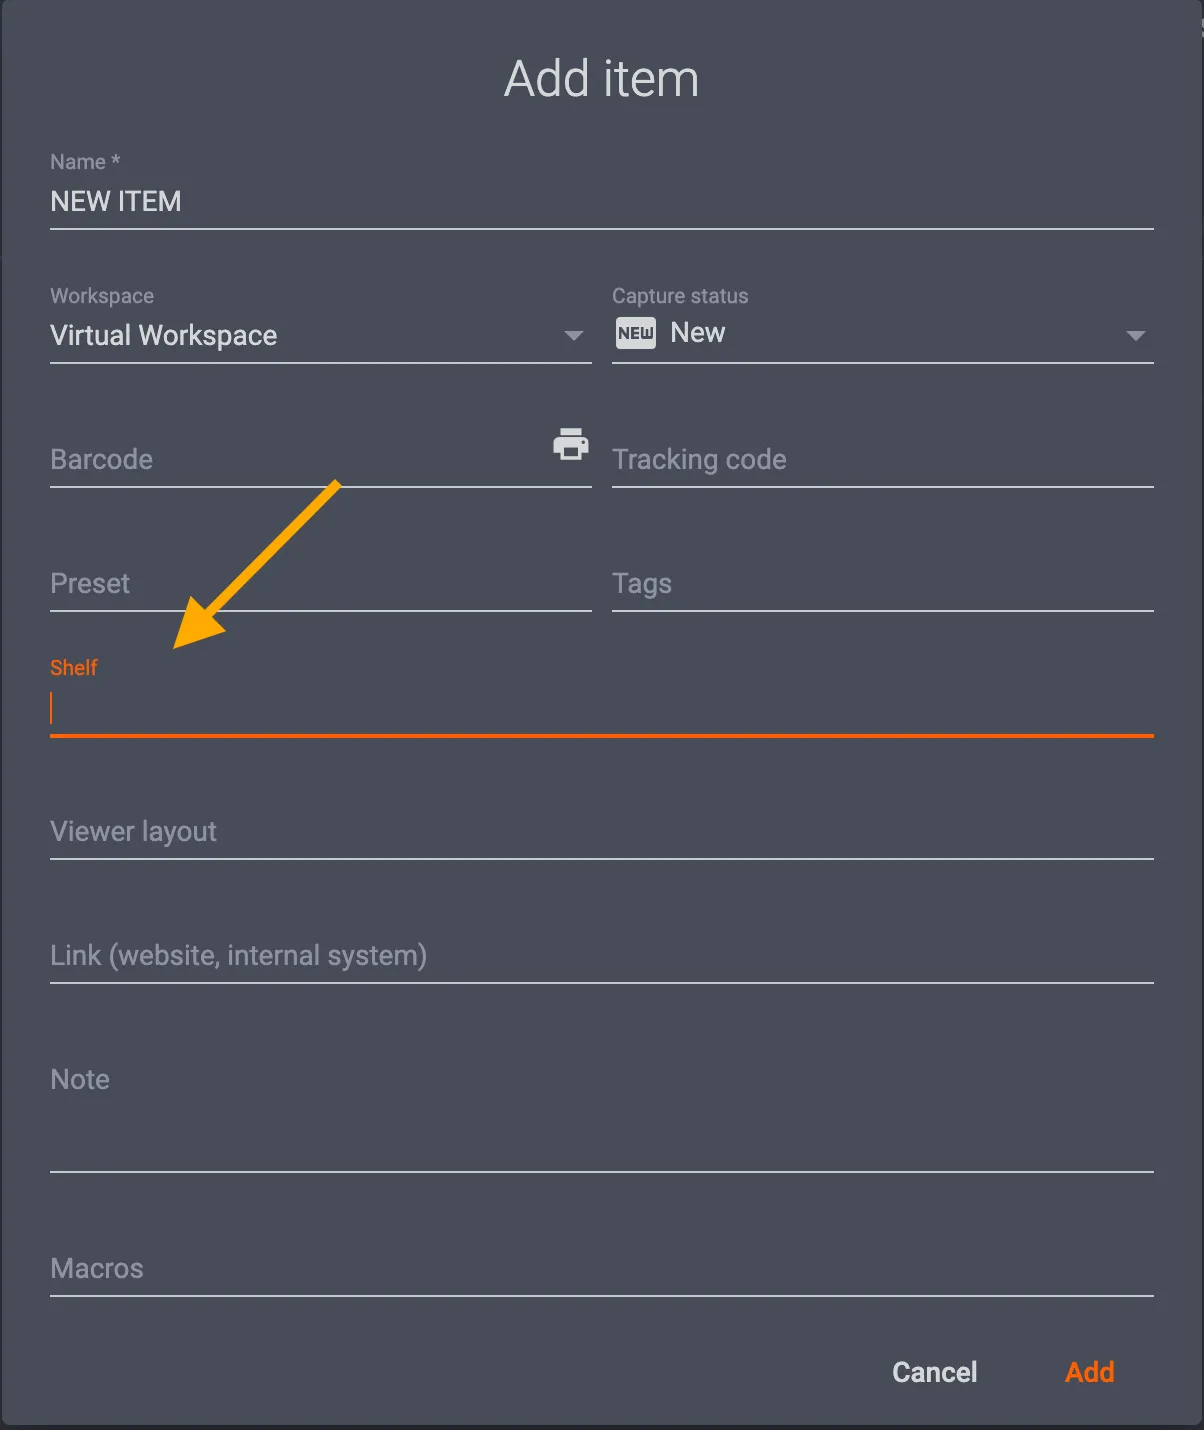
Note: The process is the same to apply a Shelf to any existing item for capture in the system. Simply select the item settings, and configure the Shelf field:
Alternatively, if using an integrated barcode reader, print the unique shelf code, and use it alongside item barcodes to quickly organize your products and shooting lists by workstation and preset.
Edit Operations
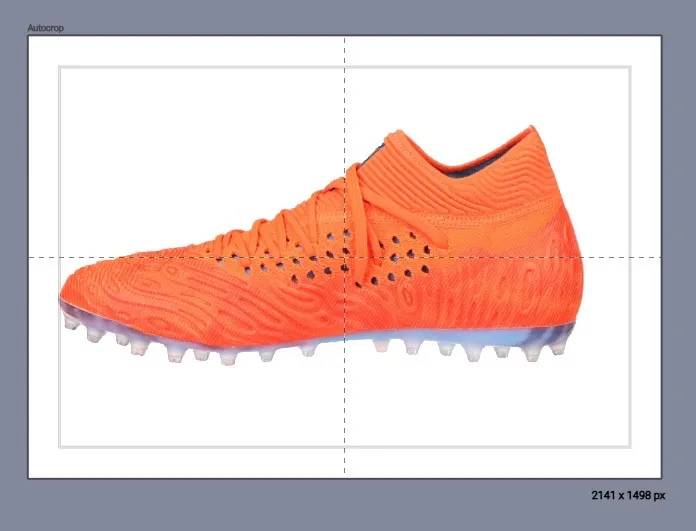
Crop
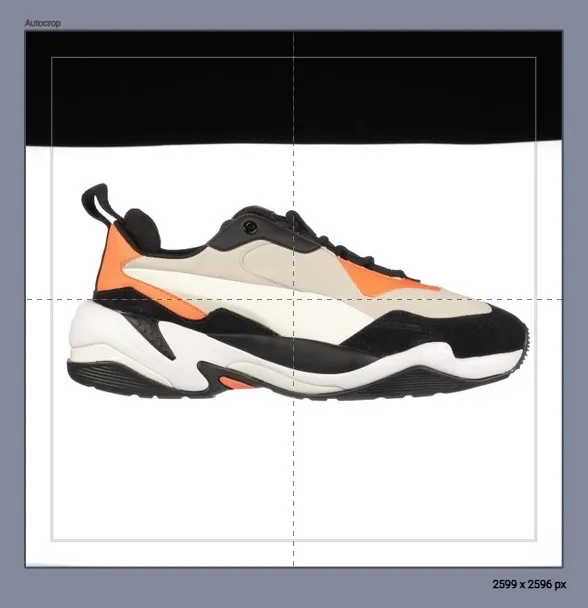
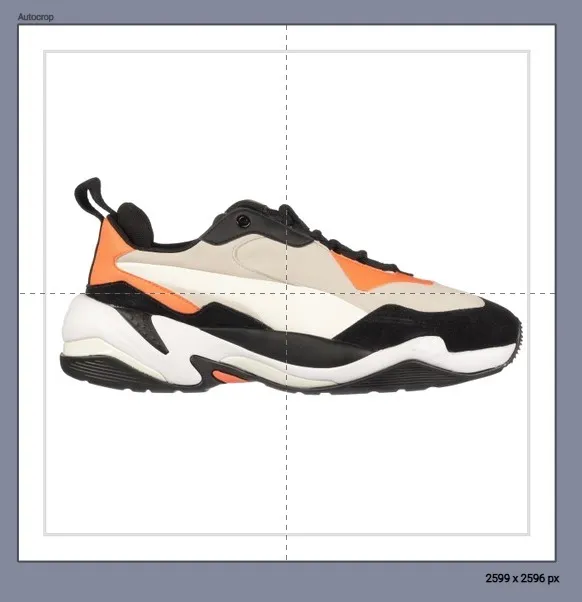
To crop all images within the scope, add the Crop operation.
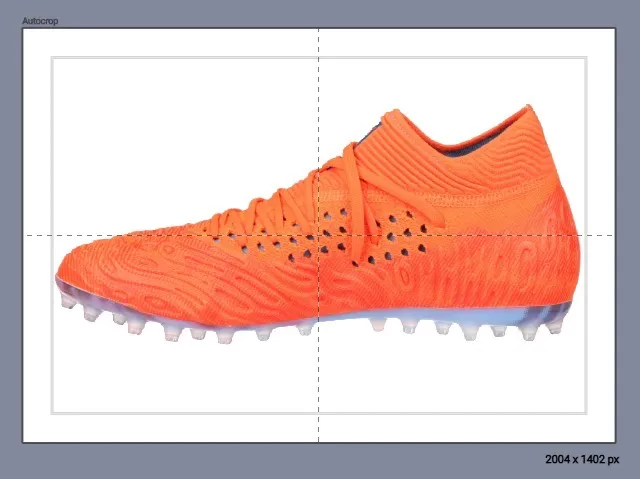
- Auto crop is enabled by default, meaning that edges of the object are detected and crop is adjusted by the software automatically:
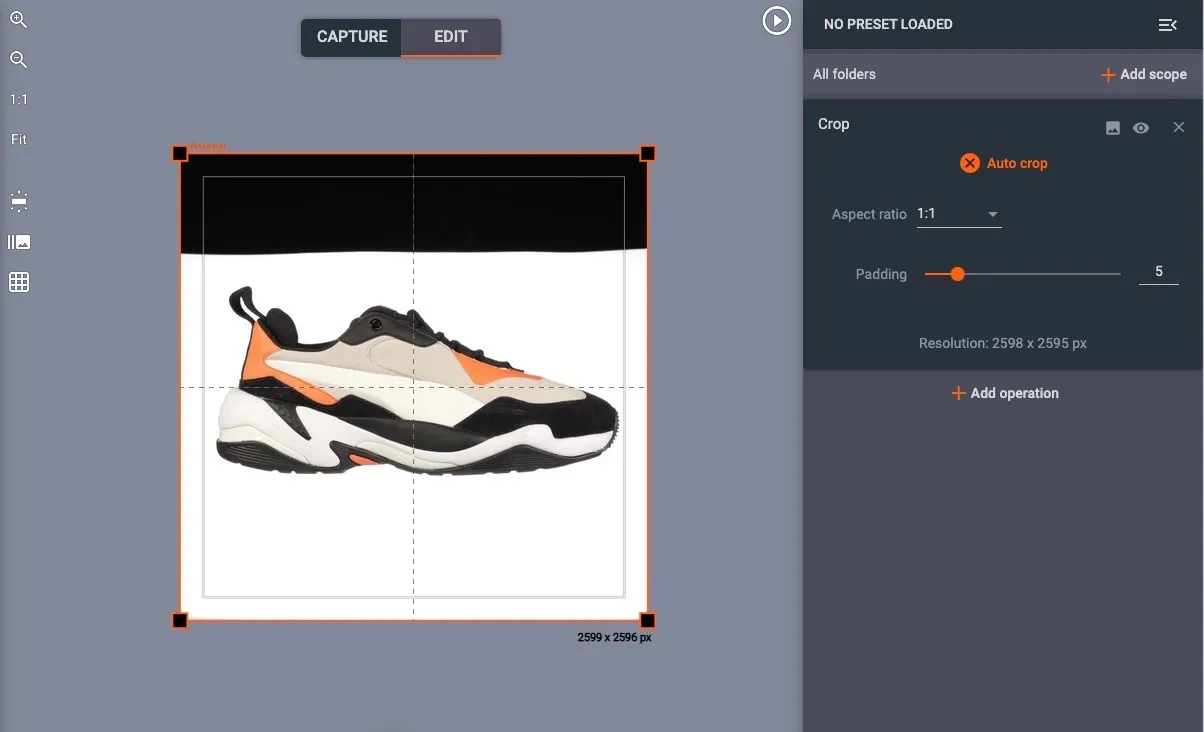
- To disable Auto Crop, select the edge of the crop area and drag in any direction.
When using the Crop tool, it can be useful to see all images within a folder at once. To do this, click All images overlay:

Other useful options when using Crop are Aspect ratio (the ratio of width to height), and Padding (how much space exists around the photographed object).
Center
Use automatic or manual centering and tilt correction to remove product tilt and wobble from individual product photos, spins and animations.
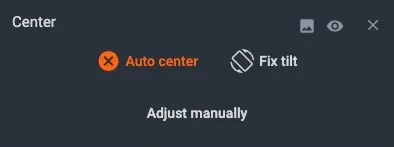
- By default, the product is set for automatic centering.
- To have the software automatically correct any wobble or tilt, use Fix tilt.
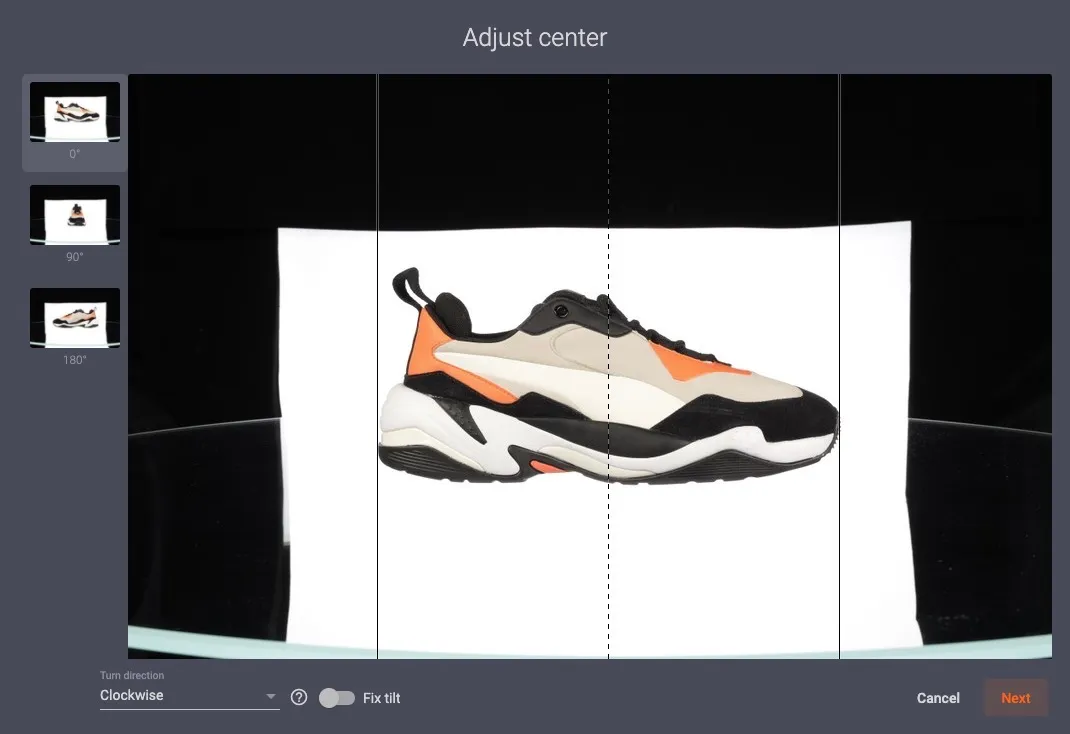
If results are unsatisfactory, adjust auto centering by clicking Adjust manually. You then select 3 images from the series to correct, and PhotoRobot algorithms automatically center products in photos across the entire item folder:
Background
You can adjust or remove the background semi-automatically or manually with 3 types of background removal functions: by level, by flood, or freemasking.
1. Background removal by level allows you to define a threshold of color to remove.
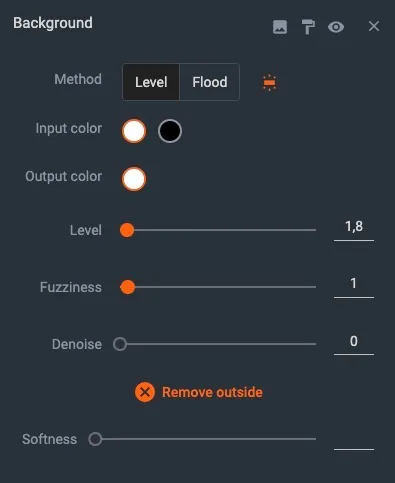
You can control the background removal by level by adjusting the following sliders:
- Level - select the threshold of what color will be considered to be the background. Anything lighter than this threshold will be removed.
- Fuzziness - makes the threshold fuzzy, leading to smoother transitions between the object and the background.
- Denoise - eliminates noise by removing solitary pixels in the background or the object.
- Output Color - select the color of background in edited images.
- Input Color - select white if you're capturing products on white background. Select black if on black background.
( ! ) Pro-tip: click the Remove outside button to remove any clutter at the edges of the image (e.g. shaders).
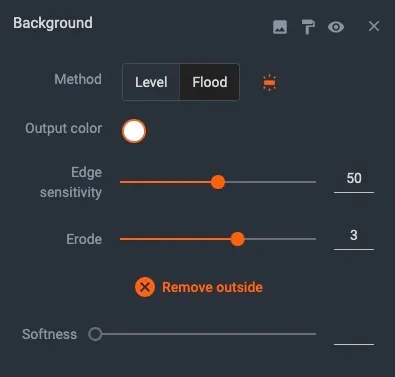
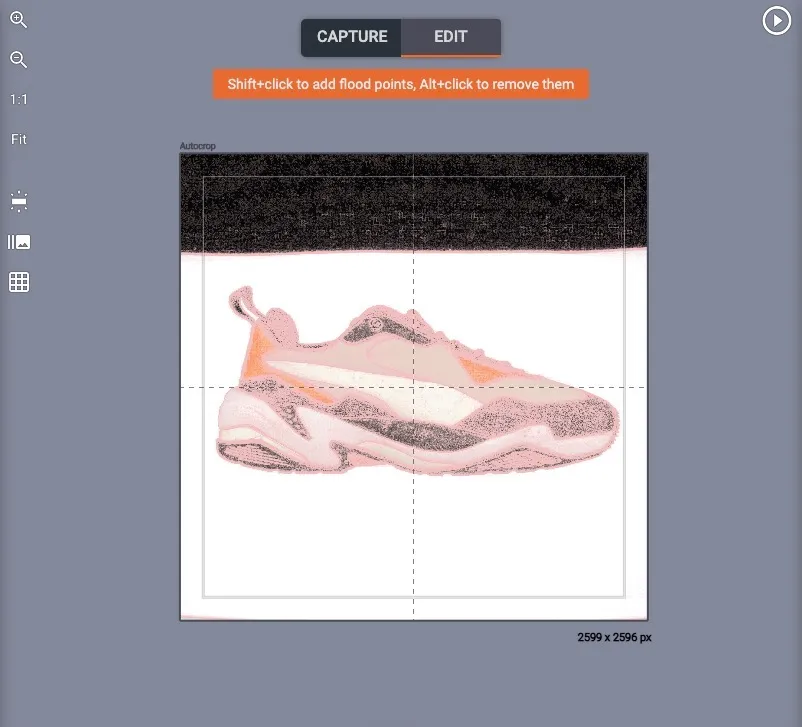
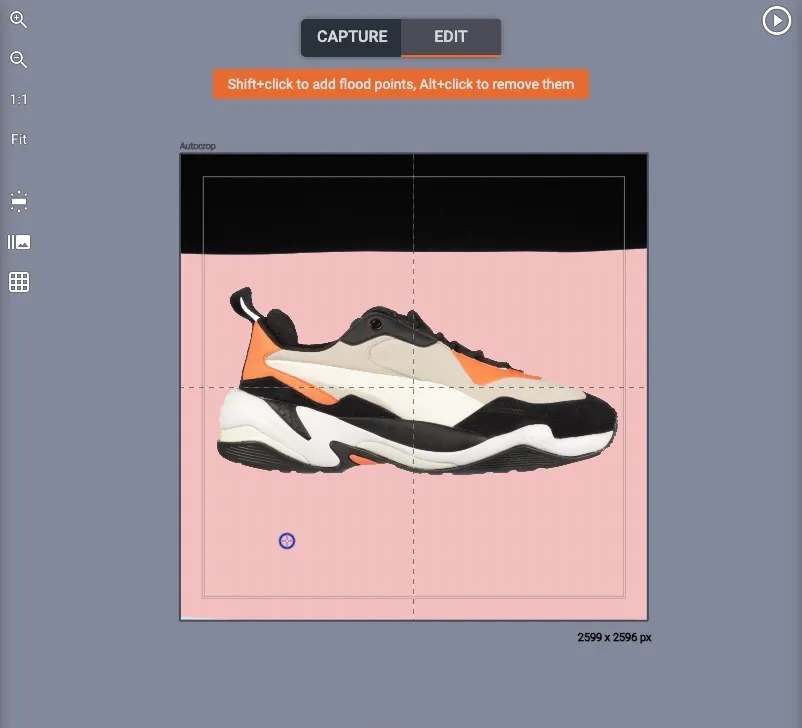
2. Background removal by flood works by “flooding” the area from a selected point. Use the Shift key and click anywhere on the background for the software to remove it, stopping at the object edges.
- Adjust Edge sensitivity to detect object edges correctly.
- Adjust Erode to remove extra pixels from object edges.
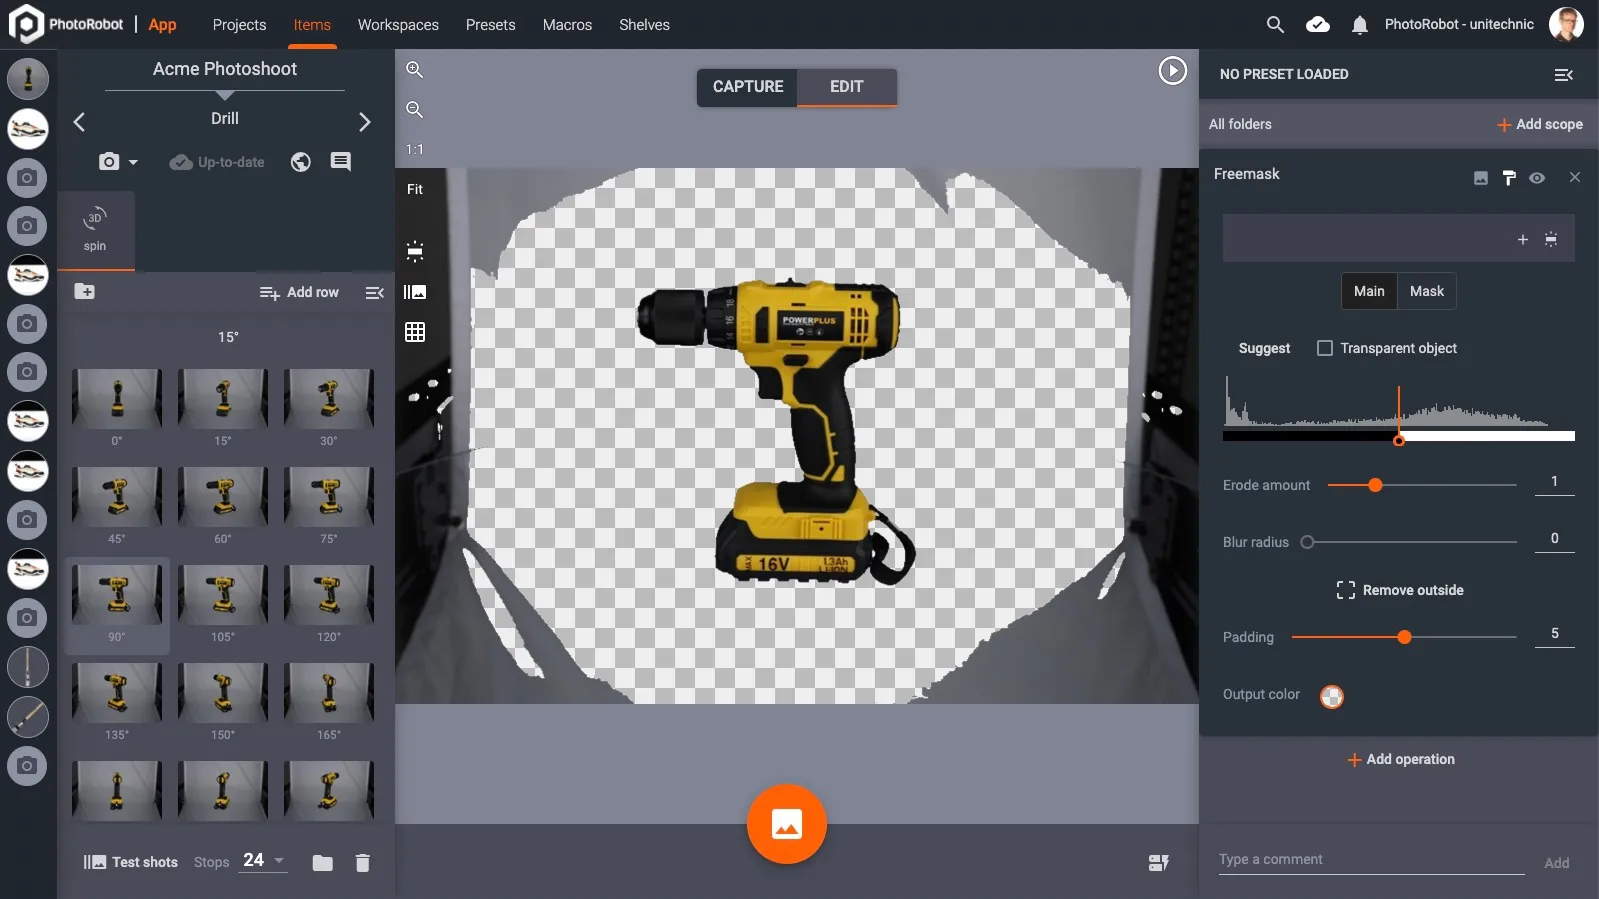
3. Background removal by freemask requires more configuration than by level or by flood, but it can be one of the quickest and most exact methods. Detailed information on how to configure lights to create main and mask images will be found in a later manual.
Brush
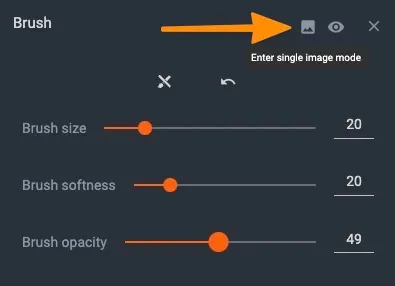
Use the Brush / Eraser tool to remove any part of an image. Set size and edge softness for more precision.

- By default, Brush will be applied to all the pictures within the folder. It’s also easy to brush individual images by switching to single image mode:
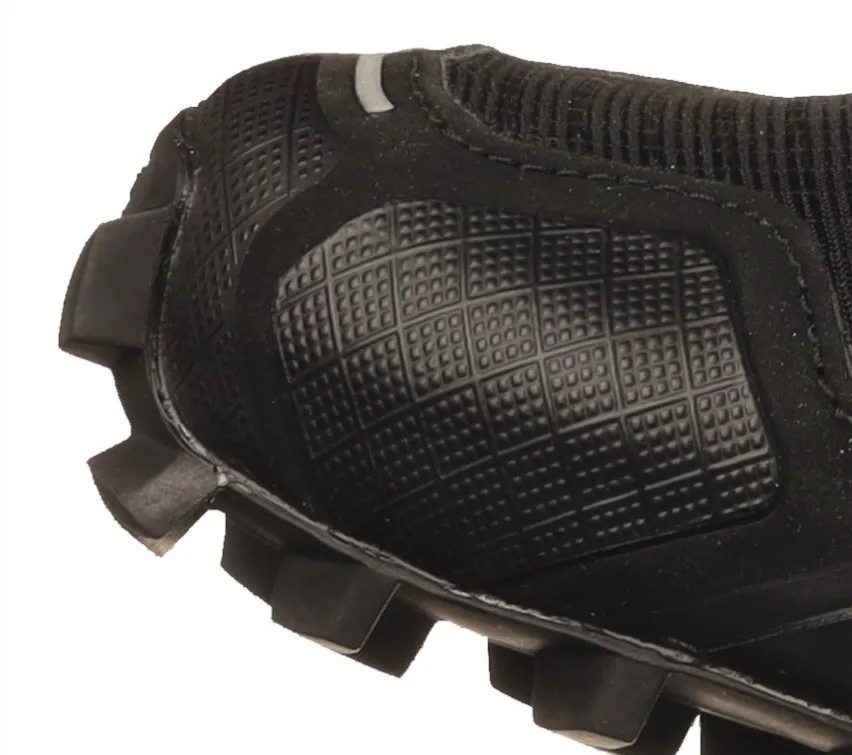
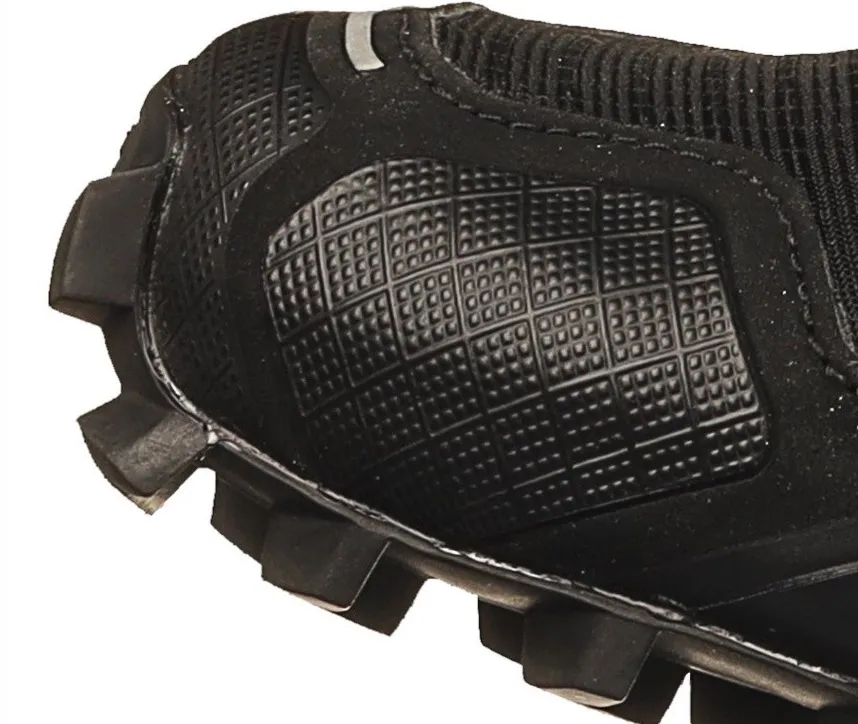
Clarity
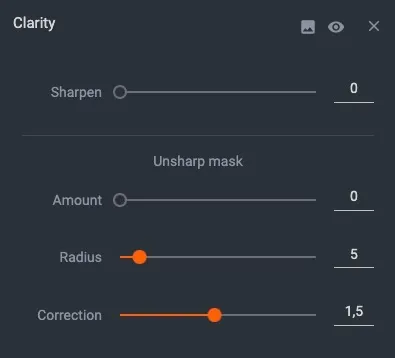
There are two tools you can use to improve the clarity of the image:
- Sharpen - improves contrast between individual pixels.
- Unsharp mask - improves the contrast by accounting for larger areas of the image.
Note: Unsharp mask is slower than Sharpen, but it can lead to better results with less noise.
Unsharp mask can be further configured by adjusting sliders for:
- Amount - adjusts the strength of the effect.
- Radius - adjusts the amount of pixels to account for around each pixel.
- Correction - allows for fine-tuning of the effect.

Colors
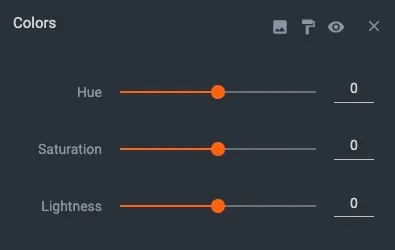
Adjust object colors by using 3 sliders:
- Hue - slide left or right to adjust color hue.
- Saturation - adjust the slider to the right for more vivid colors, or adjust left for more black and white images.
- Lightness - slide left or right to adjust the lightness of the object.
( ! ) - Pro Tip: For objects with one dominant color, you can adjust Hue to effectively change the color of the object:

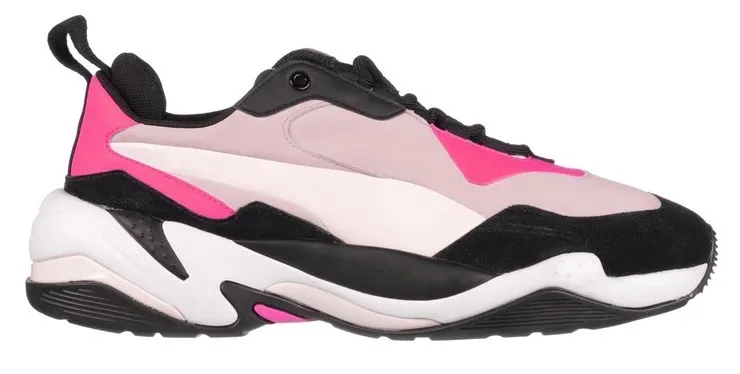
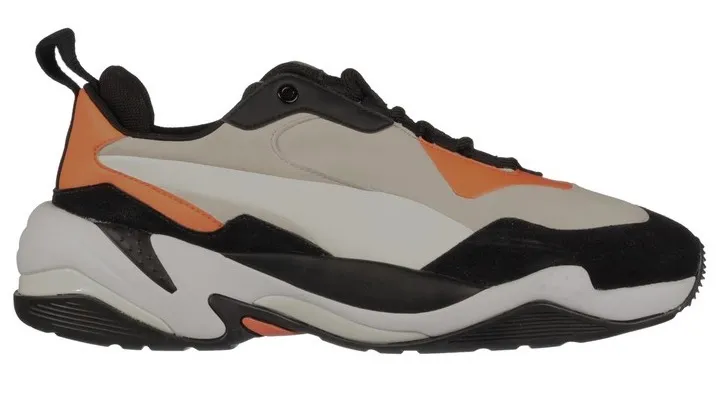
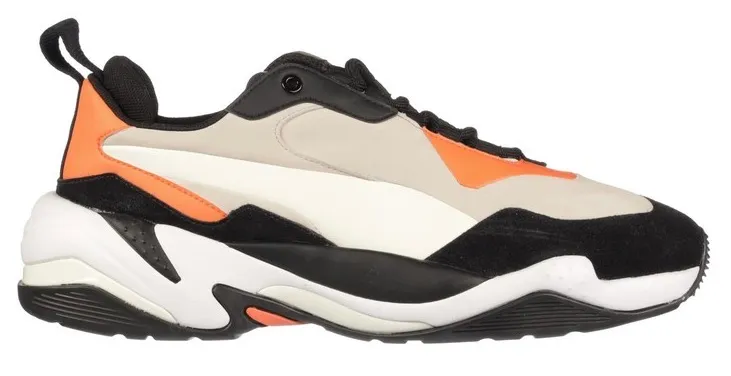
Brightness & Contrast
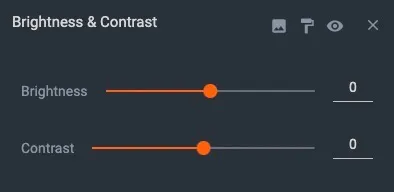
Use Brightness & Contrast for basic adjustment of brightness and contrast:
Vignette

Use the Vignette tool to mask picture edges with a configurable gradient. Adjust sliders left or right for control over:
- Amount - specify the opacity of the vignette effect.
- Radius - set the size of the inner area which should be left intact.
- Feather - adjust the gradient from the inside to the edges.
- Shape - change the shape of the vignette effect.
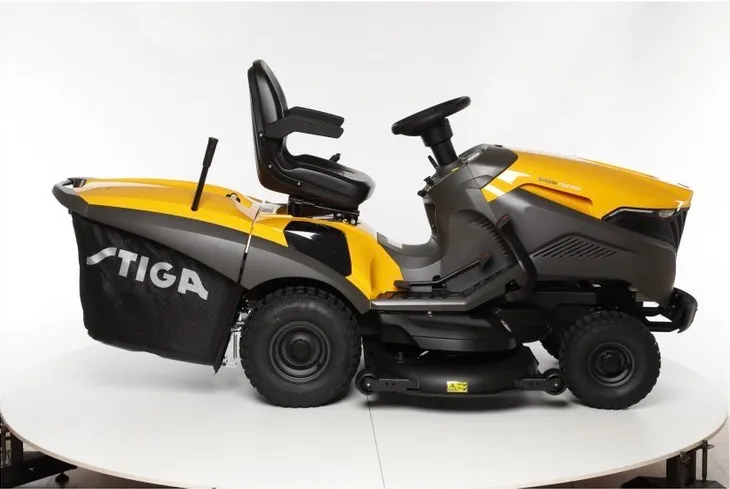
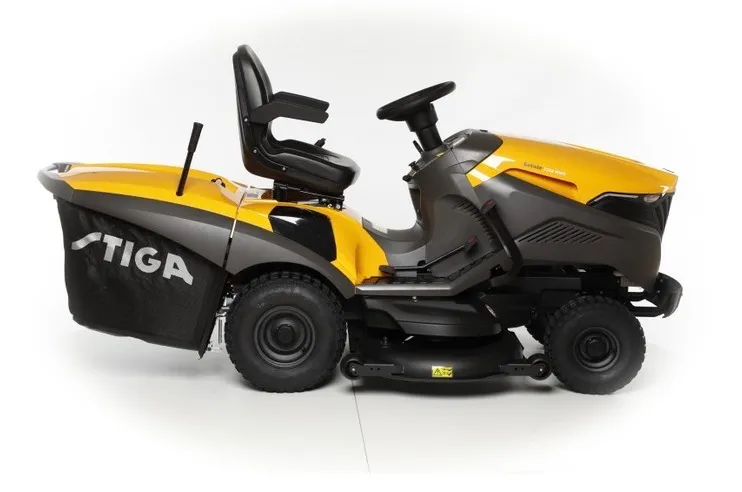
Chromakey
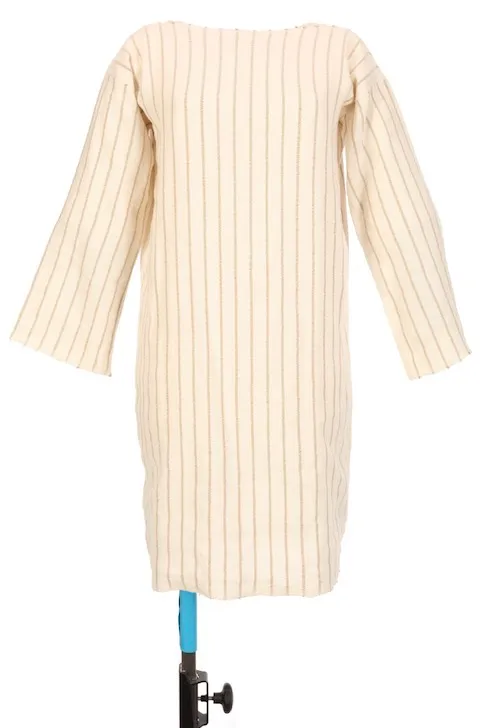
Carry out Chromakey operation to remove parts of the scene, such as: mannequin poles, nylon ropes, strings, clamps, holders and more.
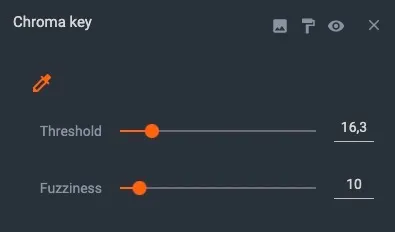
To operate Chromakey, first select up to 12 colors to remove from an image. Then:
- Adjust Threshold or Fuzziness to fine-tune how much of the color is removed.
Levels
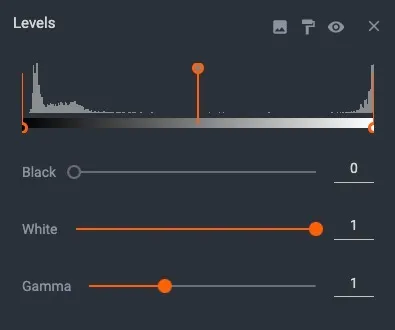
Use the Levels tool to change image contrast by adjusting three sliders:
- Black - increases black level to make dark parts of the image darker.
- White - increases the white level to make bright parts of the image brighter.
- Gamma - adjusts gamma levels to give more weight to darker or brighter colors.
Shadows & Highlights
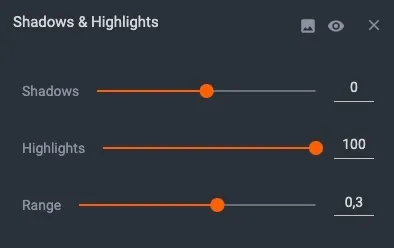
The Shadows & Highlights tool is similar to the Levels tool, but works in the opposite direction. Use it by adjusting three sliders:
- Shadows - increase value to make dark parts of the image brighter.
- Highlights - increase value to make bright parts of the image darker.
- Range - adjust the lightness range affected by the tool.
In contrast to the Levels tool, Shadows & Highlights allows you to show more details in dark or bright parts of the image.
Curves
The Curves tool allows for adjustment of the lightness of the product according to a custom lightness curve.
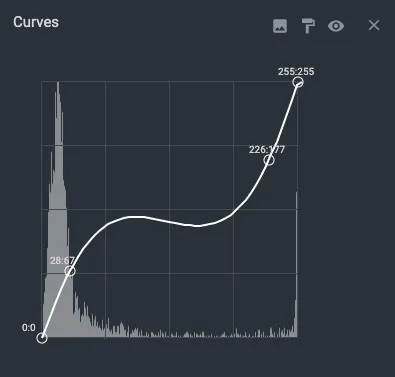
Note: Editing using Curves is an advanced technique. In the majority of cases, the desired results can be achieved with simpler lightness adjustment via Levels and Shadows & Highlights. It is when these two operations do not meet your needs that Curves allows for complete control over lightness adjustment.
Rotate
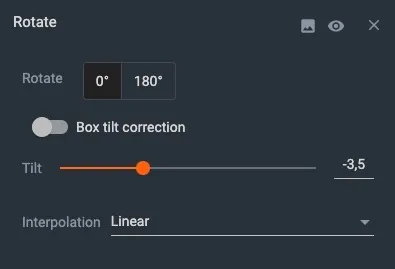
- Rotate - rotates the image by a specified angle.
- Tilt - adjusts object tilt.
- Box tilt correction - adjusts object tilt automatically (designed for rectangular, box-packaged products).
- Interpolation - changes the algorithm used to resize the image.
Note: For Interpolation, Linear is the fastest and default, however results can sometimes be slightly blurred. Use the Lanczos or Bicubic algorithm to achieve more crisp results.


EOS Rebel Series


EOS DSLR Series


EOS M Mirrorless Series


PowerShot Series


Close-Up / Handheld

The Canon EOS Rebel Series offers beginner-friendly DSLR cameras with solid image quality, intuitive controls, and versatile features. Ideal for photography enthusiasts, these cameras provide reliable autofocus, vari-angle touchscreens, and Full HD or 4K video recording.
Connection
Resolution (MP)
Resolution
The Canon EOS DSLR Series delivers high-quality images, fast autofocus, and versatility, making it ideal for both photography and video production.
Connection
Resolution (MP)
Resolution
The Canon EOS M Mirrorless Series combines compact design with DSLR-like performance. Featuring interchangeable lenses, fast autofocus, and high-quality image sensors, these cameras are great for travelers and content creators seeking portability without sacrificing image quality.
Connection
Resolution (MP)
Resolution
The Canon PowerShot Series offers compact, user-friendly cameras for casual shooters and enthusiasts. With models ranging from simple point-and-shoots to advanced zoom cameras, they provide convenience, solid image quality, and features like image stabilization and 4K video.
Connection
Resolution (MP)
Resolution
The Canon Close-Up & Handheld Cameras are designed for detailed, up-close photography and video. Compact and easy to use, they offer precision focus, high-resolution imaging, and versatile macro capabilities—perfect for vlogging, product photography, and creative close-ups.


