PhotoRobot Robotic Arm V8 User Manual
The following installation manual provides technical instructions for the configuration and operation of the Robotic Arm V8 by PhotoRobot. This information aims to support the first setup and operation of the Robotic Arm by the customer. It focuses on new customers who have recently purchased the device, as well as the future onboarding of production line operators.
Important: Always refer to PhotoRobot Safety Information & Instructions before proceeding with any self-installation, first use, storage, or service of PhotoRobot devices.
Robotic Arm V8 Installation & First Use
Thank you for purchasing your PhotoRobot device. You have chosen a product that brings with it decades of professional experience and innovation. Ingenious and stylish, PhotoRobot’s design is with you in mind. That means whenever you use PhotoRobot, you can rest assured that you will achieve great results every time. Welcome to PhotoRobot.
1. Product Description
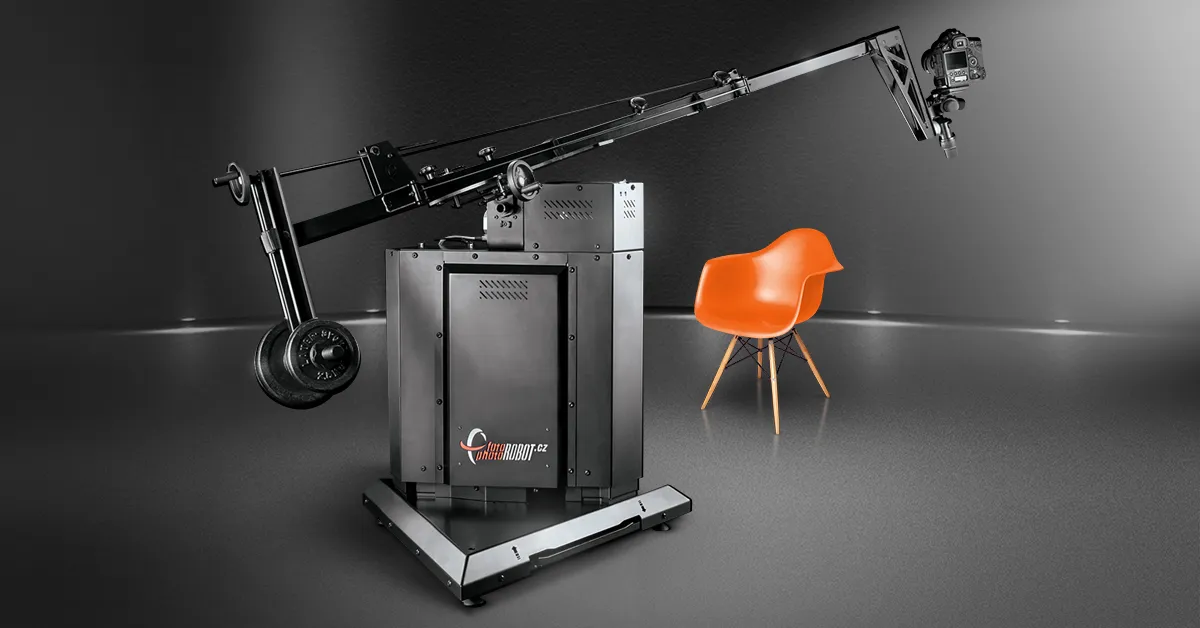
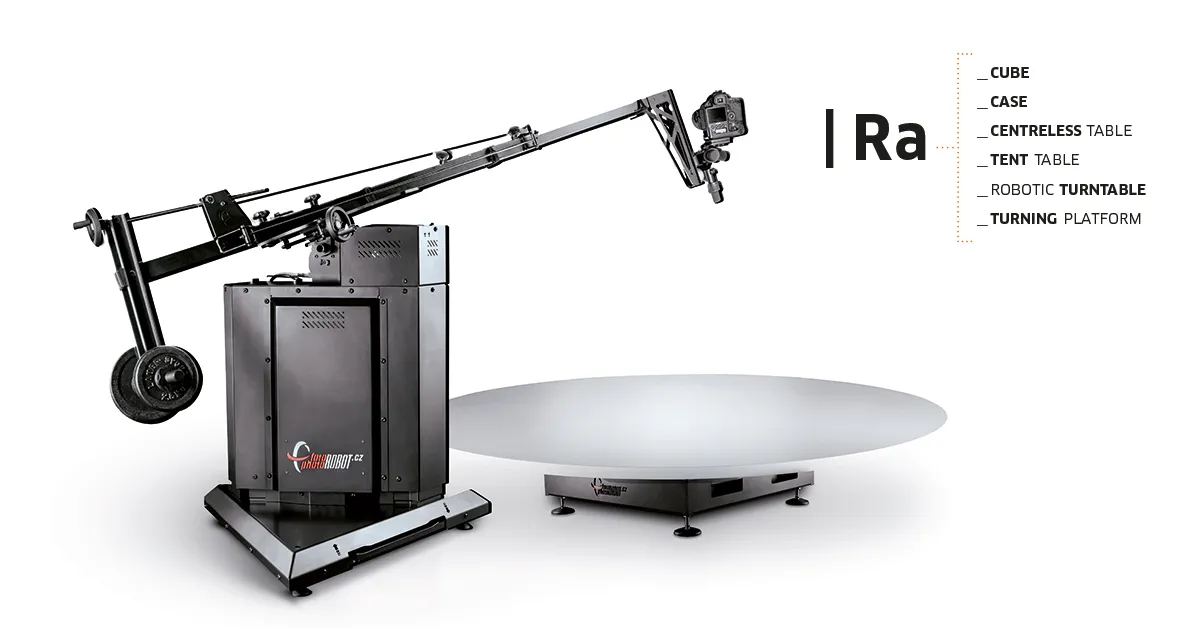
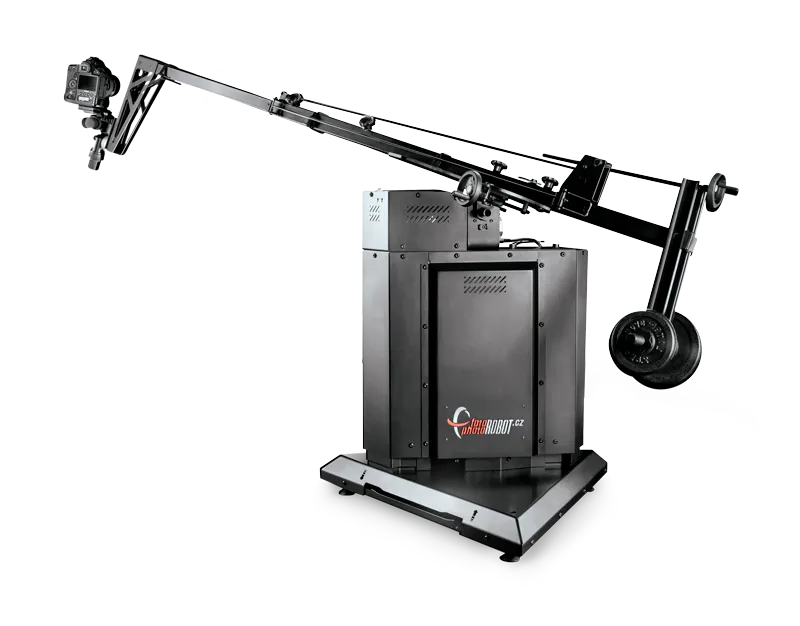
The Robotic Arm V8 is designed for the automated capture of multi-row spins, or rapidly photographing a series of stills from different elevations. It is able to move the camera along two axes with smooth robotic precision, controlling elevation and swing. The Arm combines with compatible photography turntable devices like the Centerless Table as well as the Robotic Turntable, C-Class turntables, and more. This synchronizes image capture with the movement of the mounted camera and the rotation of the product on the turntable.
Key components of the Robotic Arm V8 include:
- The system control unit (a separate device for controlling the Robotic Arm).
- Camera mounting shanks (one short shank, one long shank, or both).
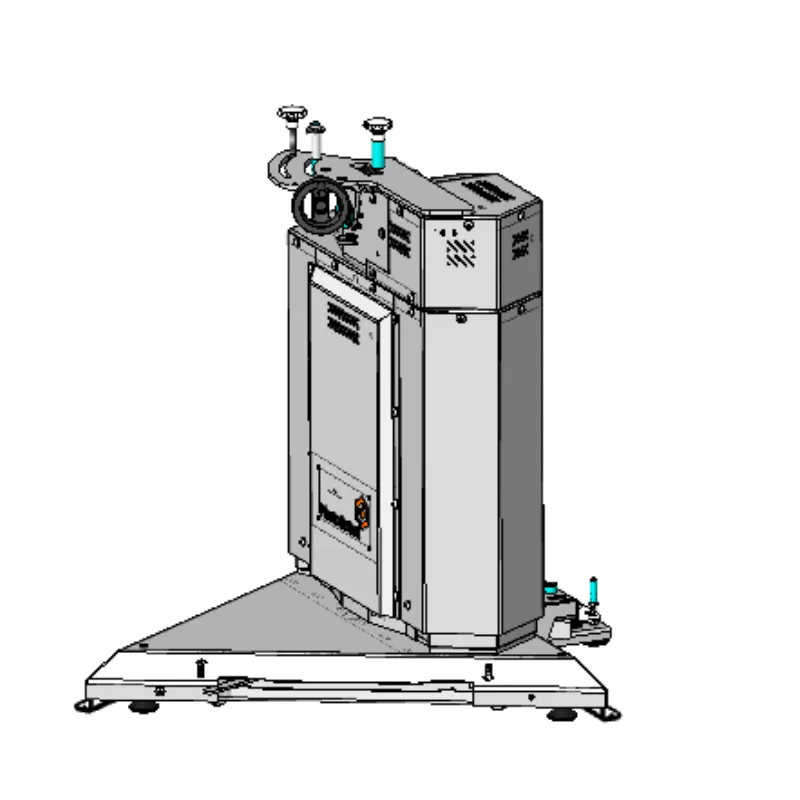
- Robotic Arm machine base with retractable wheels for easy transport.
- Docking station for quick setup with compatible turntables and devices.
Note: The camera arm does not oscillate, moving the camera along a precise trajectory. There is also a large mounting range for flexibility in the selection of tripod heads and cameras, and features for effortless transport and setup.
1.1. Robotic Arm V8 Robot Overview
The Robotic Arm device is controlled via the Control Unit. This means the Control Unit powers up and controls all the movement of the _Arm V8.
Note: The Control unit is not a physical part of this device. It is physically installed in the Centerless Table if delivered together. If the Arm V8 is delivered separately, the Control Unit is placed in the dedicated PhotoRobot HD rack case.
1.2. Electrical Connection
The following electrical connection requirements must also be met for the safe installation and operation of the Robotic Arm V8.
- The device must be grounded.
- Always use a correctly installed shockproof socket.
- Ensure that the electrical information on the rating plate complies with the power supply. If it does not, contact an electrician.
- Be sure not to cause damage to the mains plug or to the mains cable.
- Connect the mains plug to the mains socket only at the end of the installation. Ensure that there is access to the mains plug after the installation.
- Do not touch the mains cable or the mains plug with wet hands.
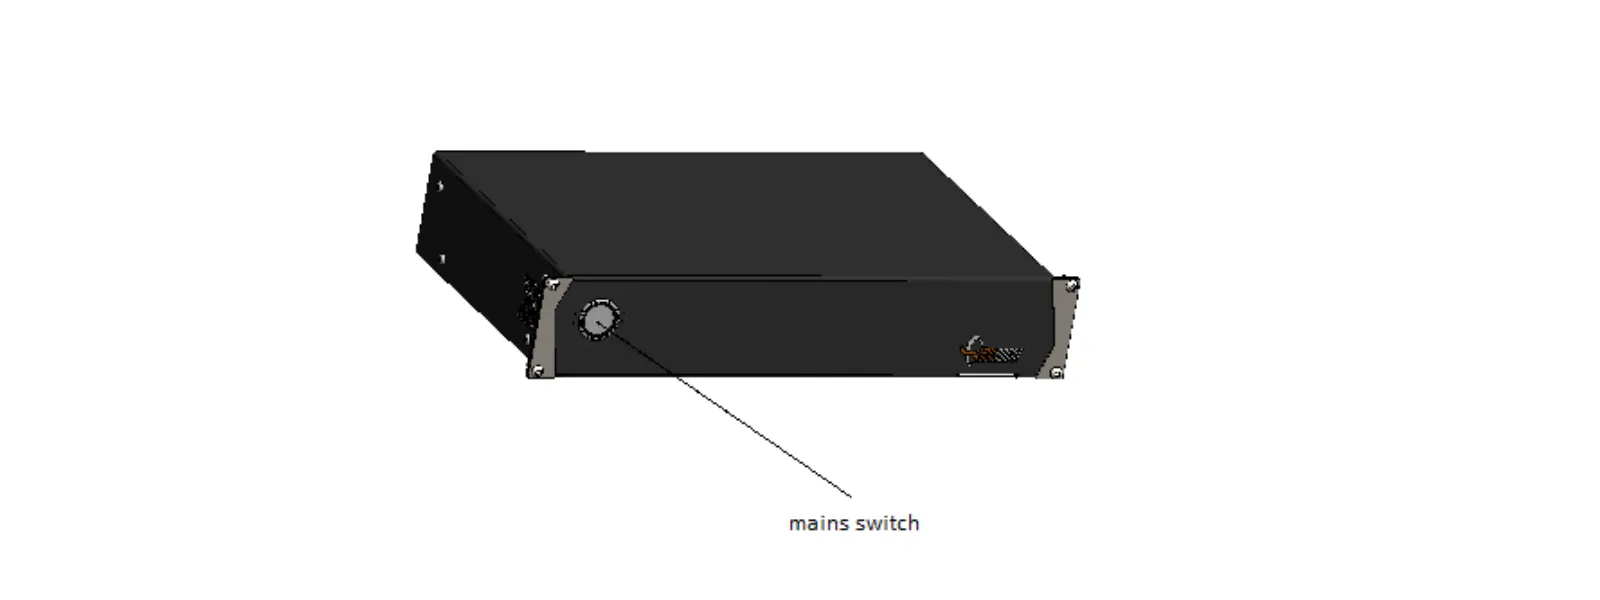
- Do not pull the mains cable to disconnect the device. Always push the mains switch at the Control Unit first.
- Do not approach the _Arm V8 when moving or when it is powered up.
- Always mind the working area of this device.
- The elevator range is 32 cm.
- The swing arm range is from 0 to 90 degrees.
Important: The first installation after delivery from the manufacturer must be carried out only by a PhotoRobot authorized authority. The authority must be an approved distributor, or the manufacturer itself. For self-installation and service, always refer also to PhotoRobot Safety Information & Instructions before proceeding.
2. Preparation of the _Arm V8 for Operation
2.1. Based on the configuration provided, there can be one short shank, one long shank, or both.
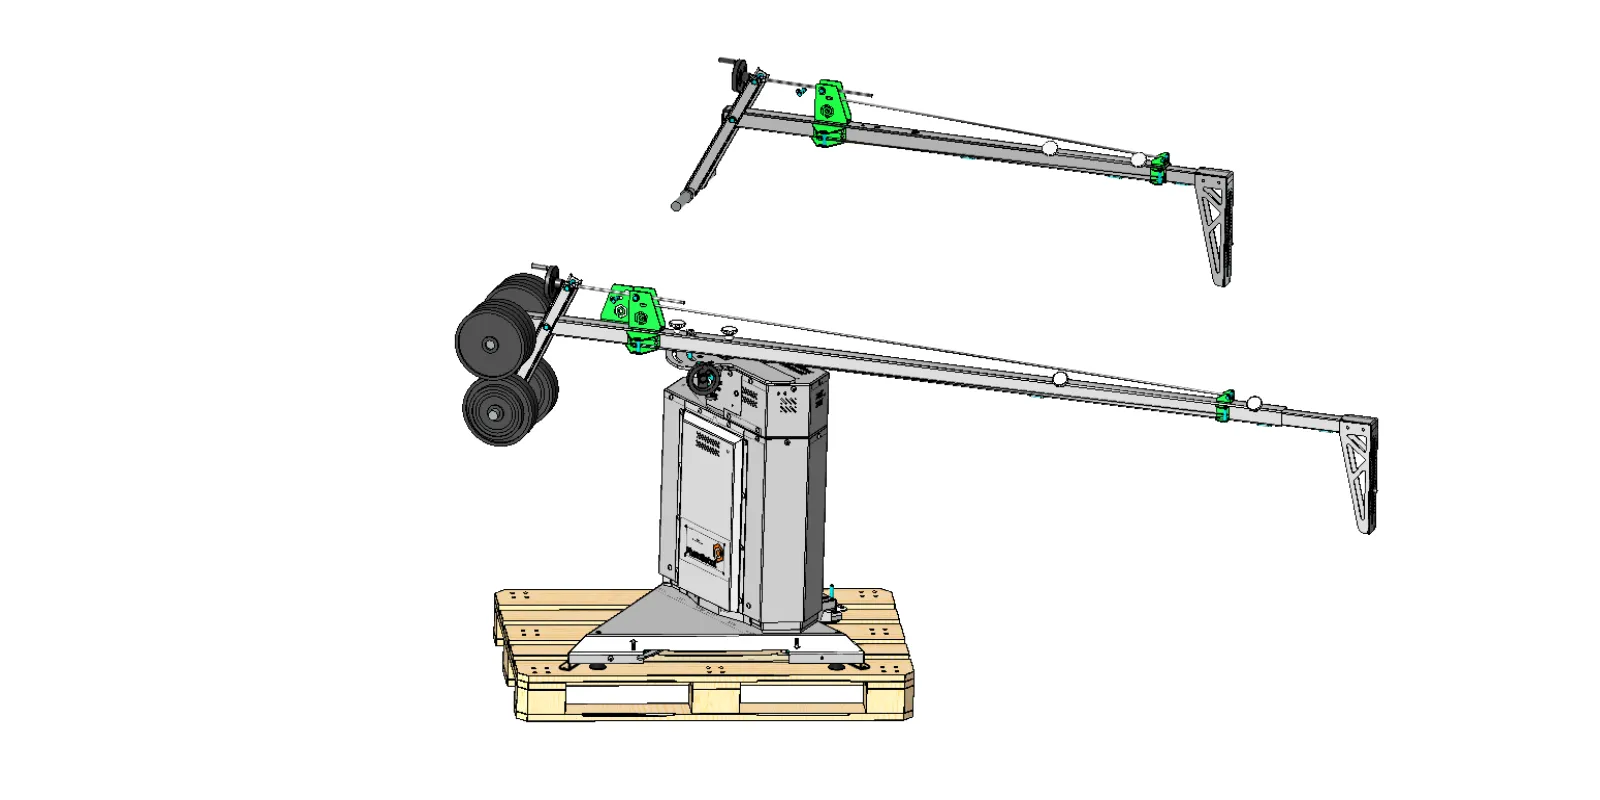
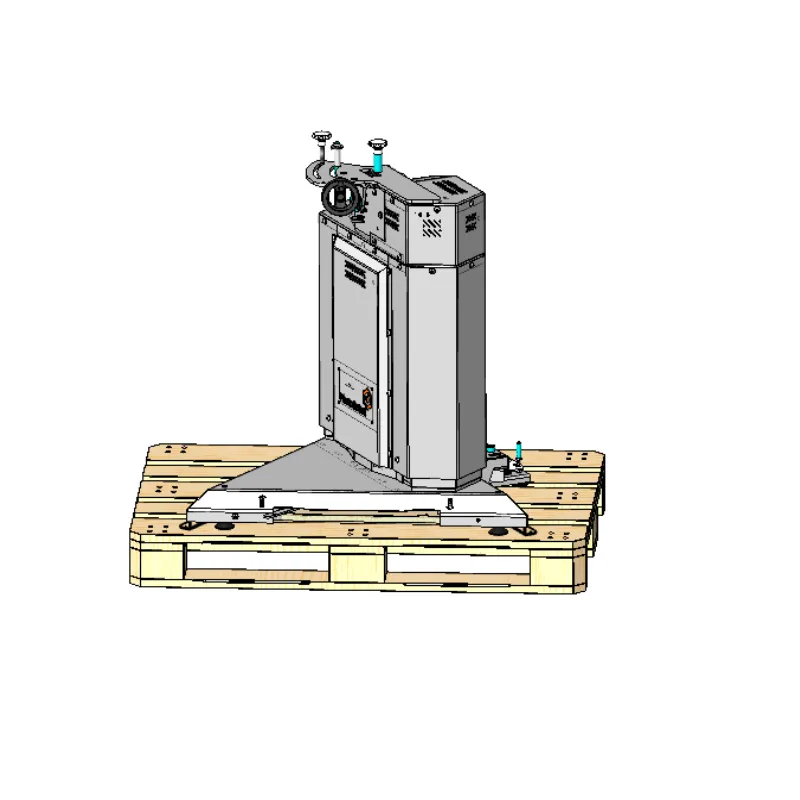
2.2. Unpackage all the parts and remove the base from the palette.
2.3. Configure the top part of the _Arm V8 to mount the shank. Remove the fixing accessories, like the nuts and washer.
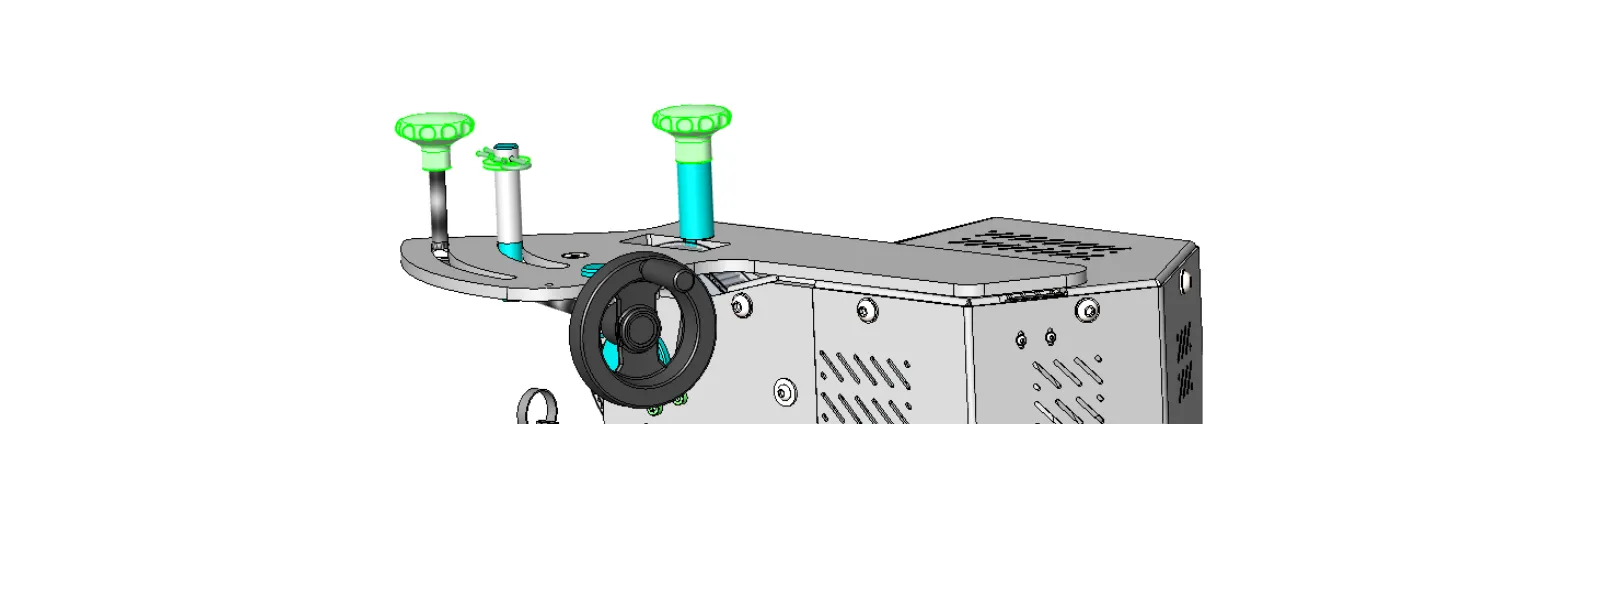
2.4. Position the shank on the Arm base and fasten all the protective parts.
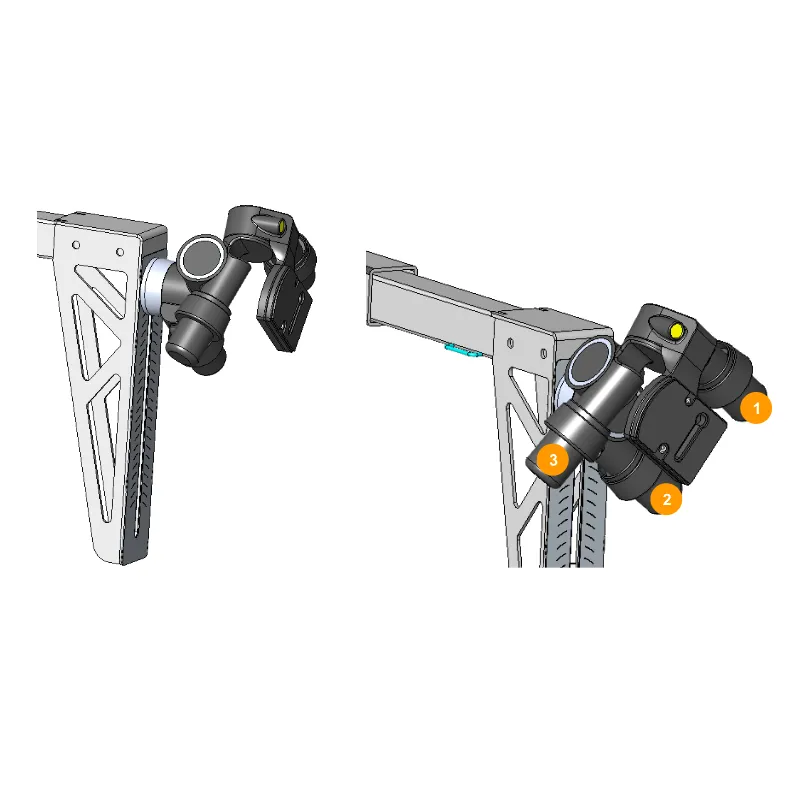
2.5. Retrieve the Manfrotto geared head and prepare it for mounting onto the arm.
2.6. Attach the Manfrotto geared head by screwing it onto the shank, and then level it using the adjustable handles 1,2,3.
2.7. Mount the camera onto the Manfrotto geared head and add some weights onto the opposite side of the shank. These weights should compensate for the camera weight.

2.8. Note that the weight of the camera should prevail slightly in order to push the end switch when the swinging arm is in the bottom position (zero degrees).
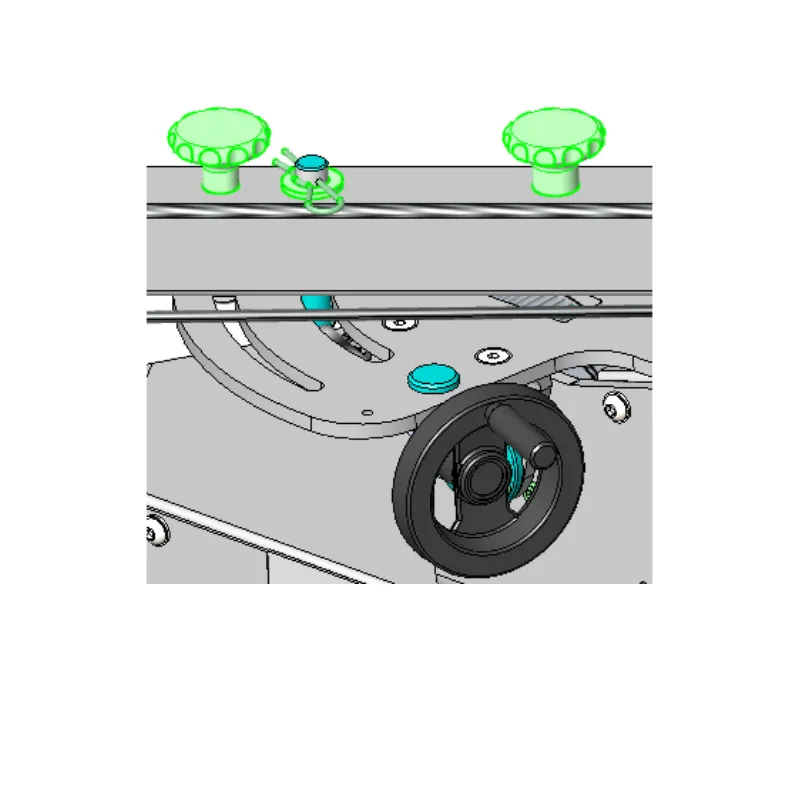
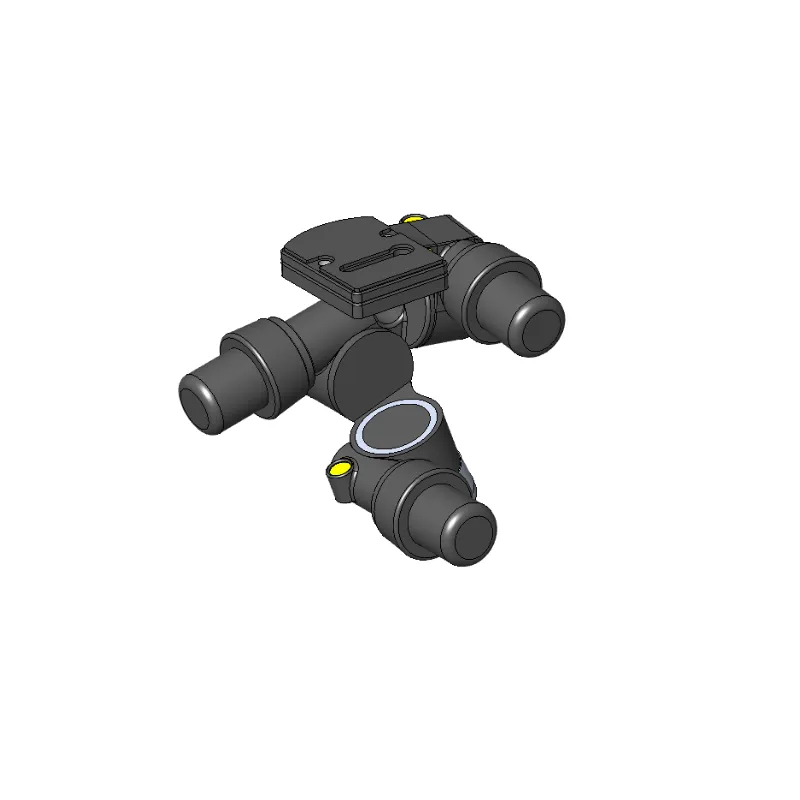
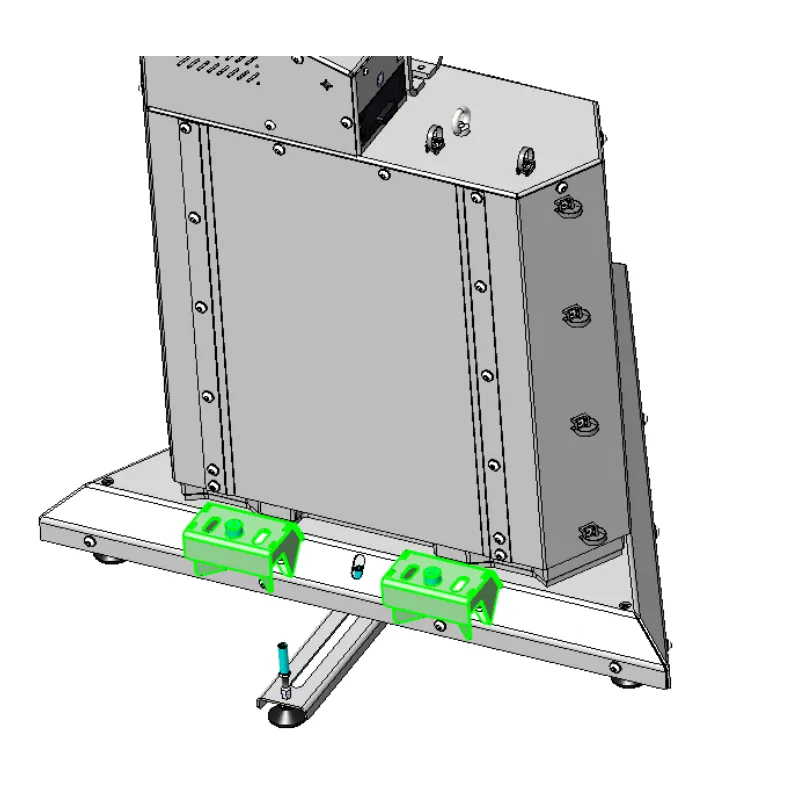
2.9. Mount two docking mechanism parts onto the _Arm V8.
3. PhotoRobot First Use
Before first use, understand the concept of this solution. PhotoRobot is revolutionary all-in-one equipment for automating photography. From a technical point of view, it is a modular unit consisting of hardware and software. It is expected that PhotoRobot itself is connected to the same network as the computer operating it.
Important: Always refer to PhotoRobot First Use & Basic Testing for technical operating requirements and instructions on connecting PhotoRobot to the network.
In general, there are the following prerequisites to meet.
- There must be a PhotoRobot Control Unit connected to the local network.
- A computer is necessary to run service GUI or the operator’s software called _Controls.
- The computer must be connected to the same network as the PhotoRobot Control Unit.
- The network must be connected to the internet.
Check the electricity distribution system parameters, e.g. the voltage and frequency.
Connect the Control Unit to the network via ethernet cable. The RJ45 connector is on the back of the Control Unit. There are the following basic network requirements:
- DHCP server in the network is expected.
- TCP ports 7777, 7778 communication must be allowed.
- UDP broadcasts on port 6666 must be allowed.
- Internet connection is needed.
- *.photorobot.com access must be allowed.
- as-unirobot.azurewebsites.net access must be allowed.
- Refer to PhotoRobot Detailed Networking Prerequisites for more information if necessary.
- Connect the power plug to the power socket.
Press the mains switch on the front panel of the Control Unit. When it changes status from a blinking light to a steady light, it is ready for operation.
3.1. Find PhotoRobot’s IP Address on LAN
There are supporting applications available for searching the network for PhotoRobots.
- Windows - frfind for Windows
- Mac OS X - frfind for macOS
- Android - PhotoRobot Locator in Google Play
- iPhone, iPad - PhotoRobot Locator on iTunes
3.2. Basic PhotoRobot Testing
On a computer, open a web browser and enter PhotoRobots’ IP address in URL format, for example: https://11.22.33.44 (please mind, this address is just an example – enter the IP address you found in the above section).
If everything works as expected, you will see a basic user interface similar to the graphic below:
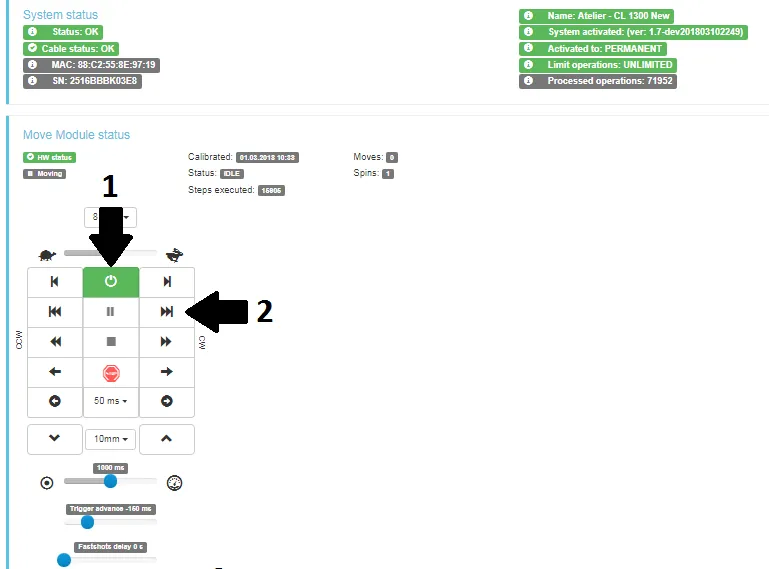
Turn on the engines (arrow 1), and try to operate any movable part of the robot (arrow 2). If the robot moves based on your instructions, you are ready to use your PhotoRobot device regularly.


EOS Rebel Series


EOS DSLR Series


EOS M Mirrorless Series


PowerShot Series


Close-Up / Handheld

The Canon EOS Rebel Series offers beginner-friendly DSLR cameras with solid image quality, intuitive controls, and versatile features. Ideal for photography enthusiasts, these cameras provide reliable autofocus, vari-angle touchscreens, and Full HD or 4K video recording.
Connection
Resolution (MP)
Resolution
The Canon EOS DSLR Series delivers high-quality images, fast autofocus, and versatility, making it ideal for both photography and video production.
Connection
Resolution (MP)
Resolution
The Canon EOS M Mirrorless Series combines compact design with DSLR-like performance. Featuring interchangeable lenses, fast autofocus, and high-quality image sensors, these cameras are great for travelers and content creators seeking portability without sacrificing image quality.
Connection
Resolution (MP)
Resolution
The Canon PowerShot Series offers compact, user-friendly cameras for casual shooters and enthusiasts. With models ranging from simple point-and-shoots to advanced zoom cameras, they provide convenience, solid image quality, and features like image stabilization and 4K video.
Connection
Resolution (MP)
Resolution
The Canon Close-Up & Handheld Cameras are designed for detailed, up-close photography and video. Compact and easy to use, they offer precision focus, high-resolution imaging, and versatile macro capabilities—perfect for vlogging, product photography, and creative close-ups.


