Fashion Product Photography Styling Tools & Accessories
In this fashion product photography styling tutorial, we share essential tools and techniques of fashion stylists and product photographers.
10 Tools for Product Photographers and Fashion Stylists
Product photographers and fashion stylists have a wide range of tools they use in the studio. From styling clothes for flat lay to ghost mannequin photography, styling tools are essential to making garments look their best. In this tutorial, we’ll share what tools you should have and how to use them when photographing fashion products.
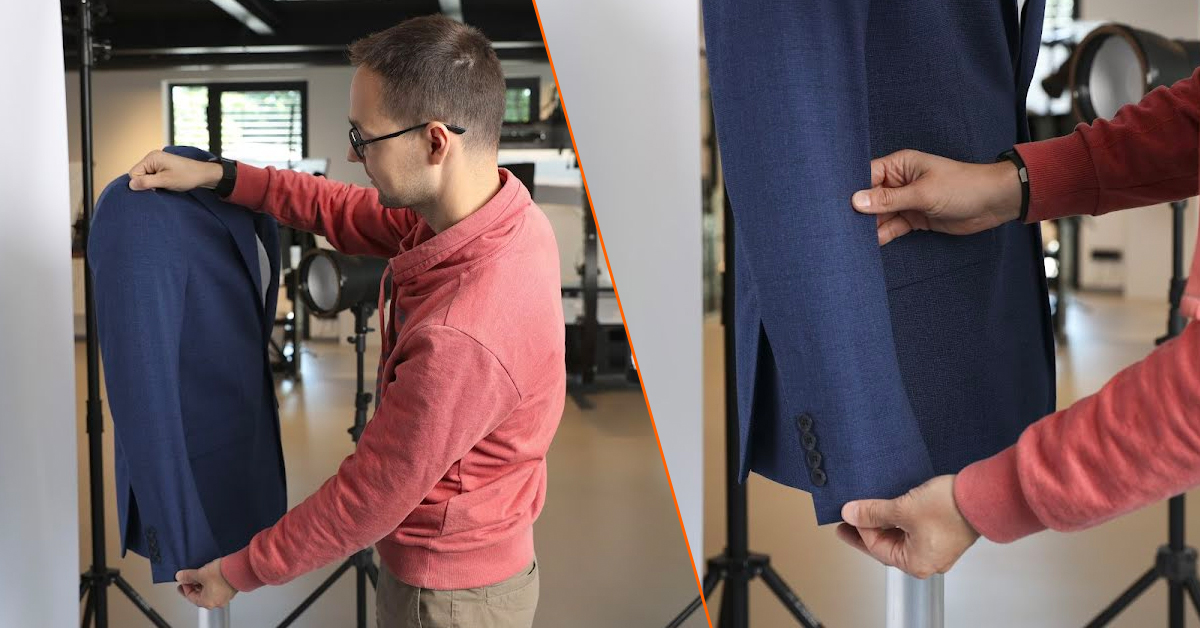
Overall, styling is how brands distinguish themself from the competition. It is one of the most important parts of fashion product photography. Styling clothing, especially when photographing on a mannequin, makes clothing look more “full-bodied” and highlights finer details of garments.
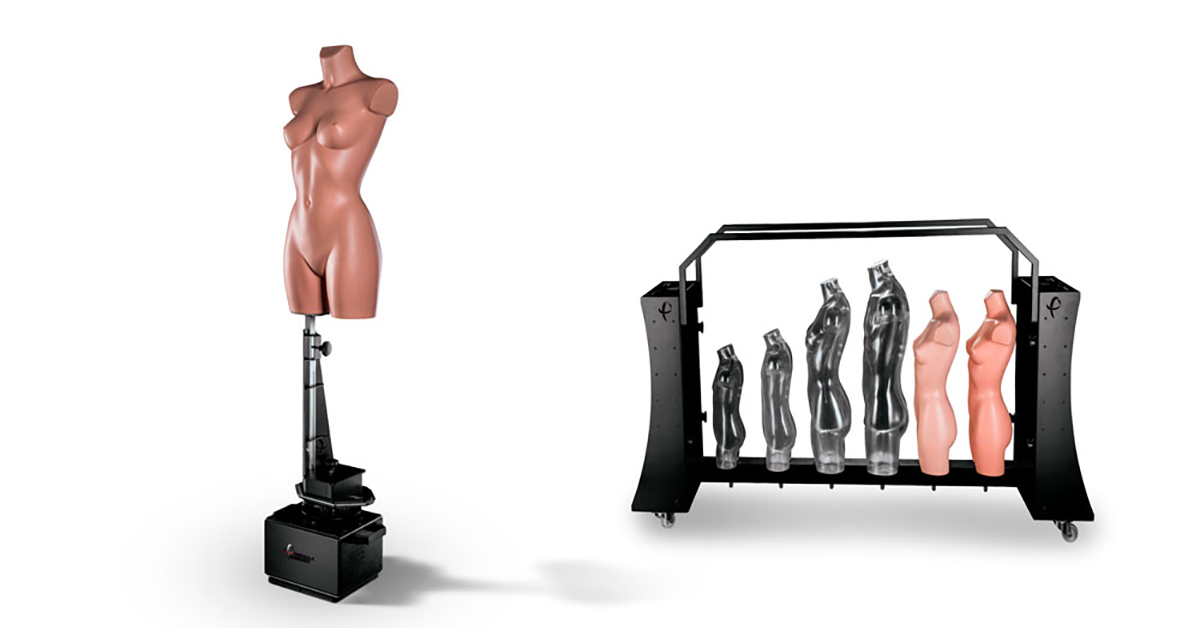
PhotoRobot’s_Cube was designed specifically for this approach, with a system for quick mannequin exchange. It streamlines studio workflow, and provides photographers and fashion stylists more time to ensure products are perfectly styled and shot.
Join us to learn which 10 tools product photographers and fashion stylists should always have on hand. Find our styling tool checklist, including techniques to use with the_Cube in all your fashion photography.
The Essential Product Styling Toolbox
First, let’s go over the checklist of essential styling tools every photography studio needs. Then, we’ll describe techniques to use these tools to ensure garments always look their best in your product photos.
- Styling Clips - Crocodile clips, binder clips, snap clips, and more.
- Sewing Pins - Fastening pins, bobby pins, safety pins, etc.
- Various Types of Tape - Masking tape, double-sided, gaffer, cellophane, etc.
- Blue / White Sticky Tack - Any semi-permanent adhesive.
- Tissue Paper - For stuffing areas of the garments.
- Scissors - Preferably fashion scissors.
- Invisible Strings - Fishing line / string.
- Suede Brush - For removing blemishes from products and the scene.
- Lint Remover - Any will do, either a fabric one or self-adhesive.
- Measuring Tape - Tailor’s tape.
1 - Styling Clips
Clips are useful when you have excess fabric you need to hold in place. It might be for example with a form-fitting, sheer fabric dress that doesn’t perfectly fit the mannequin. Often, we have to use clips with sheer fabric, as pins simply won’t hold the material firmly enough.

Use styling clips vertically on the sides or front / back of clothing to pull fabric taut without creating wrinkles. Use clips together with styling pins to shape and style clothing according to your brand’s style guide.
2 - Pins to Fasten Clothing
Styling pins are often most useful when photographing clothing from different angles or in 360 degrees. Pins are easier to hide from the cameras than clips during photography. Use bobby pins or safety pins to help fit the clothes to the mannequin or even a hanger.

Simply pin the fabric from underneath to make the pins nearly invisible. Often, we use pins in the back and shoulder areas of clothing to give it a more sleek, form-fitting appearance.
3 - Various Types of Tape
Next, there are many different types of tape every fashion stylist uses. Among the most useful is perhaps double-sided tape, which we use to hold clothing to a mannequin. This gives clothing a more fitted look, and we often use double-sided tape for straightening hems or sleeve cuffs.

If double-sided tape doesn’t do the job, more heavy-duty tape such as gaffa tape is useful. However, the only concern is the residue gaffa tape can leave on clothes. You might want to first try masking tape, as this often doesn’t leave as much of a mark when removing.
4 - Blue and White Tack
Another essential tool for stylists is blue or white tack adhesive. White tack often leaves less residue, and can appear nearly invisible in final photos. It’s very useful for products such as handbags, particularly when styling the strap to fit neatly in images.

Use tack when clips and pins can’t hold the clothing in place. However, do remember to be careful of leaving residue behind or ruining the fabric.
5 - Tissue Paper
To give clothes a more “worn” or “full-bodied” look on a mannequin, tissue paper is also great for styling. Simply stuff areas of the garments that need more rounding out. This might include the lower hem line of trousers, or areas of fabric that extend beyond the mannequin.

Padding clothes with tissue paper is also a useful styling technique for tabletop photography. Give fabric more curves or angles for a better appearance. Use padding in combination with clips, pins, and other styling tools to give more volume and life to product photos.
6 - Scissors
Fashion scissors - thanks to their sharpness, size, and shape - are perfect for tidying up loose threads and labels. Simply do a little clipping where necessary to prep garments before a photoshoot.

However, be cautious to only use fashion scissors for their intended purpose. Don’t attempt to cut up paper or tape, as fashion scissors can quickly lose their edge. They are designed only for precise, sharp cutting, and are useless when dulled.
7 - “Invisible” Strings
Fishing line / string is another often-used tool for styling clothes. It makes it easy to hang garments in the air without any visible strings in photos.

Hang garments on fishing line to make clothes appear to levitate, or to suspend things like a handbag’s straps. Thanks to how fine the string is, often it never shows up in the cameras. If it does, all it takes is a little editing to remove from final images.
8 - Styling Brush
To get unsightly blemishes out of final shots, having a stiff brush in the studio is useful. Use the brush to clean fabric, erase fingerprints, or to even out fabric like suede and fur.

Just be sure to always use gentle strokes with your brush so you don’t ruin the material of the clothing.
9 - Lint Remover
Another essential tool for styling clothes is a lint remover. Lint rollers will help you eliminate dust, lint, and dirt from your fashion products. Always run products through a lint roller before the photoshoot, just after steam cleaning.

Especially useful for darker products which need high exposure to capture finer details, lint rollers do the trick. They ensure the fabric looks pristine and free of any dust, lint, or specks of dirt.
10 - Measuring Tape
Finally, no fashion stylists’ toolset would be complete without tailors’ measuring tape. Also known as “sewing tape”, use this to attain all the measurements shoppers need in their search for the best garments. They want to know waist lines and chest sizes, shoulders, neck cuts, and arm & sleeve lengths.

Having tape on hand also helps for planning photoshoots, and when choosing the best mannequin for the job. There are a wide range of mannequins on the market, available in nearly all sizes and shapes. Plan to shoot batches of similar size clothing to streamline studio workflow for your stylists and for photographers.
For more product photography resources
If you found this tutorial useful and want to learn more about PhotoRobot, follow us on LinkedIn and YouTube. We regularly share eCommerce product photography blogs, guides, tutorials, and videos to keep you up-to-speed with PhotoRobot and the industry. From fashion product photography to shooting objects of any size (including cars & heavy machinery), PhotoRobot has tools for the job.


