Ghost Mannequin Photography on a Tight-Fitting Dress
Using PhotoRobot’s Cube with our advanced software for automation and control, we demonstrate ghost mannequin photography on a fitted dress.
How to Capture a Ghost Mannequin Effect on a Fitted Dress
This tutorial demonstrates how to photograph a tight-fitting sleeved dress on a ghost mannequin with PhotoRobot. Today, we’re doing ghost mannequin photography on fitted dresses with the_Cube and our software for automation and control.
Using a ghost mannequin, you can photograph a fitted dress so it appears as if an invisible model is wearing it. While it is possible to use flat lay photography on dresses, using a hanger or a live model, it doesn’t have the same visual effect online.
Dresses photographed on a ghost mannequin appear to tightly curve around an invisible figure, giving it a full “body” and accentuating contours. This provides customers to your online fashion store a powerful way to visualize how the garments would look on them.
Continue reading for a complete walkthrough of the process. We’ll show you how to photograph a fitted dress on a ghost mannequin, including what cameras, lighting, and equipment to use.
Photography Equipment and Editing Software
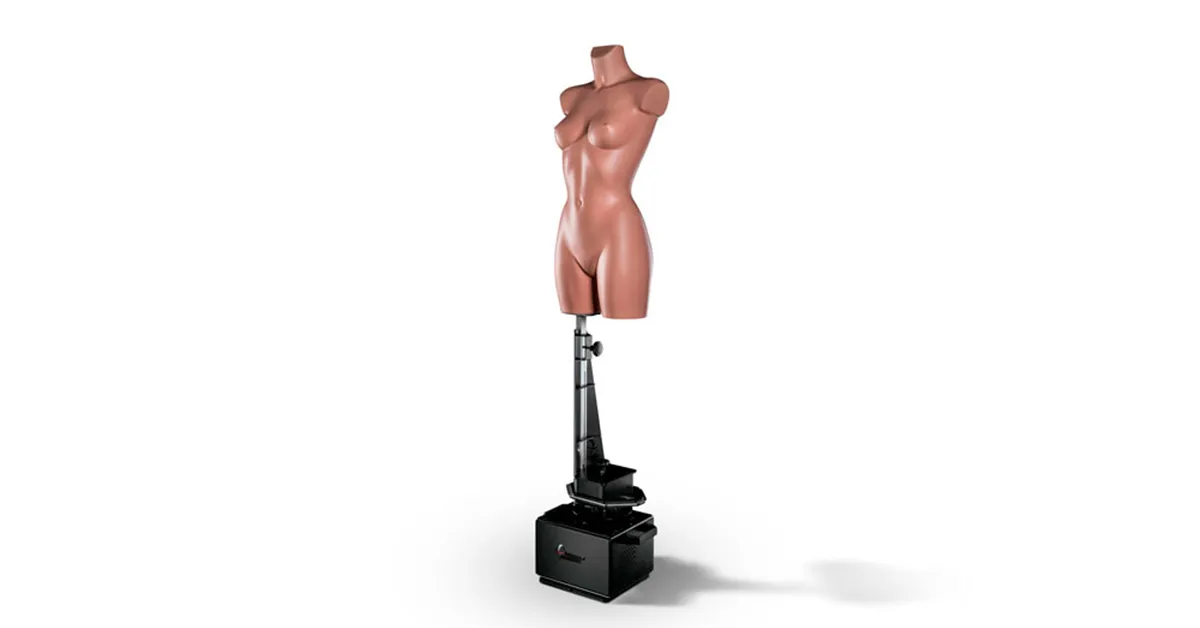
At the heart of our setup for ghost mannequin photography, we have the_Cube. With this solution, we have a system for quick mannequin exchange, and software for streamlining post processing. These ensure optimal workflow no matter the volume in the photography studio.
Then, in PhotoRobot_Controls, we have functions for style guides along with Chromakey for automatically removing mannequin poles from final images. Chromakey also automates the process of combining “composite” photos to create the ghost mannequin effect.
Beyond these, you’ll also need the following.
- Camera - Our systems support both DSLR and mirrorless Canon cameras, and we always recommend higher-end models for professional product photography.
- Studio lighting - We utilize both strobe lighting and LED panel lights to create the ideal exposure, shadows, and contrast from all angles.
- A reflector - If necessary, you can direct light into different areas of the dress with a bright, reflective surface.
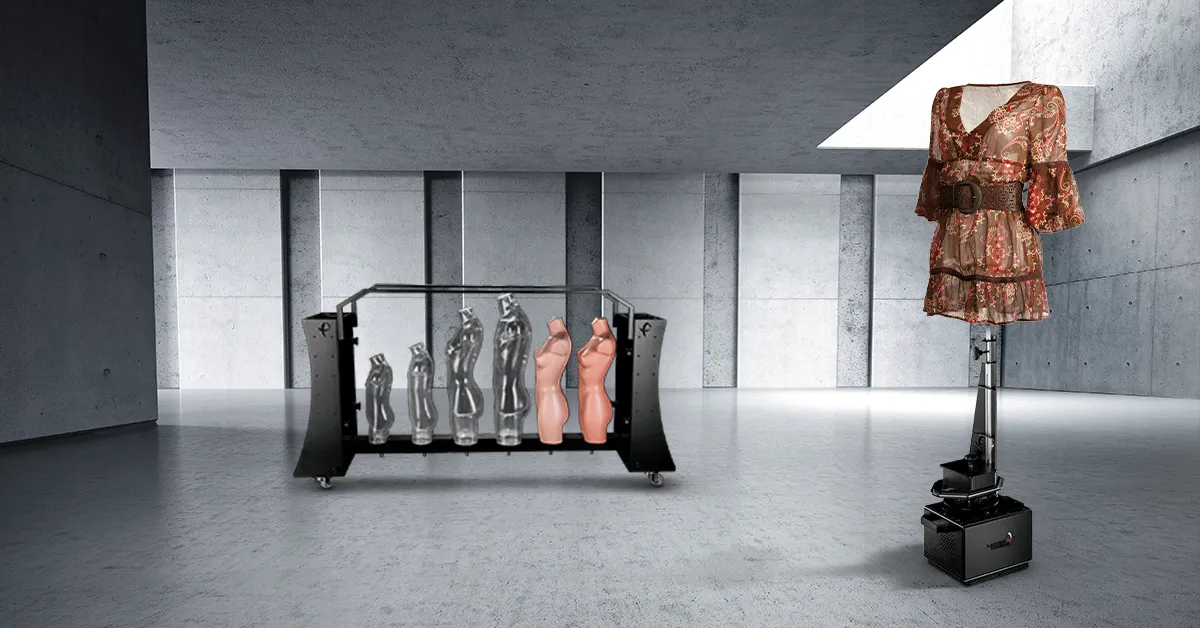
- Ghost mannequin - Here, we use our quick-exchange mannequins. These provide us a way to prepare another torso off to the side at the same time we photograph styled mannequins.
- A fitted dress - Today, we’re photographing a tight-fitting sleeved dress, but the process will be the same with similar garments.
- Styling accessories - Finally, no fashion photography operation is complete without tools such as pins and clips for styling the mannequin.
How to Style Your Fitted Dress on a Ghost Mannequin
1 - Choose the best size mannequin for your garments
Getting started, your first order of business will be choosing the best ghost mannequin for the task on hand. Choose a mannequin that closest fits the size and the shape of the dress you’re photographing.
Keep in mind that with photography of fitted dresses, you will always have some work to do in post production. This is because you need photos of the dress inside and out, including the inner label areas of the garment.
Thankfully, using a ghost mannequin drastically reduces the time you’ll need for photography and for post processing. Removable pieces like the arms, neck, and chest make it easier to style a dress to neatly taper and contour around the mannequin.
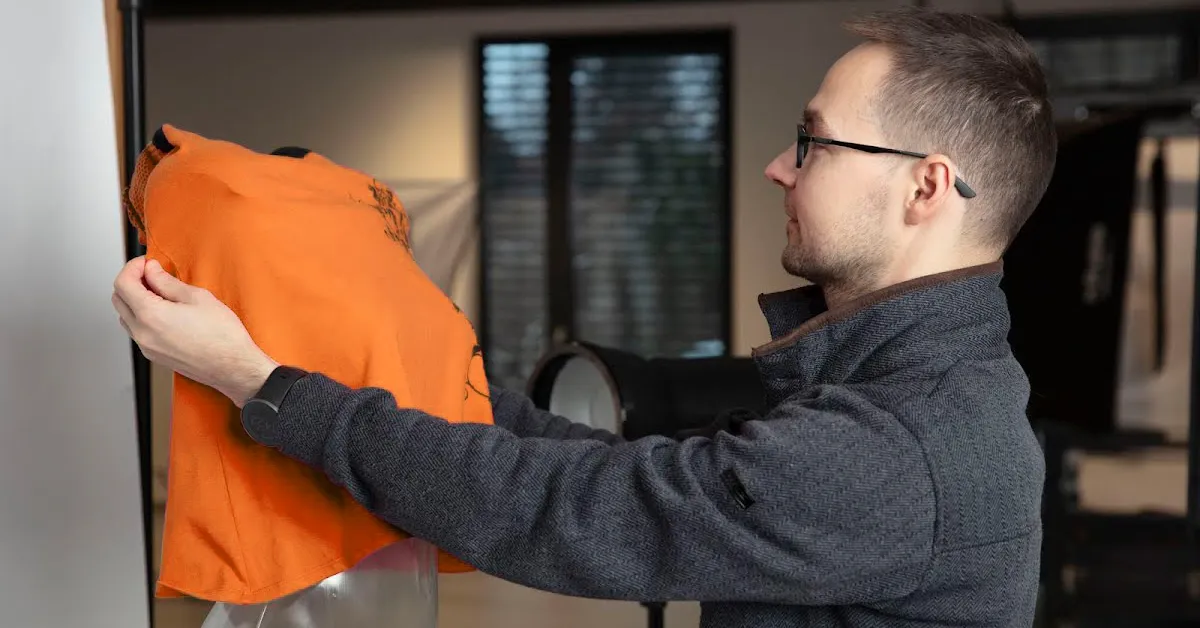
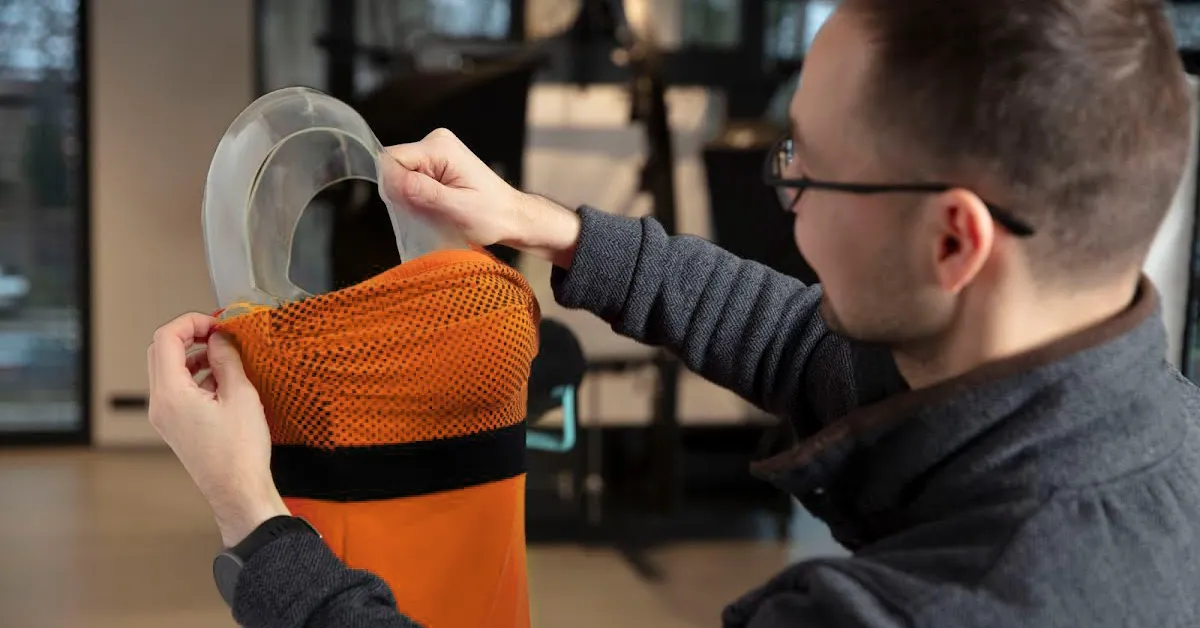
2 - Fit your dress neatly onto the mannequin
Now that we have our mannequin, start by removing its arms. Then, pull the dress neatly down over the mannequin’s shoulders. You’ll want to be very gentle with the garments. Ensure that you don’t stretch the fabric or create any creases.
Carefully smoothen the shoulders, and then reattach the arms onto the mannequin. Be cautious not to pinch any of the dress between the arms. You don’t want any blemishes online shoppers might spot on the shoulders or sleeves of the fitted dress.
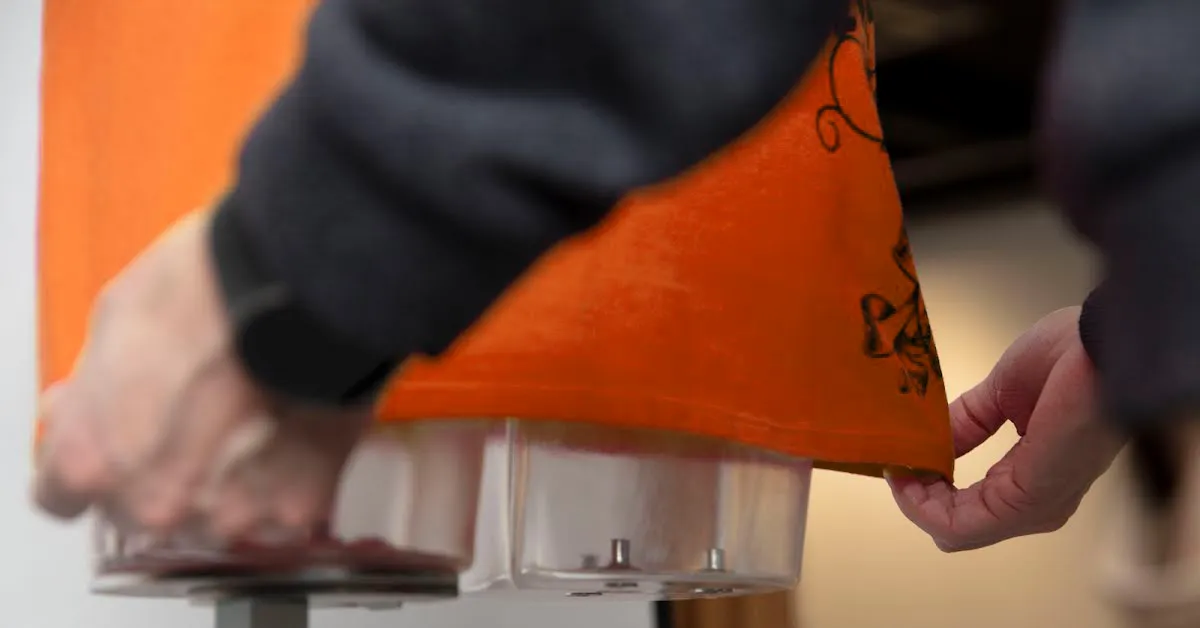
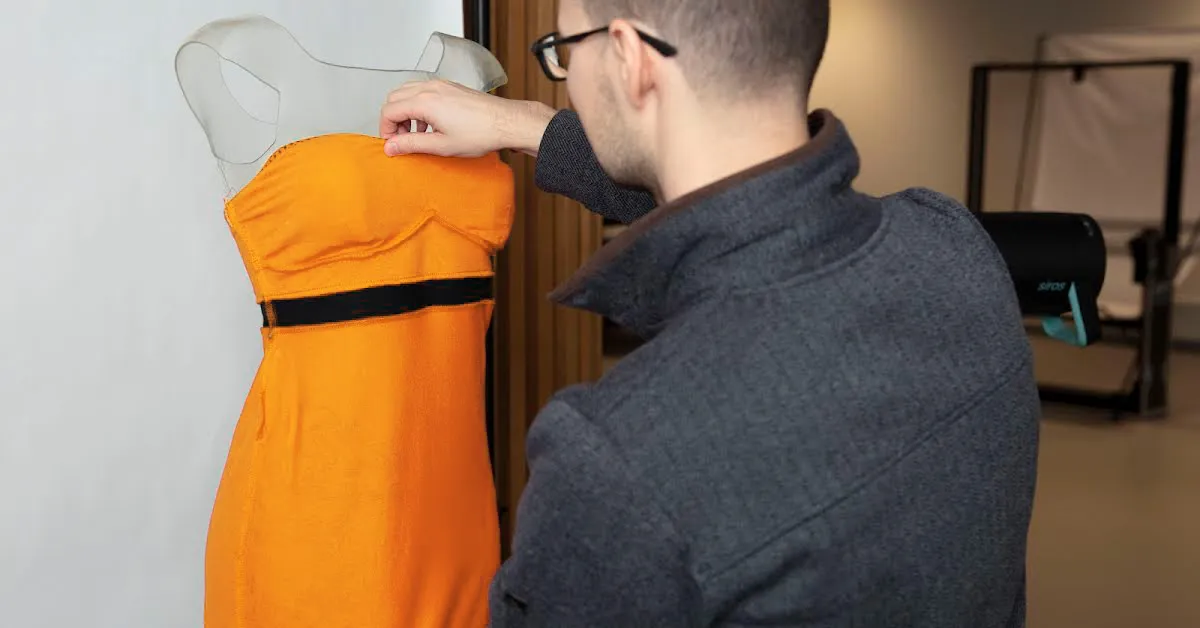
3 - Prepare the mid-section and sleeves
In the next step, it’s time to style the dress to perfectly fit the curves of our ghost mannequin torso. We need to prepare the dress exactly how we want it to look online. Moreover, it needs to be ready for photographing in a way that ensures less need for retouching final images.
To do this, pull the dress neatly and taut down the mid-section of the mannequin. If you need more surface area, simply extend the torso by wrapping a layer of tape around the naval area. This will create space to ensure the dress doesn’t hang loosely off the torso.
Similarly, when styling the sleeves, we have to bring them to life with the “invisible person” effect. Stylists can do this by padding the sleeve cuffs where they hang off the arms with wadded paper or tissue. This prevents the sleeve-ends from looking flat to the cameras, making the wrists appear more round from all angles.
4 - Use lighting to showcase fine details
In preparation for the photoshoot, the next order of business is the studio lighting. Optimal lighting will direct enough light onto the dress to showcase its finer details, with exposure set appropriately for light or dark clothing.
Here, you are working with both light and shadows. Photographers need to capture the contours of the dress as it curves around the mannequin. Aim lights so that together with the shadows they create the 3D effect you want in your final images.
This is when something to reflect light into hard-to-reach places might be necessary. Using a light reflector, you can spotlight distinguishing features of the apparel, or control shadows around areas like the shoulders and waist.
5 - Lights, Camera, Action
Almost complete, we are now able to move to our control station to begin photographing our fitted dress. Here, the process takes no time and becomes routine on any torso.
- Set the lighting and exposure according to the dress, ensuring consistent shadows and contrast.
- Capture given angles (using predefined positions).
- Separate the background on all images.
- Retouch the pole of the standing torso using PhotoRobot’s manual or automated Chromakey retouch feature.
6 - Photograph the dress inside-out to create final images
In no time at all, you’re ready to composite final images of the dress. Doing this is simple, requiring little styling other than flipping the dress inside-out and redressing the mannequin.
There’s no worry about styling the mid or lower sections of the dress. All you need to photograph is the inner label area on the neck.
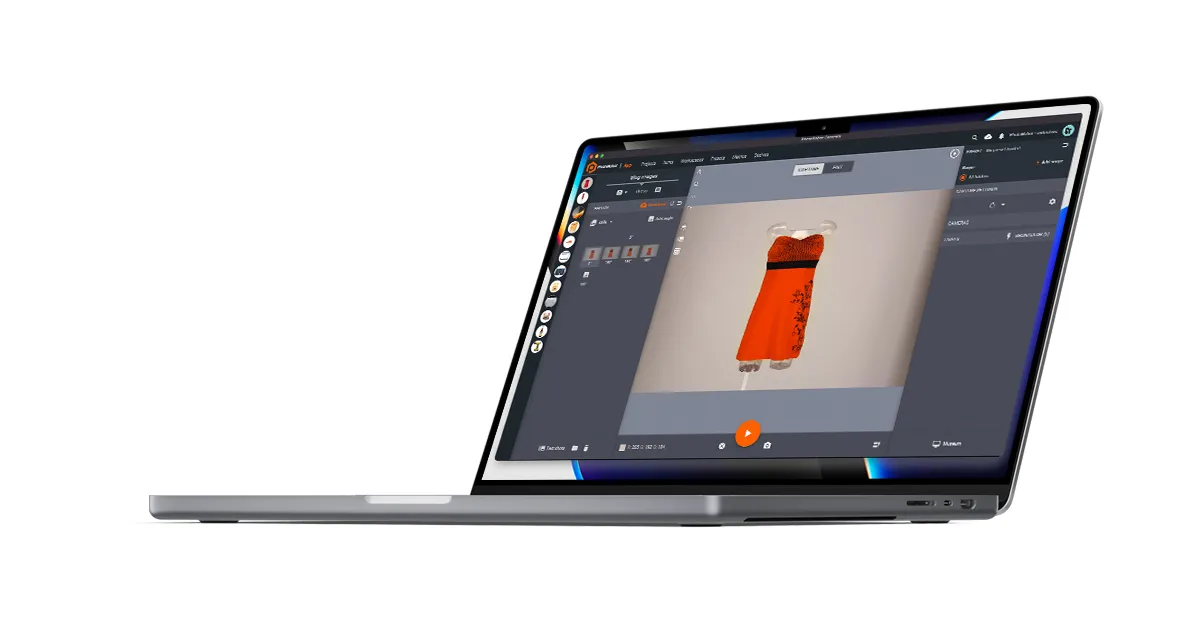
Again, dress the mannequin, keeping the same lighting and exposure settings, and move to the control station. From here, PhotoRobot_Controls allows you to automate the image capture, composite the two sets of photos, and post process for the ghost mannequin effect.
The Resulting Ghost Mannequin Effect

For more automated photography techniques and tutorials
This is part of our ongoing tutorial series on ghost mannequin photography with PhotoRobot systems. To read more, be sure to follow us on Facebook, LinkedIn, and YouTube. Also sign up for our Photography Newsletter below. We regularly share blogs, tutorials, and videos to keep you updated on everything happening in the industry. Follow us today for more resources, whether it’s photographing dresses or it’s product photography of any type or scale.


