What’s New in the November PhotoRobot Software Release
November brings the latest software release, showcasing new tools and features for freemask support, product videos, and auto tilt correction.
November Software Release - New Tools & Features
The latest release in PhotoRobot_Controls delivers new tools & features for background removal, photo tilt correction, and product videos. In this post, we’ll share what’s new, and how to deploy these solutions in the photo studio.
PhotoRobot_Controls is the software package for complete automation of all 360 product photography and digital asset management. Command robots, turntable rotation, cameras, lighting, post production, and more. All from a single interface and with configurable presets you can save and use again & again to streamline studio workflow.
Read on to discover the latest tools and tricks now available in this release. We introduce freemask support for background removal, automatic image tilt correction, and timelines for automation of filming product videos.
1 - Freemask support - background removal
When removing the background from product photos, freemask is one of the quickest and most exact methods. Creating an accurate and homogenous mask image, we reduce the amount of cut-out work after production to a minimum.
We create the mask during the picture taking process. Here, we capture two pictures: the main photo, and the mask picture. The main image we create by lighting only the product, whereas in the mask image we light only the background.
This back-lit shot serves as a pixel-exact mask within post production. With this, the software estimates and suggests a color threshold which will be dark enough to represent the object.
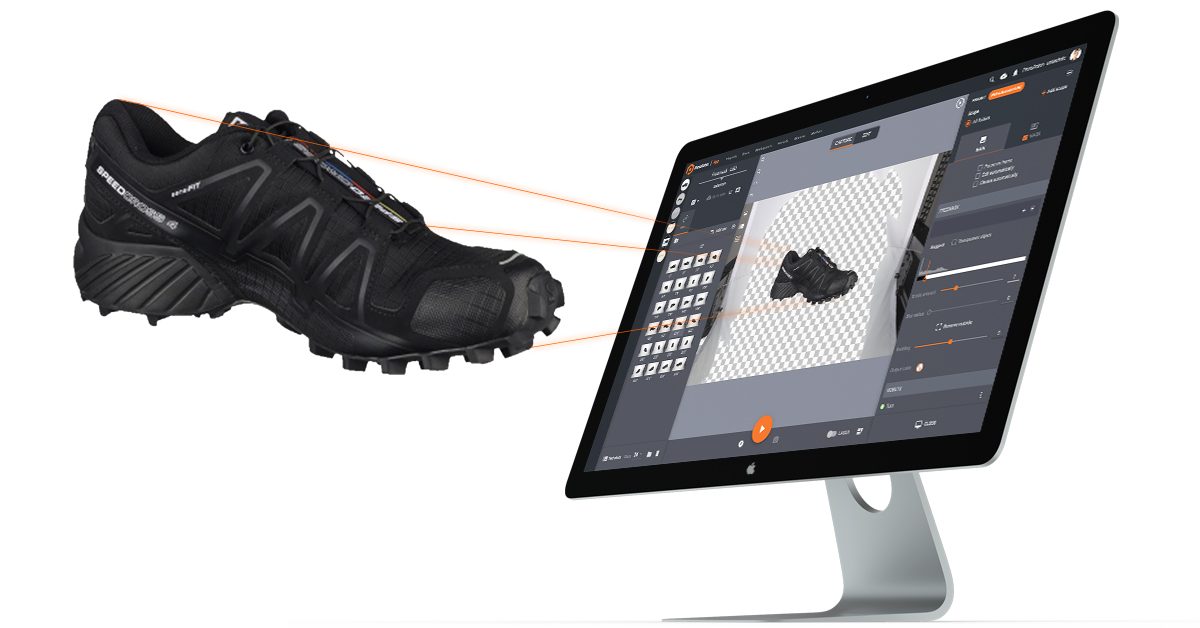
Anything lighter than the threshold registers as background, and users automatically get a mask to apply to the main picture. The software automates all of this, from capture to post production. Users can then place the cut-out object onto a new color of their choosing.
Removing the Background from “Difficult” Objects
Some objects, like those with reflective surfaces or areas with empty space, make background removal without freemask almost impossible. For example, see a mask image of a steel, wire basket we captured below.
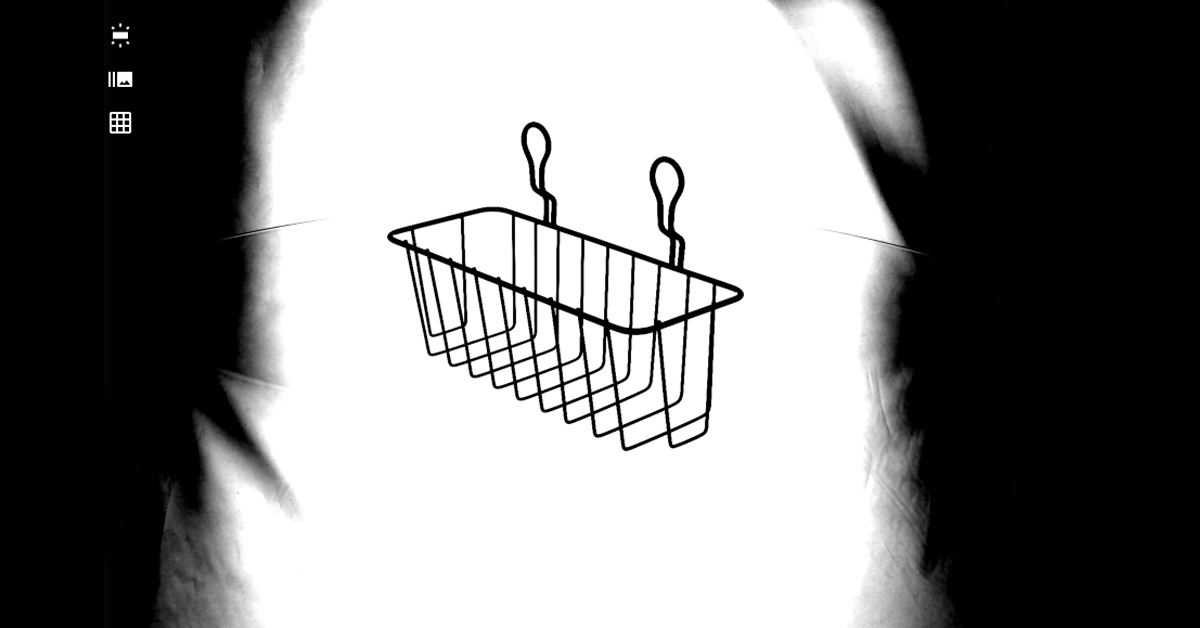
We use this cut-out mask to remove both the glass plate of the turntable and the backdrop from photos. The software distinguishes the product from all empty space, and removes the background inside and around the basket. We then composite the main picture and the mask image to produce final photos.
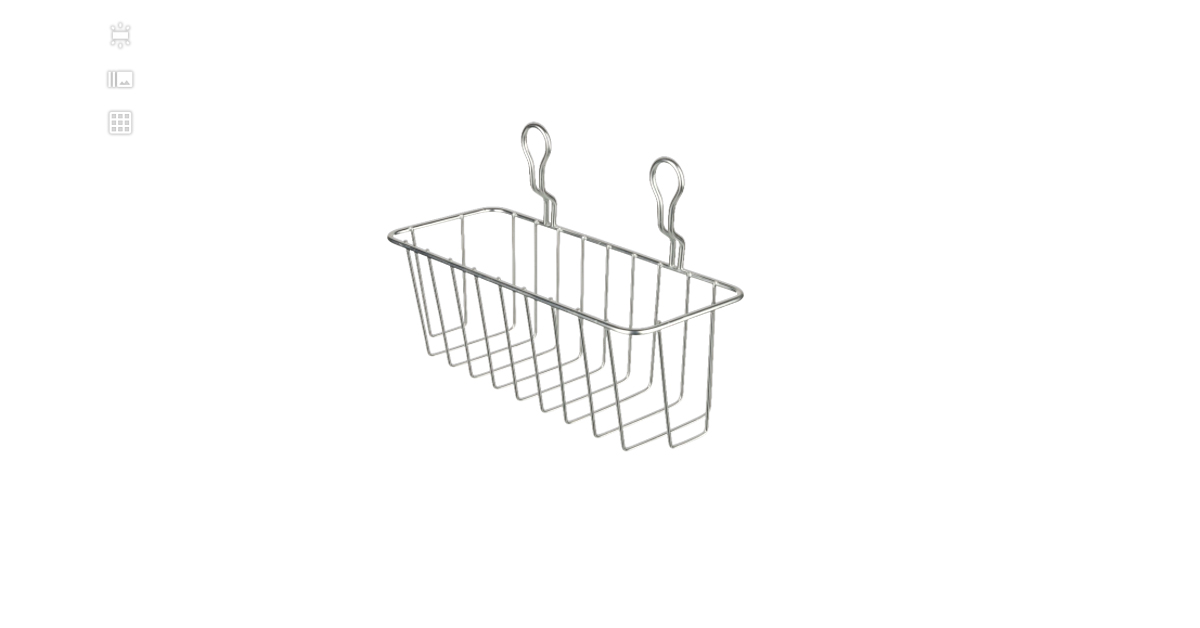
Notice how precisely the background is removed without any effect on product edges or sharpness. We’ve done this across the entire item folder containing 24 photos of a spinset, all in under a minute. Users can make the background semi-transparent, or replace it with a color suitable to their brand style.
Background Removal from Transparent Objects
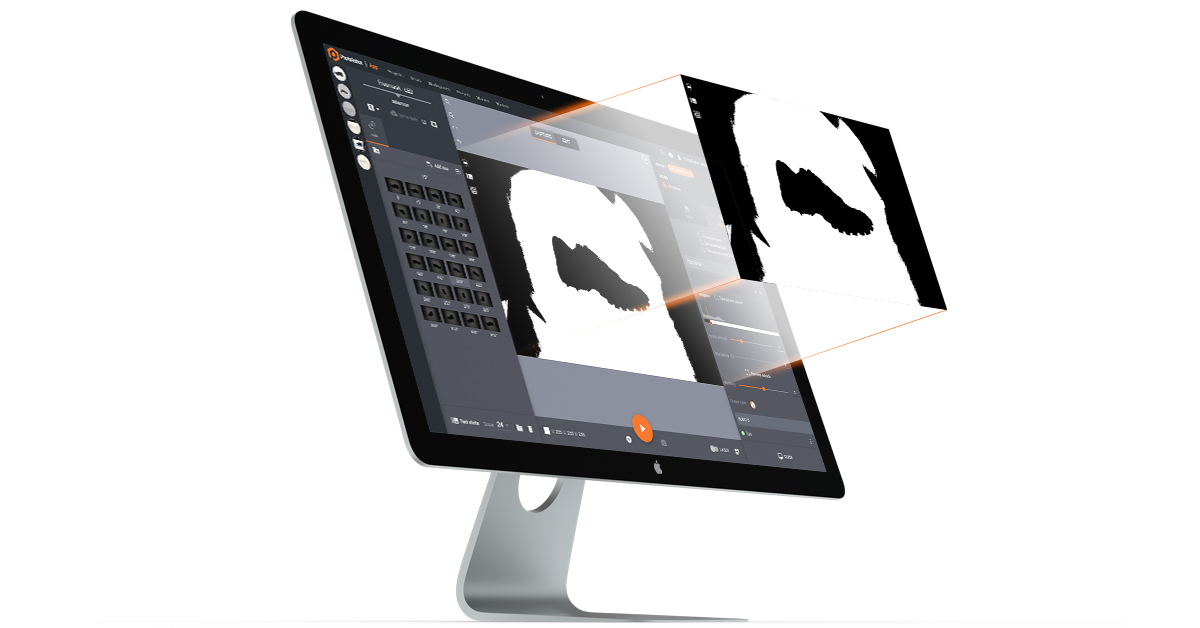
Our capture & control software even has freemask support for transparent objects. Set half transparency with a threshold of three values: black, white, and gamma. Anything below the black point registers as the product.
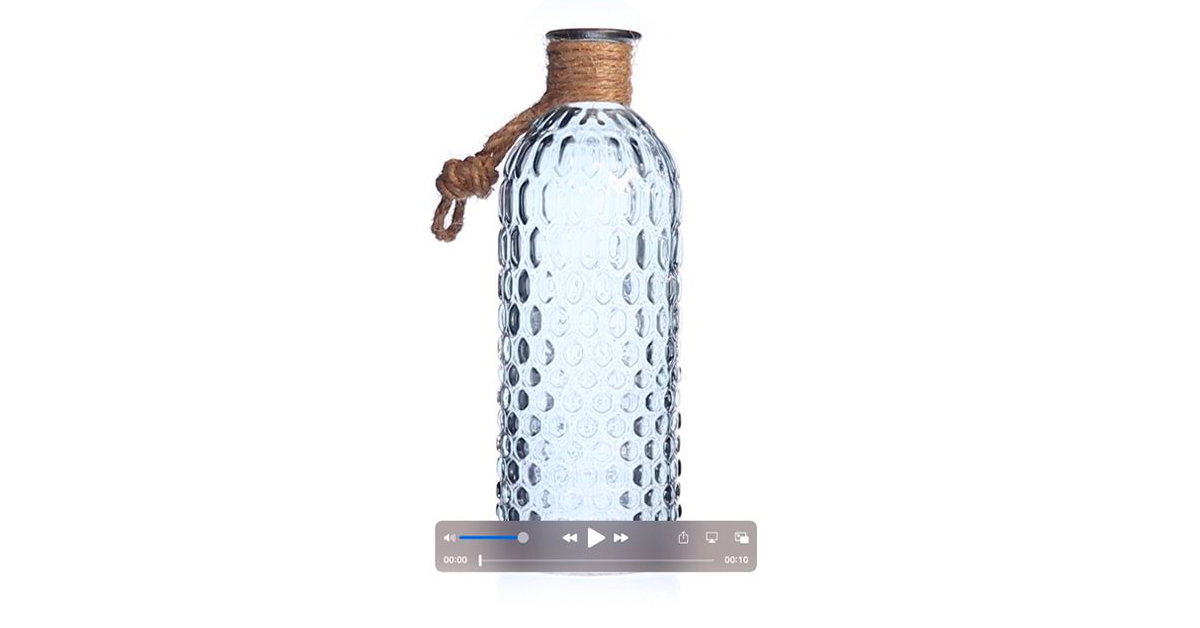
Everything above the white point becomes the background. Variables between these two points are made transparent, however not completely so. Experiment with different thresholds and then automate background removal on even the smallest structures, details, and transparencies.
2 - Product Video “Timelines”
November’s software release also brings with it a brand new “Timeline” feature to automate the filming of product videos. Now we can define when and how to move robots when recording - all from a single interface.
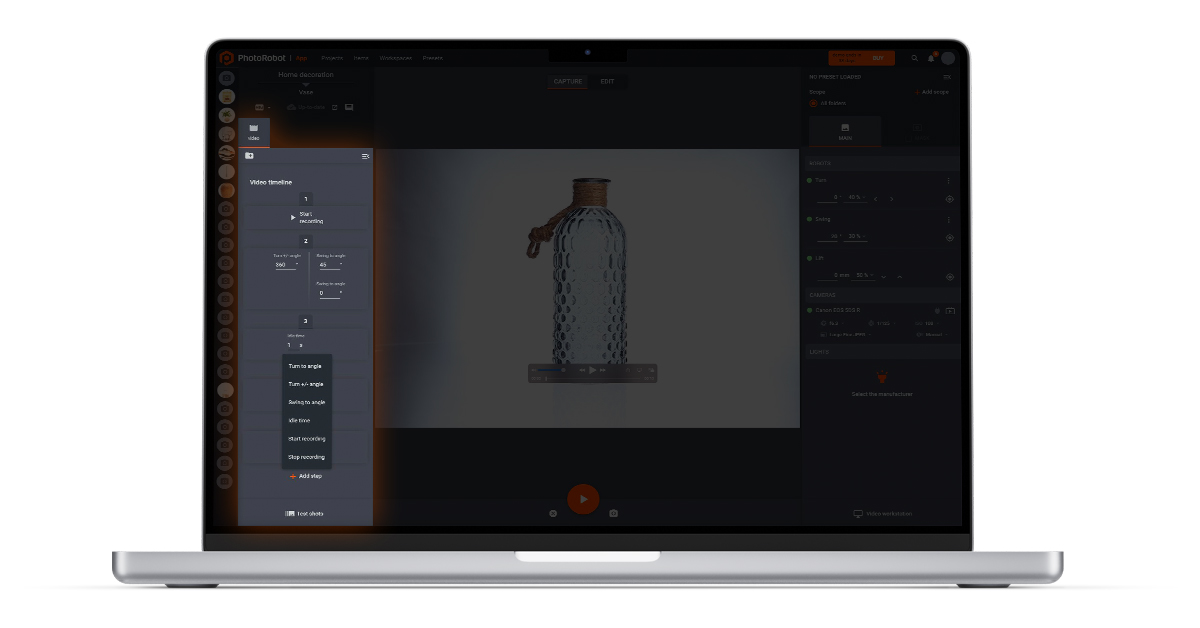
Set commands to direct movement including the camera arm, turntable rotation and lighting from one millisecond to the next. Direct the camera arm to start, pause, stop, turn, swing and lift. Tell the rotary glass plate the timing and which angles for product rotation.
You define the movement and angles for each robotic process, and simply press record. The software then follows instructions down to the second, automating robotic processes to film the desired video.
Deploy Timeline automation to create for example the flying camera effect. This visual effect makes the camera hover around and above a product rotating 360-degrees. Program each movement for the effect on the timeline, and take complete control over product videos with robotic precision. Then, save settings to reuse again and again as configurable “Presets”.
3 - Auto Tilt Correction (packaged products)
Finally, November also delivers a new editing tool for auto tilt correction on product photos of packaged goods. This tool is particularly effective for grocery product photography in accordance with GS1 image specifications.
When photographing boxed products, GS1 images provide product information such as ingredient lists and nutritional facts. The standard GS1 image package includes views of the packaging, the labels, and any barcodes.
One part of a GS1 package consists of planogram images, which display a box from the front, back, sides, top, and bottom. However, sometimes when photographing these angles, it’s not always easy to shoot the box perfectly. This is when we deploy auto tilt correction.
This new editing tool detects the position of boxed products in photos, and automatically corrects any tilt in final images. Automate tilt correction across entire items, and ensure every deliverable is perfectly straight in photos in only a few clicks.
Automation at Your Command: PhotoRobot_Controls
Discover more product photography solutions and editing tricks with PhotoRobot today. Follow us on YouTube and LinkedIn, or sign up for our Product Photography Newsletter below. We regularly share blogs, tutorials, updates, and videos to help others get the most out of their product photography.


