360 Product Video Production in PhotoRobot Controls App
This PhotoRobot User Manual describes how to create a 360 product video in PhotoRobot Controls App (further referred to as “CAPP”).
Before creating a new video, users must have set up a PhotoRobot Workspace in CAPP, and created at least one Item, and one Folder. The Capture mode interface then grants user control over PhotoRobot hardware and cameras to automate image and video capture.
Note: Shooting video is the only case in which you must use a memory card in the camera. Please leave the camera in Manual mode for this (see PhotoRobot Camera Configuration: “General Camera Settings - Step 1”). The camera will then be switched to the correct mode for shooting video automatically from PhotoRobot Controls software.
1 - Create / Open a Project and Item
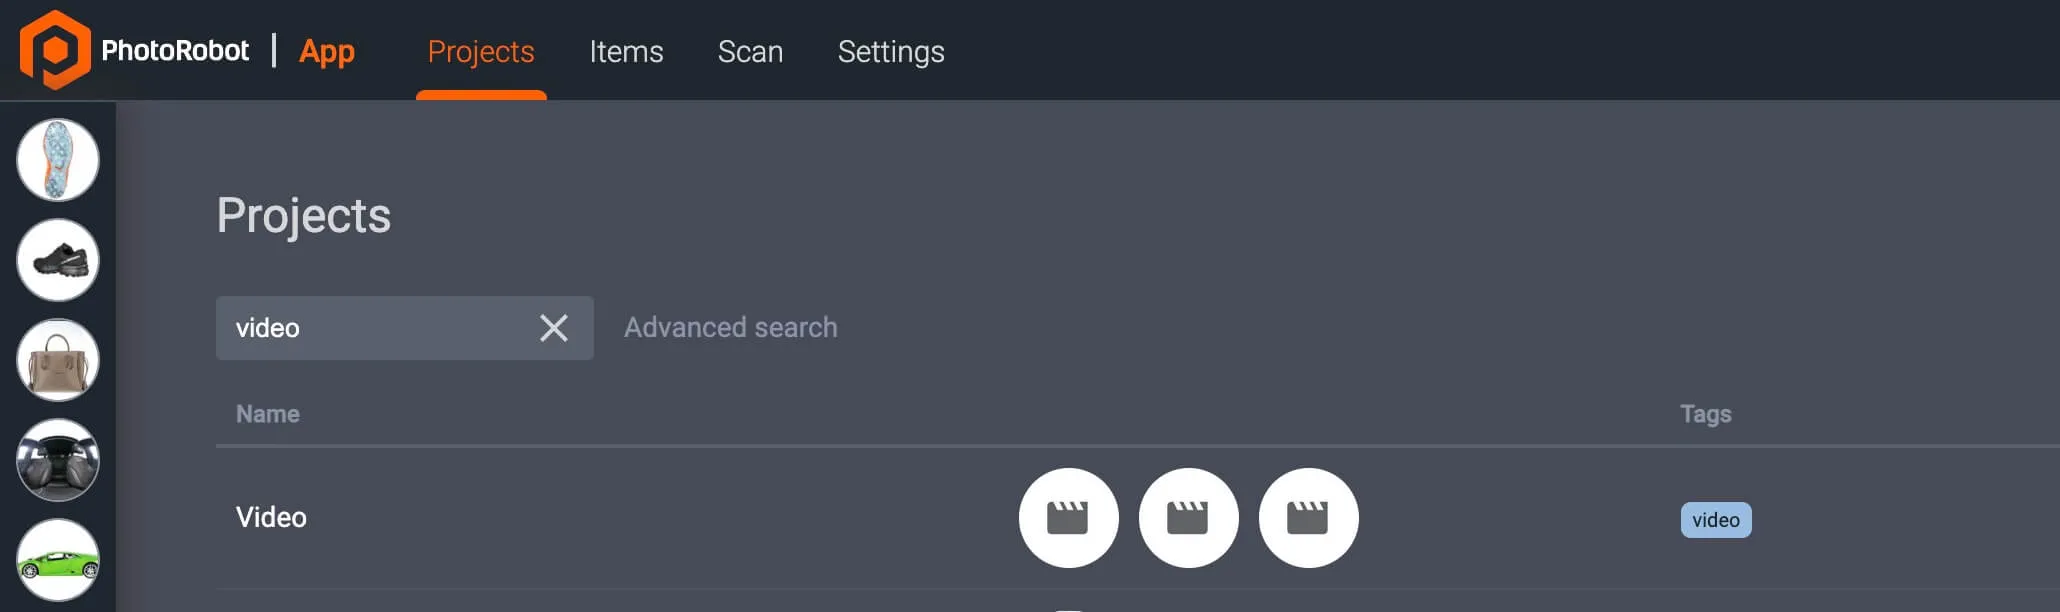
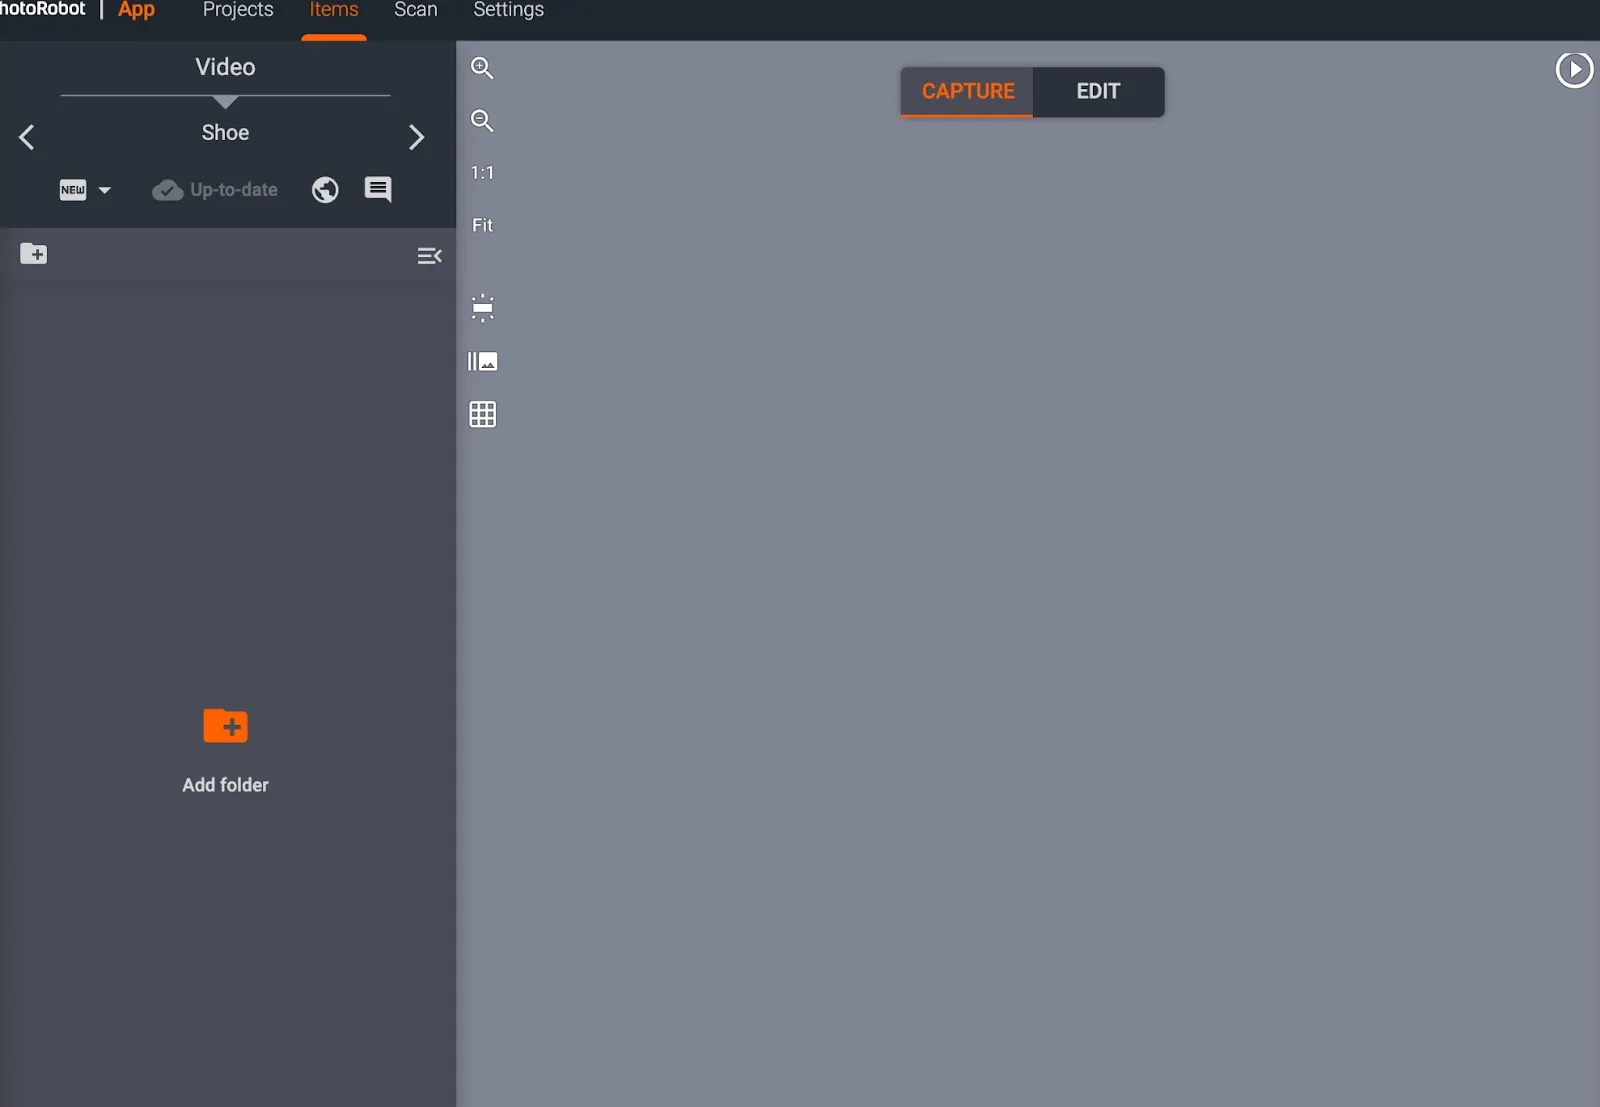
In CAPP, you must first add a new Project (unless you already have one that you would like to use), as well as at least one Item. Then, in the Capture mode interface, click the Folder icon to create a new folder, and select Video from the menu options.
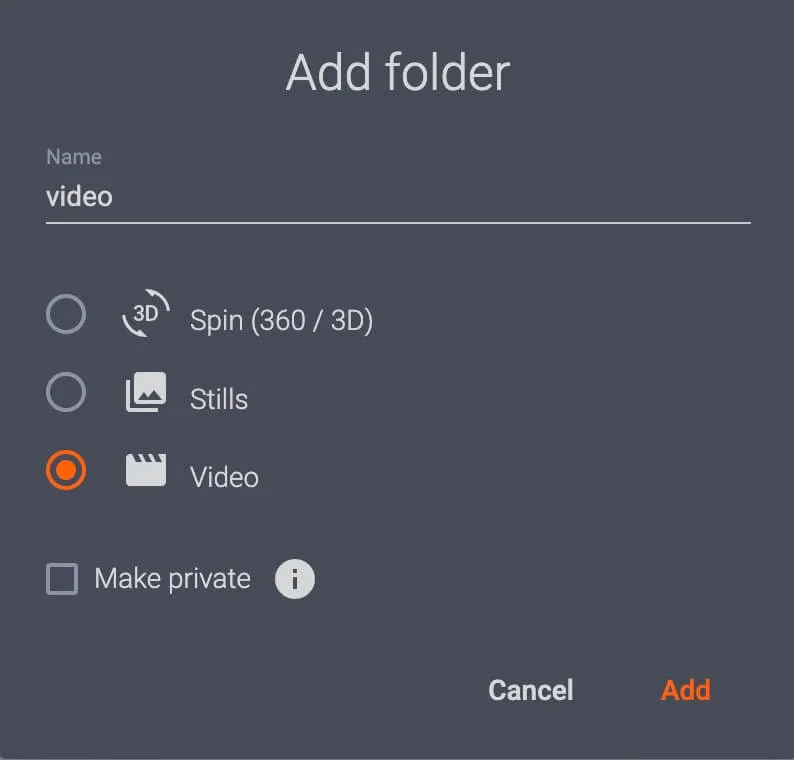
- To change the name of the folder, click on its name field to edit it, and then click Add in the bottom right part of the interface to create the new folder.
2 - Configure Video Timeline Points
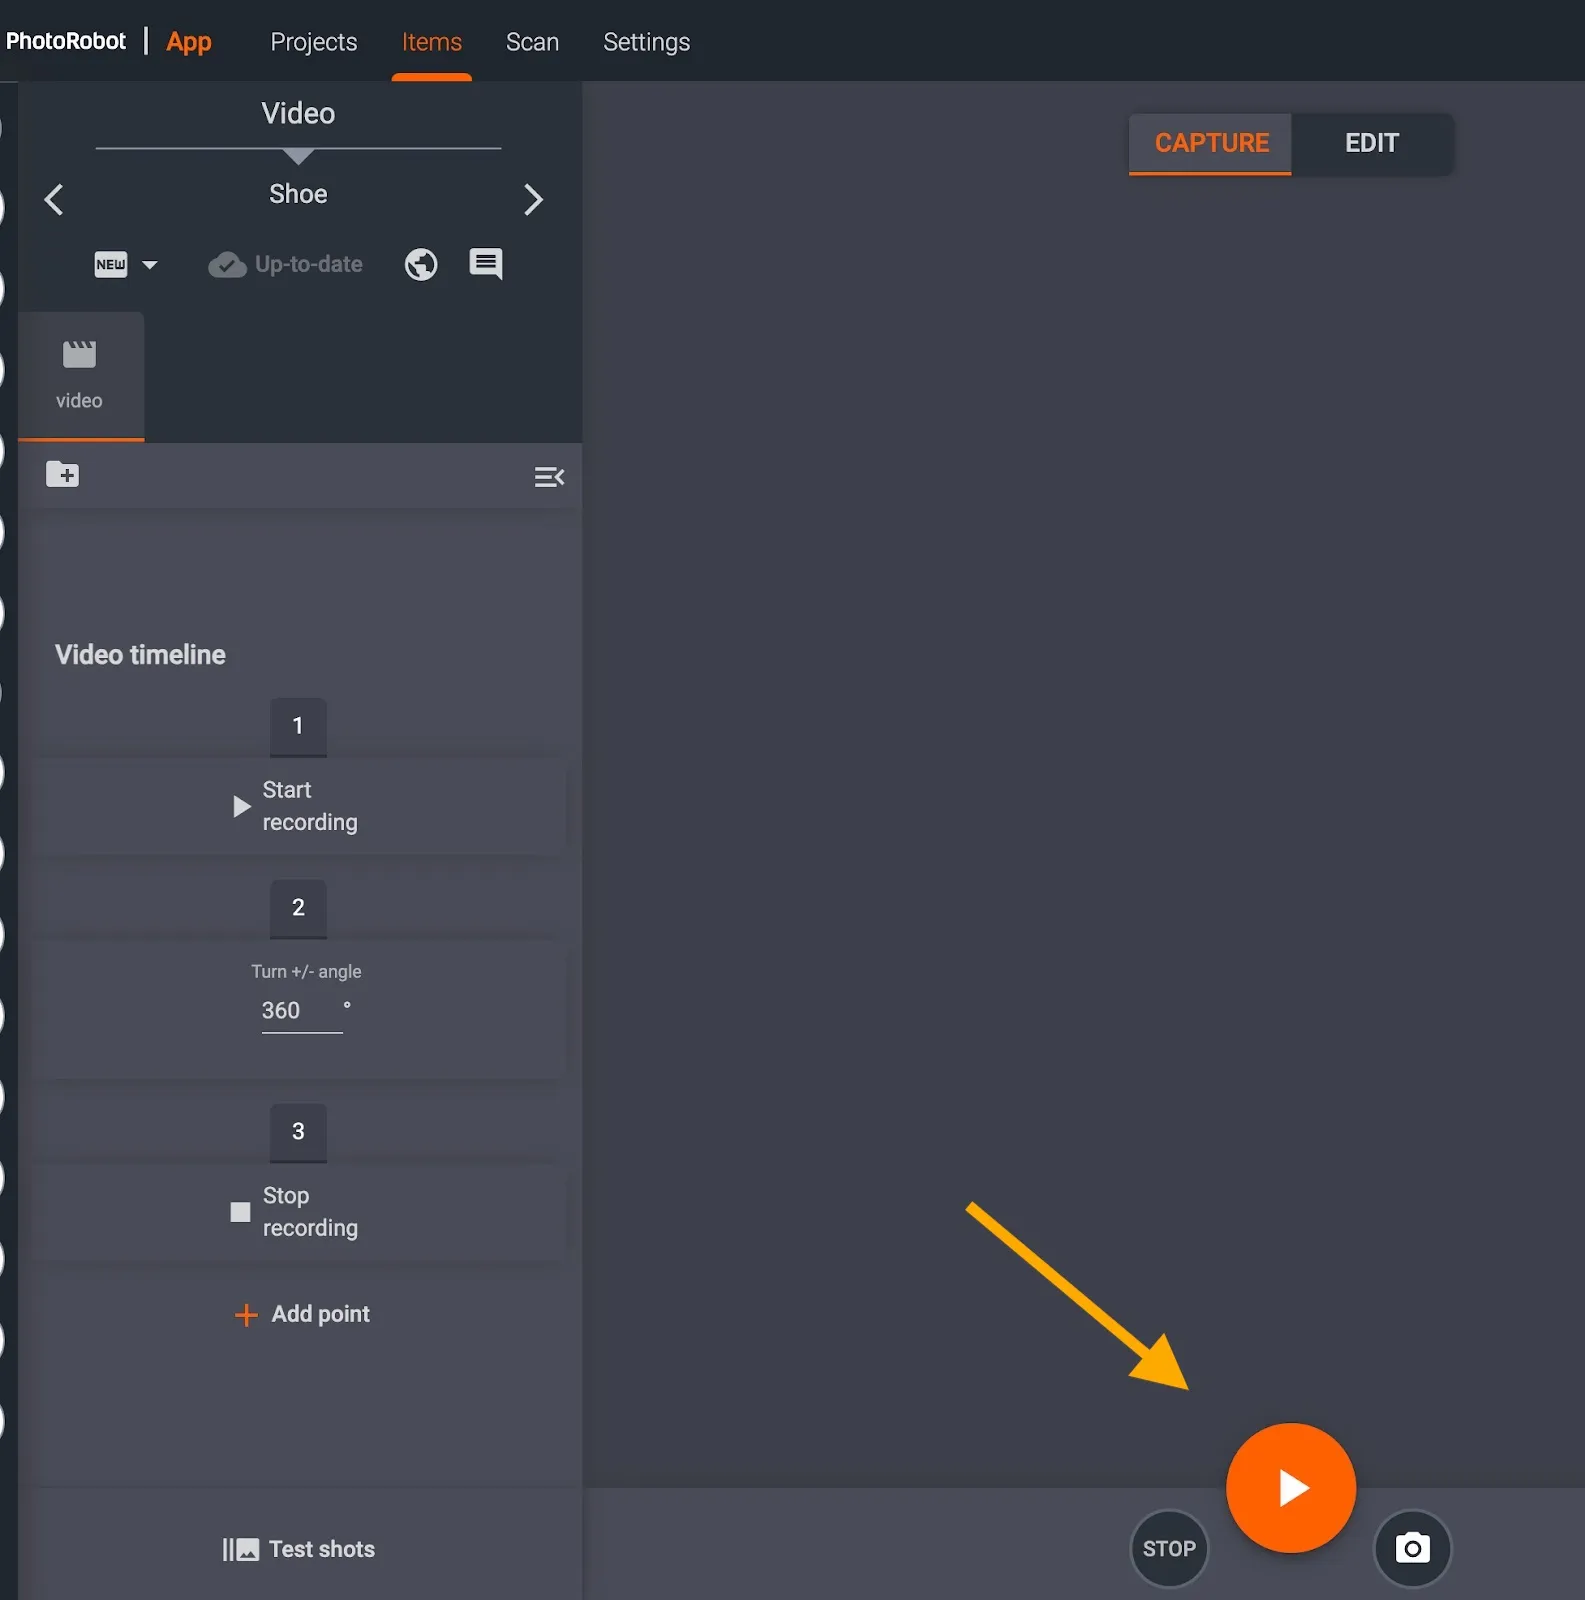
In a new video folder, users create a Video timeline by configuring points of the recording process before filming.
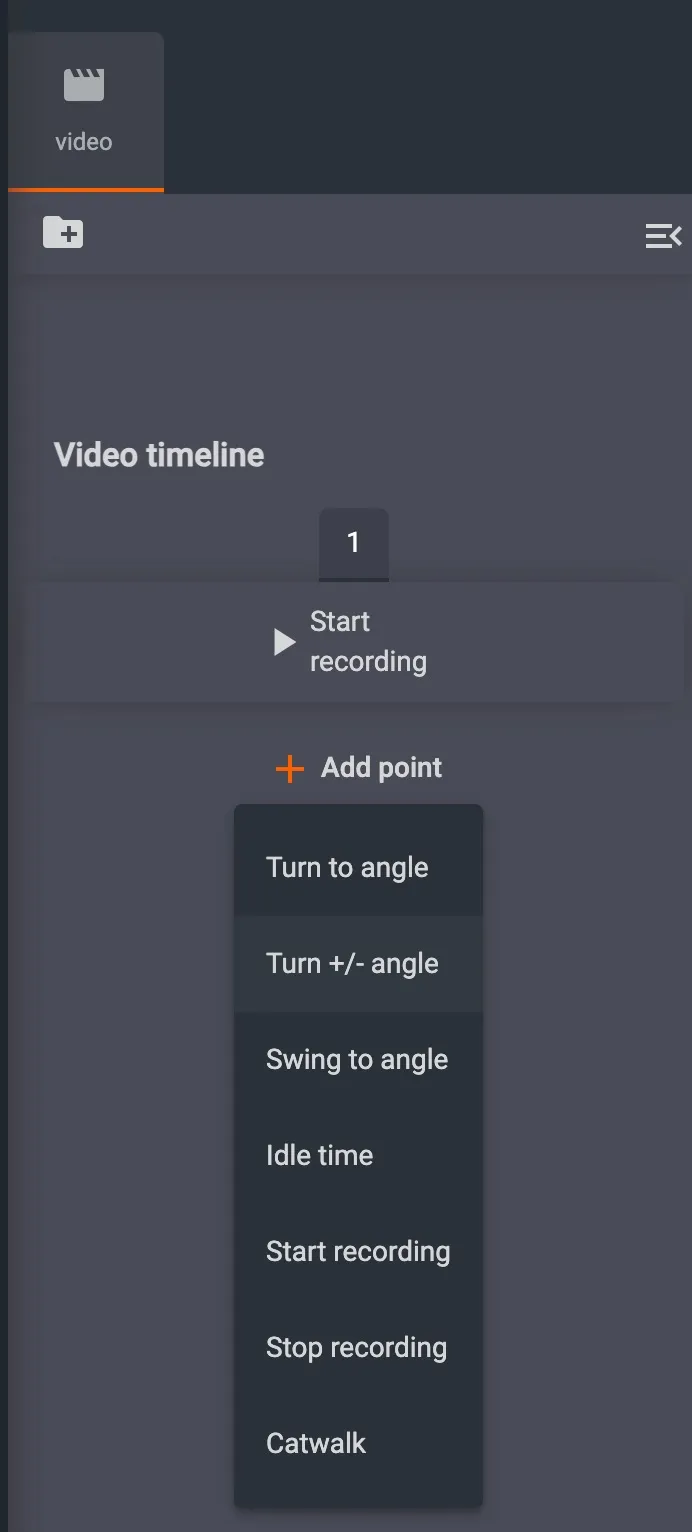
Use + Add point to create new points that define instructions for the system to carry out in order. These include operations to start / stop recording, pause / rotate turntable, capture specific turn / swing angle, and more.
All video timelines must contain at least 3 points: one to start recording, one to stop recording, and no less than one capture operation.
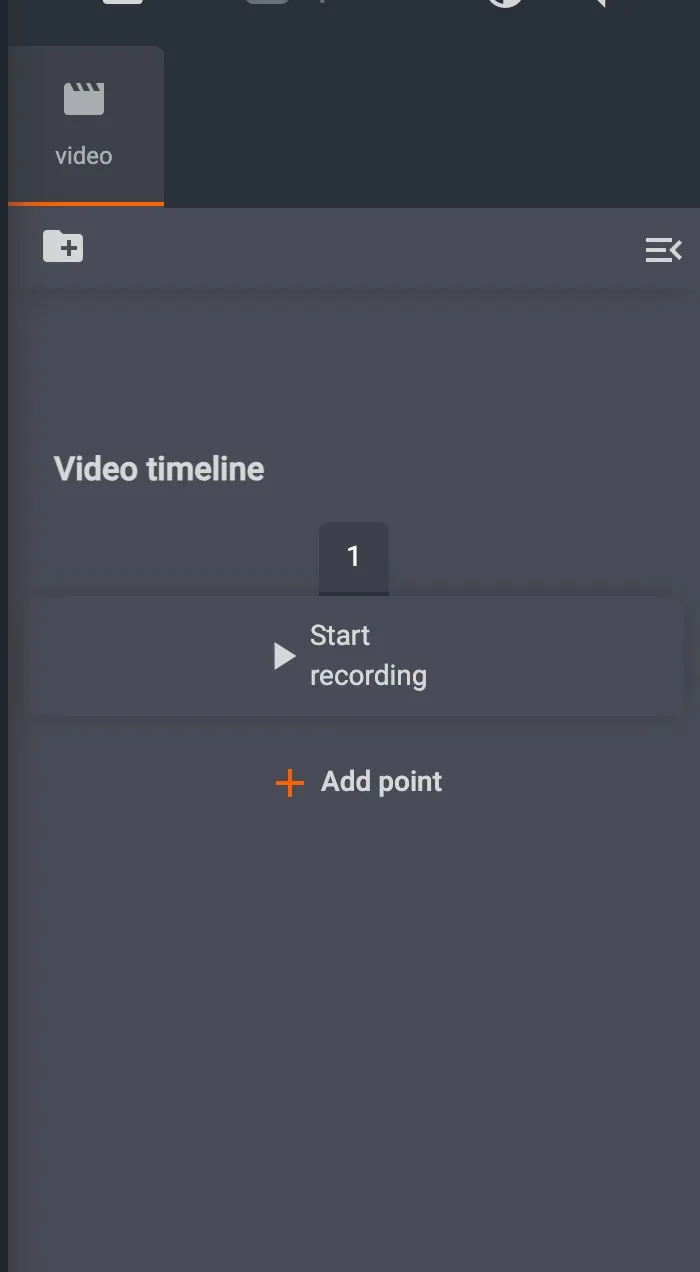
- The first point (1) contains the Start recording function.
- Use + Add point to configure the next point in the timeline.
For example, in a new Video timeline, click (+) Add point, and select the option Turn +/- angle.
Next, set the Turn +/- angle field to 360°.
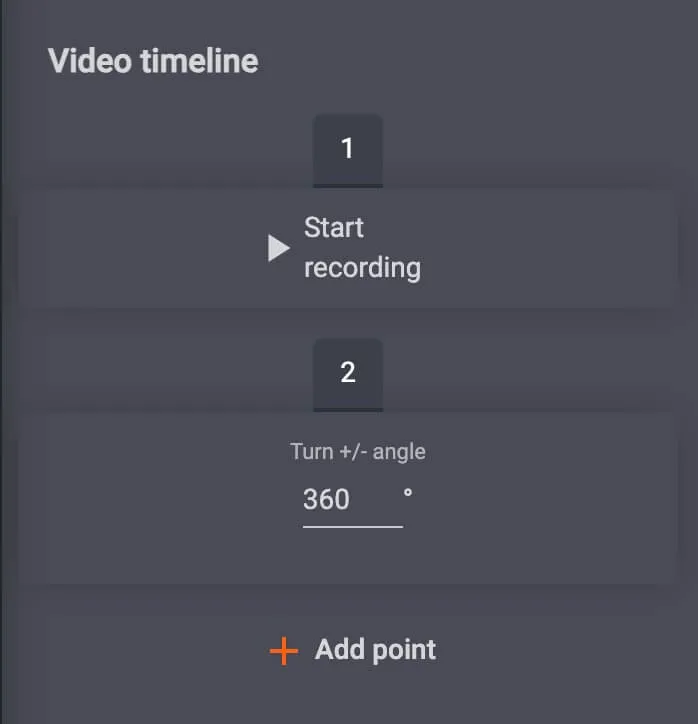
- Note: Standard to the majority of PhotoRobot devices, the Turn setting enables users to control turntable rotation around its center. In this case, configuring Turn to 360 degrees will instruct the turntable to do a complete rotation.
After adding a new point, users can configure additional point settings via the cog icon above the point specifications.
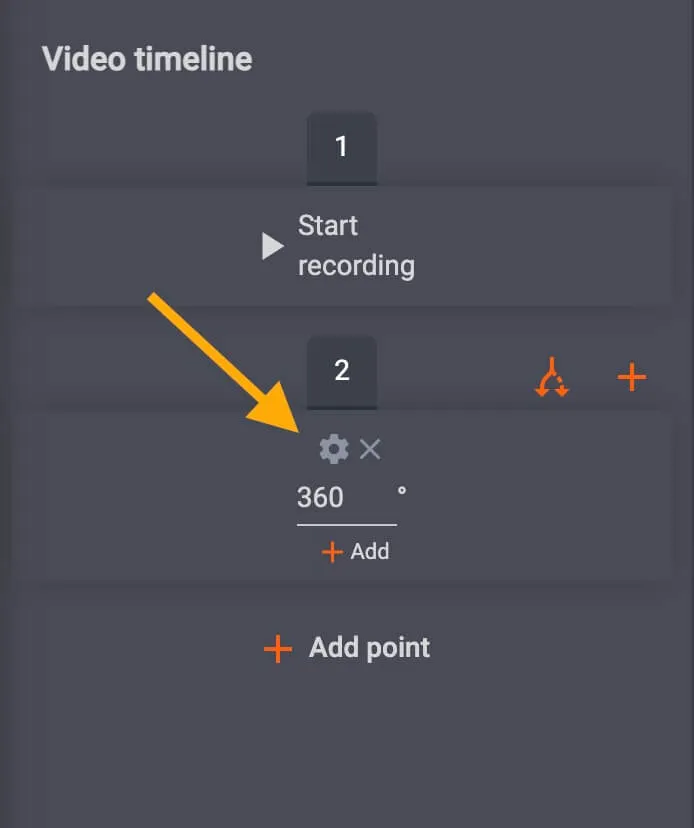
In this case, users can adjust movement settings of the turntable, including its speed and its acceleration:
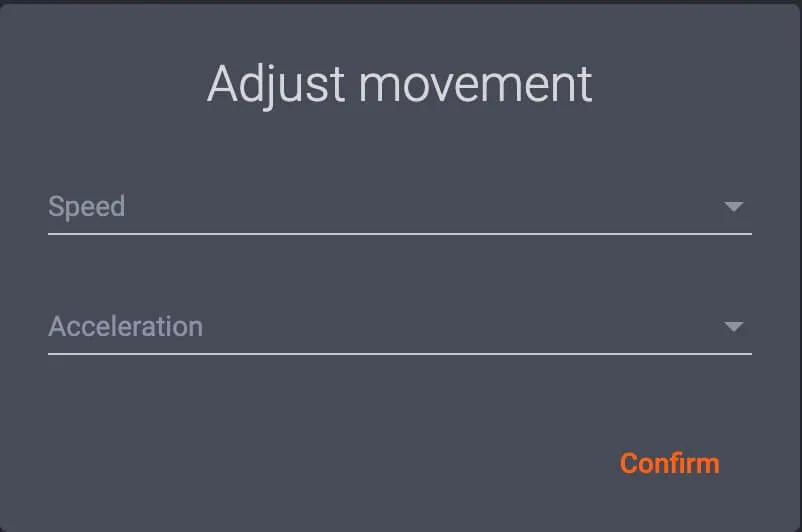
- Adjust movement enables users to configure Speed and Acceleration of turntable rotation from 0-100%. Clicking Confirm saves all changes.
To add additional points to a video timeline, the complete list of settings of + Add point include:
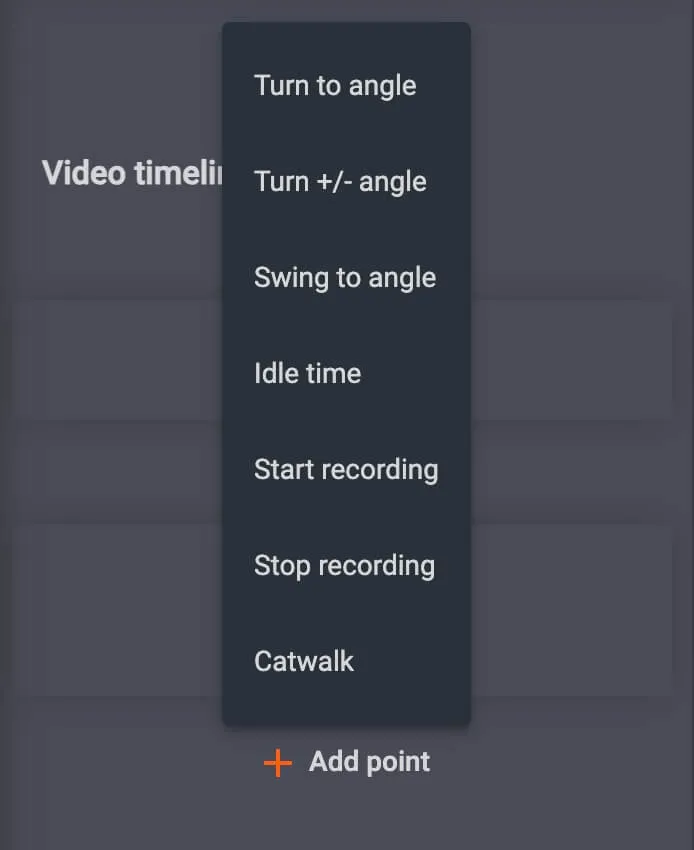
- Turn to angle - Move turntable to a specific turn angle
- Turn +/- angle - Set the rotation of the turntable (i.e. at ‘360’ for a complete rotation)
- Swing to angle - Configure the vertical angle at which the camera targets an object (i.e. at 0° to remain level with the turntable, at 90° for a top-view overlooking the product)
- Idle time - Set a delay before turntable rotation begins
- Start recording - Configure point to start recording
- Stop recording - Configure point to stop recording
- Catwalk - Configure options for the Catwalk robot (if in use)
Then, after the configuration of at least one capture operation, complete the video timeline by clicking + Add point, and then Stop recording.
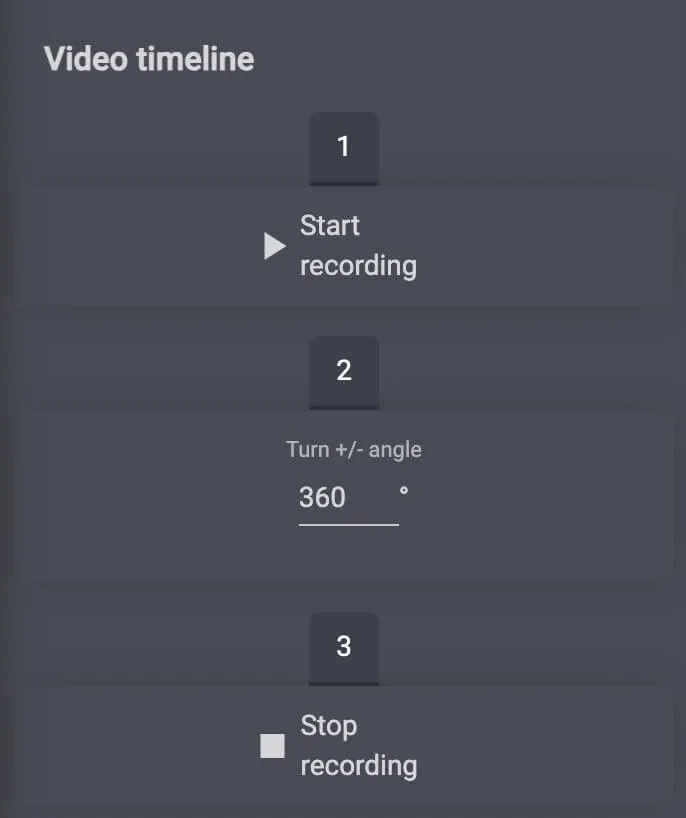
- Stop recording sets the endpoint for the recording sequence, and will thus always be the final point of a video timeline.
3 - Use Camera Live View to Check Object Position
After configuring all points in the recording timeline, switch on the camera’s Live View to check the object’s position. Live view enables users to test the camera’s manual focus on the object, and make any slight adjustments before starting the recording.
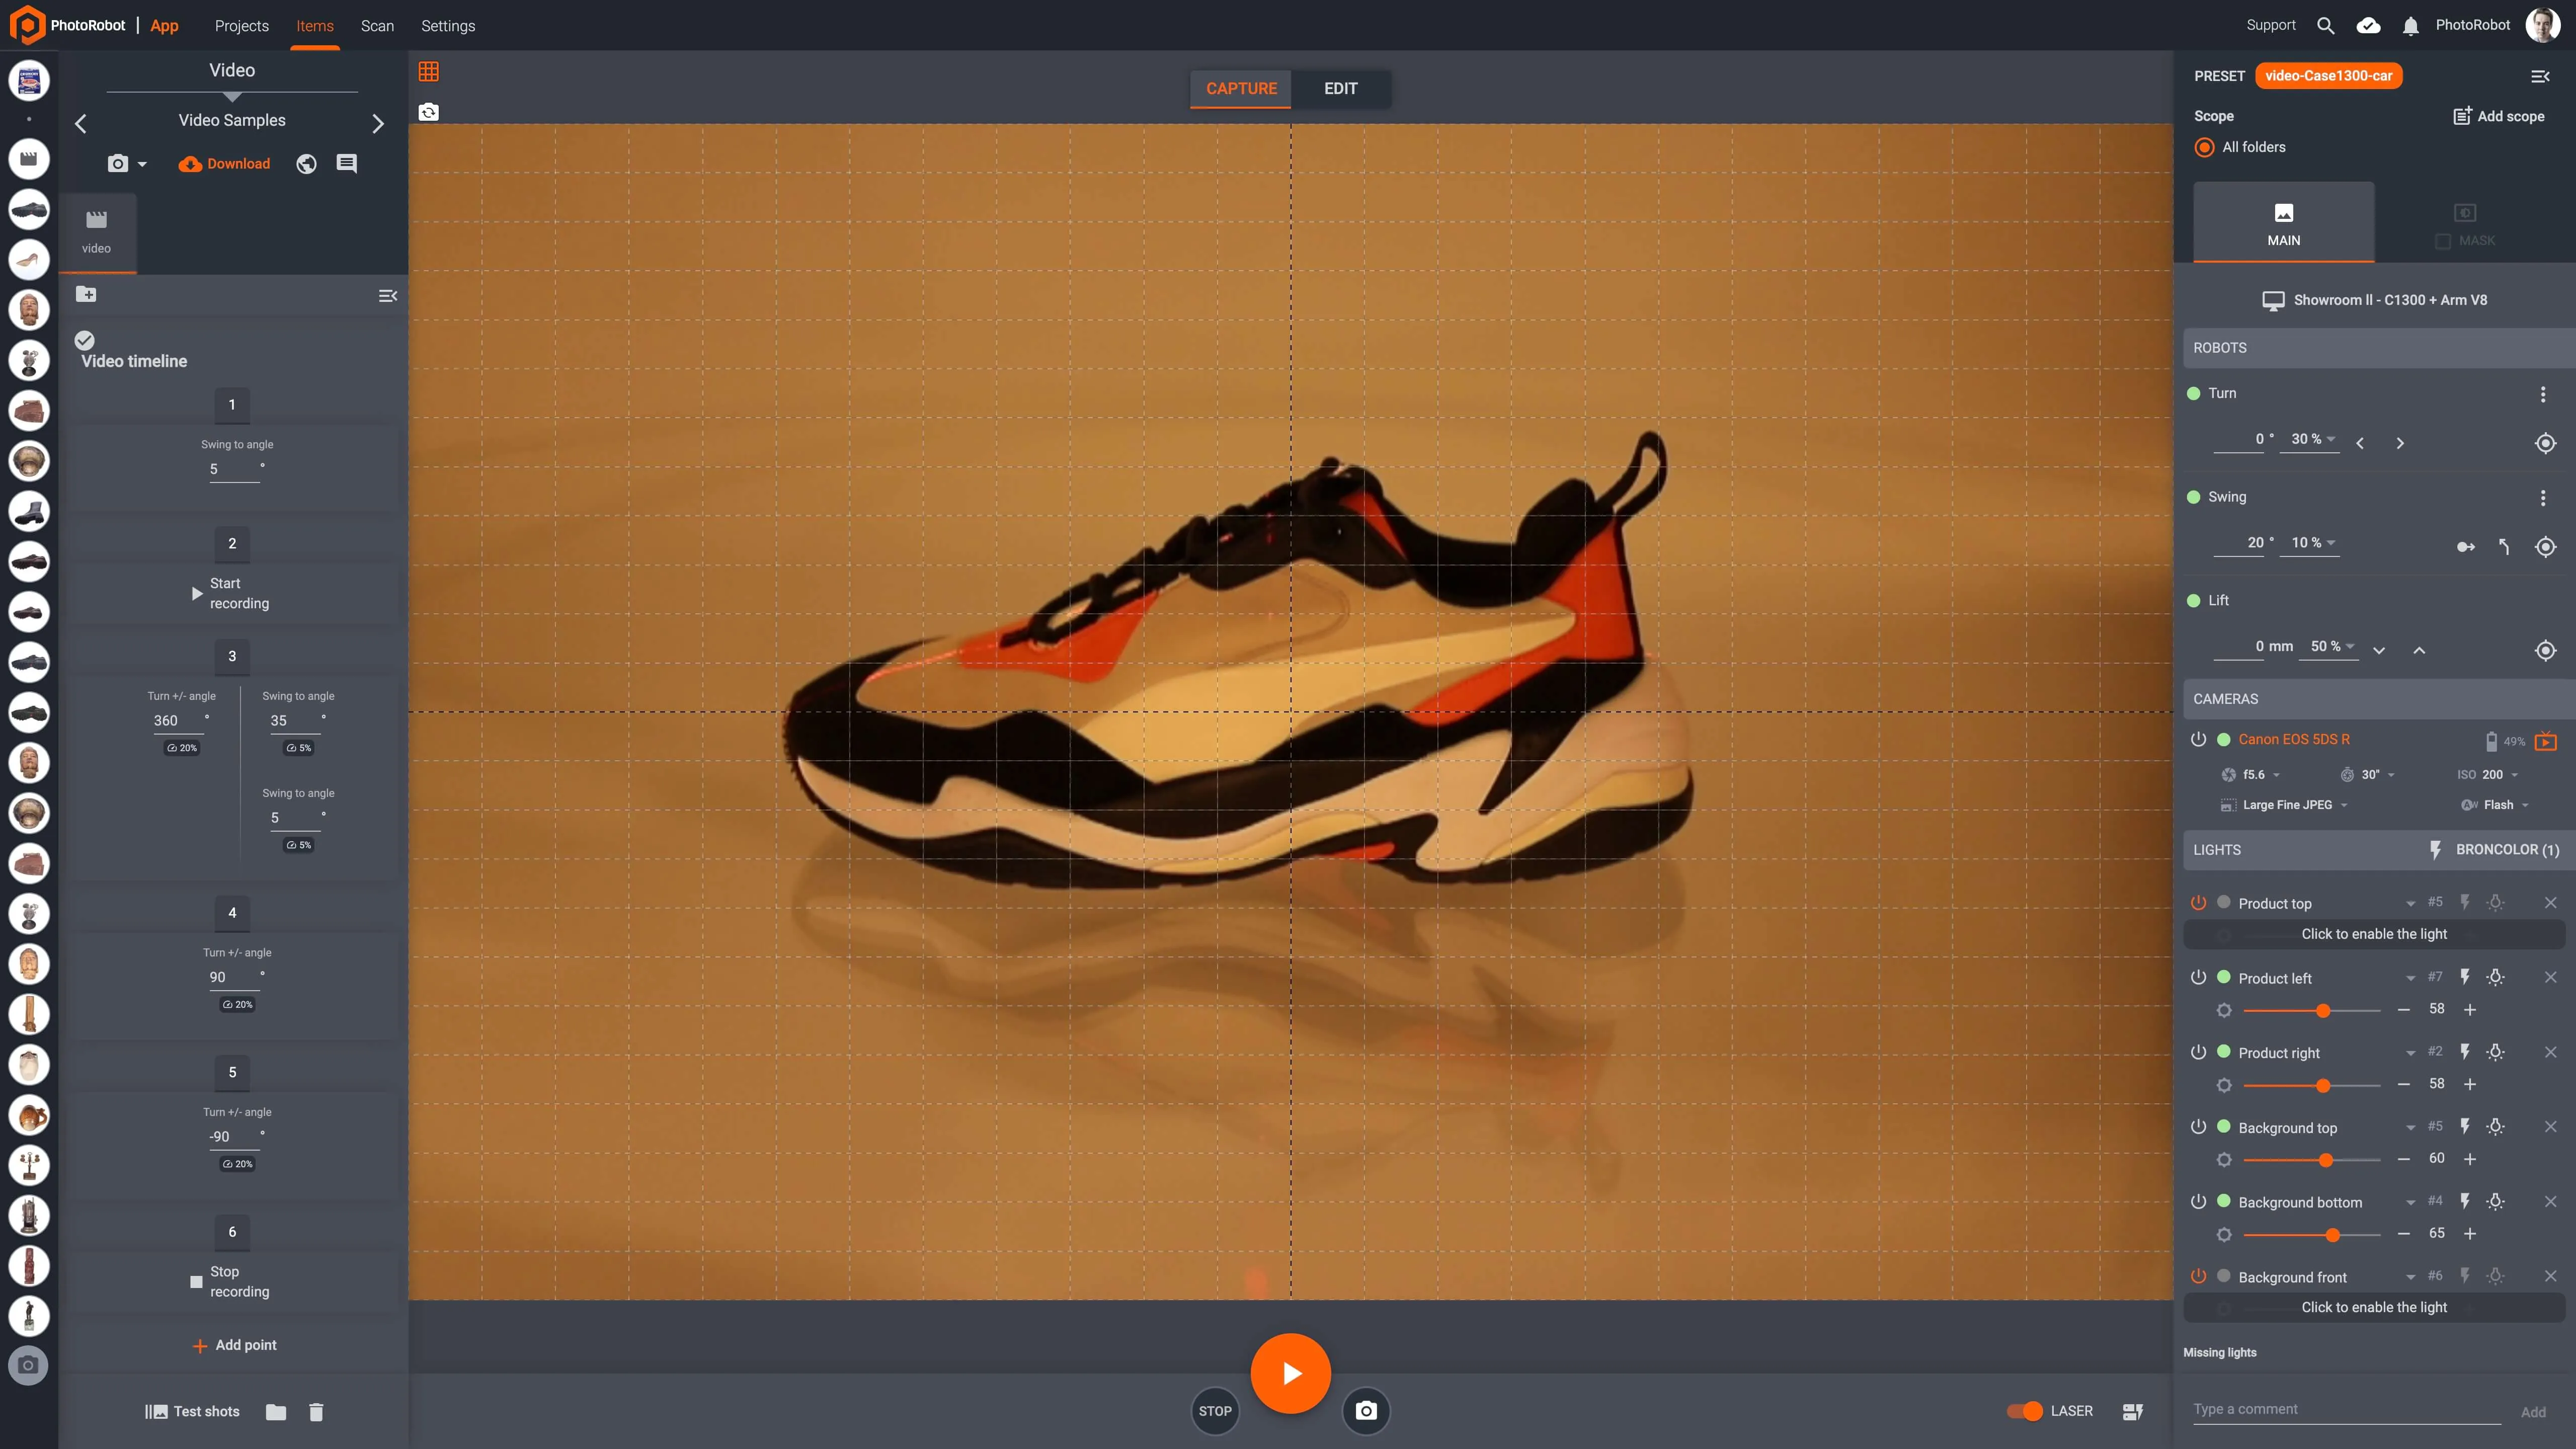
Additionally, use the Take snapshot button via the camera icon to the right of the Capture mode to take a test shot.
- Note: the Take snapshot command is not often used for creating video. Test shots more often help to ensure that the workspace is properly configured to communicate with the camera, hardware, and studio lighting for still & flash photography with PhotoRobot.
4 - Start Recording
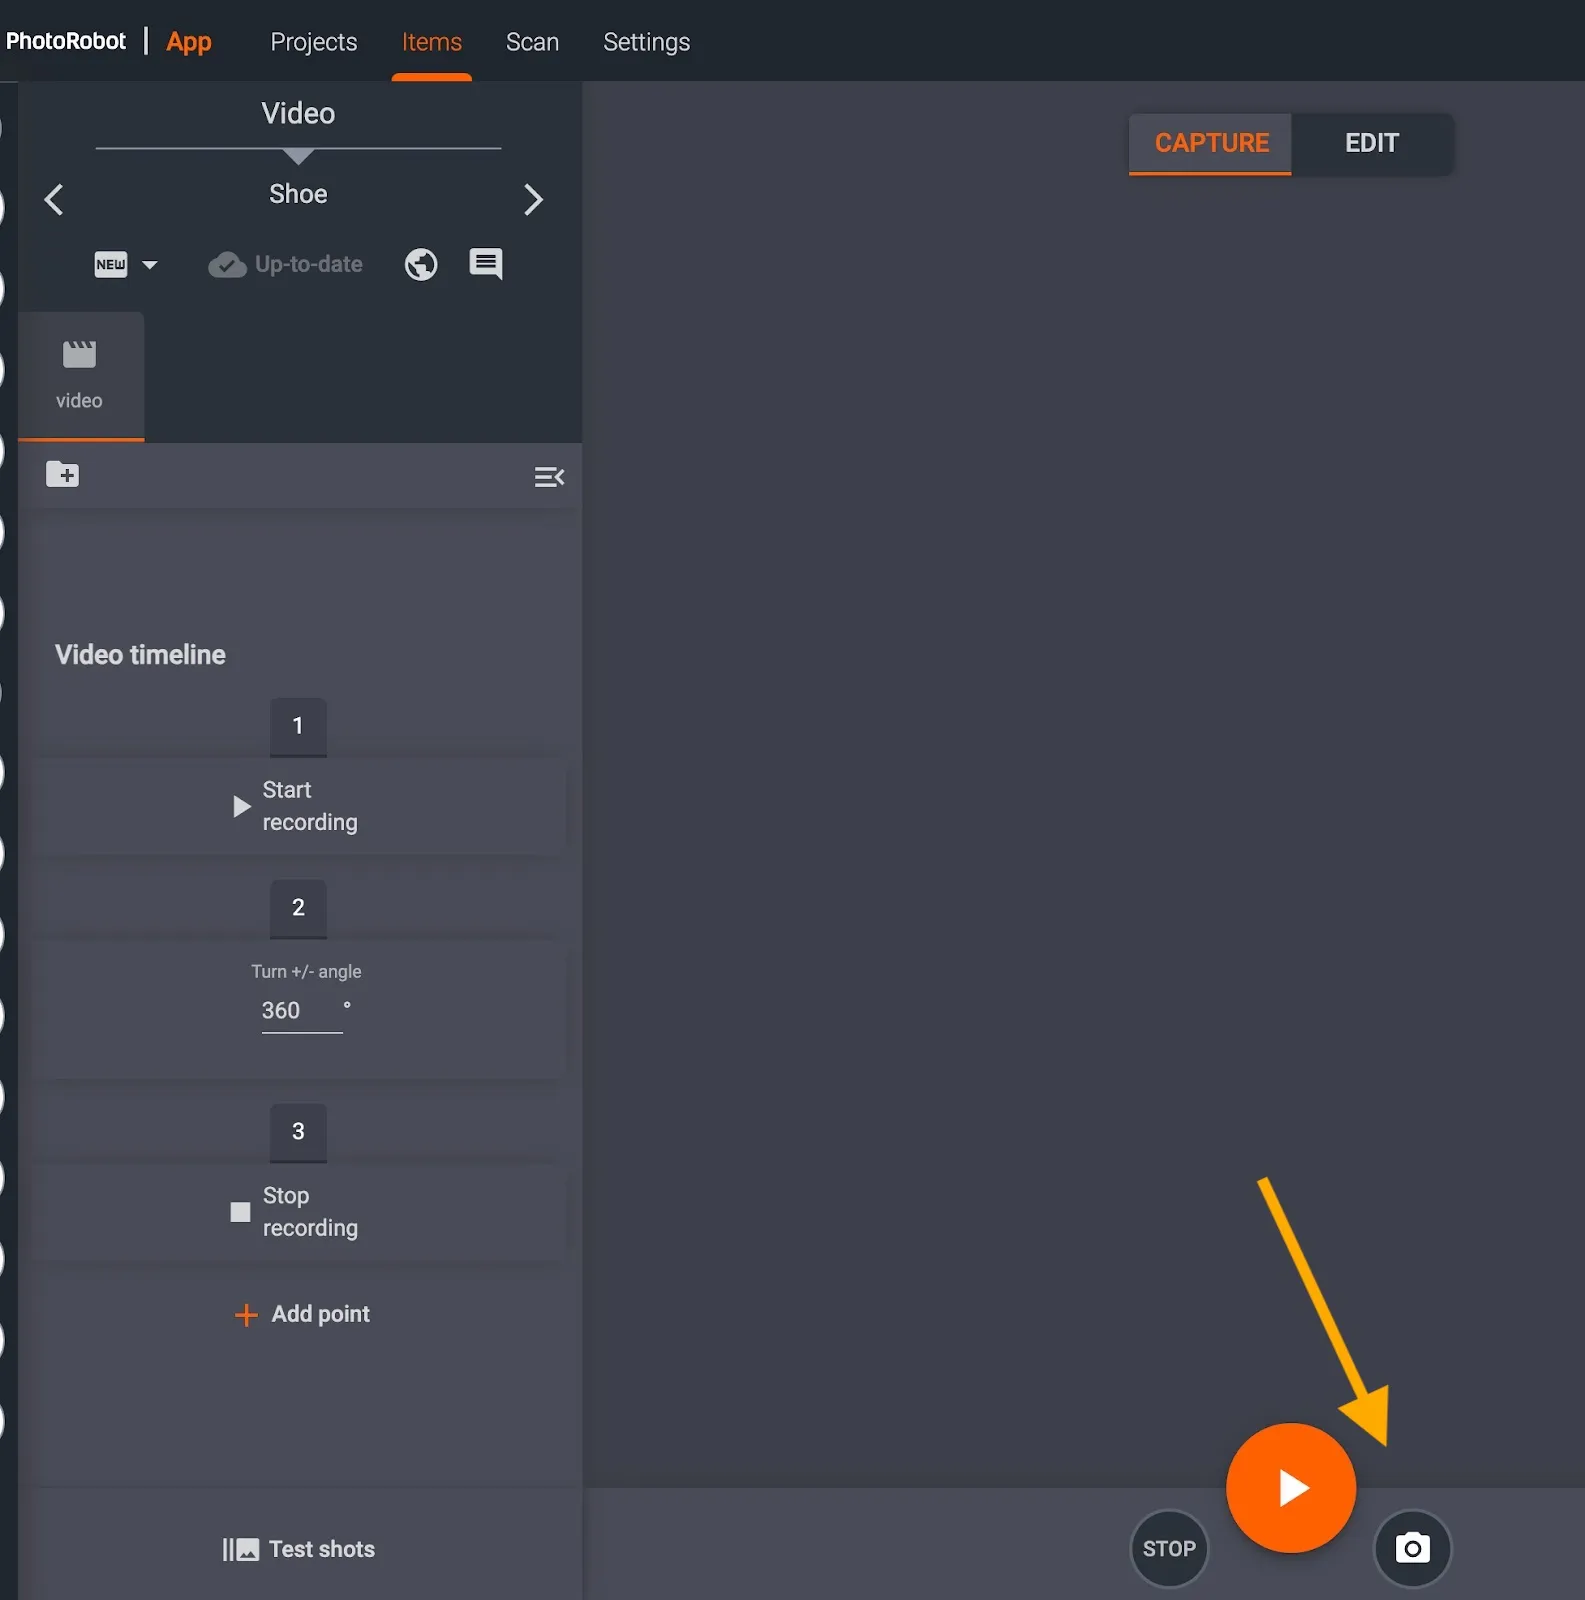
After ensuring the object is positioned correctly in the camera Live view, use the Start button to begin recording the video.
On start, CAPP will run the operations for each point of the recording, automating turntable rotation in sync with camera capture and lighting. This includes any points for idle time, or for example adjustments in elevation, such as when creating a flying camera effect with the Robot Arm.
Additionally, clicking STOP to the left of the start button will pause the rotation of the robot arm immediately:

- Note: After stopping a sequence, the robot arm will require software recalibration in CAPP so the robot knows in which position to begin again. After recalibration of the robot arm if necessary, start recording again at any time via the Start button.
Pressing Start again will then run the operations in each point of the video timeline, from start to finish to record the product video.
5 - Publish Video
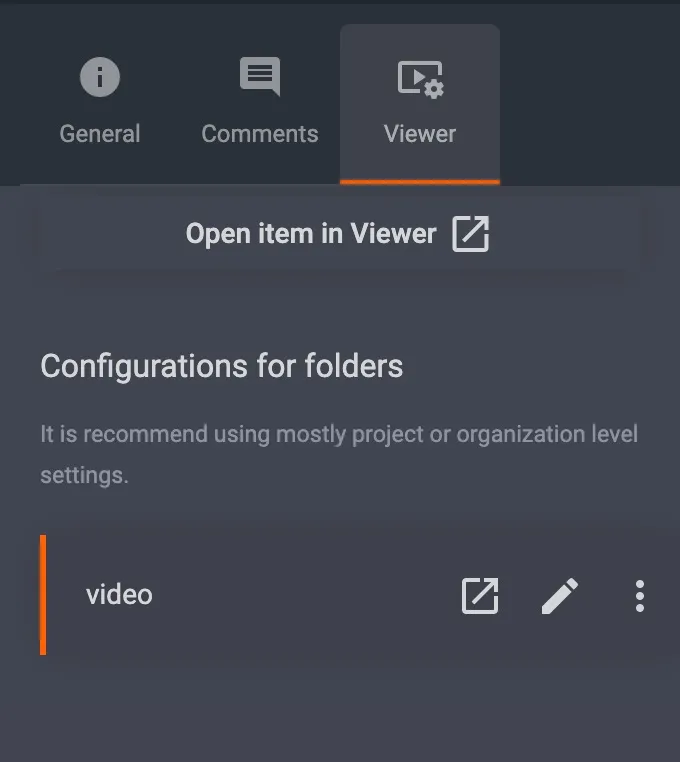
When complete, use the Viewer tab in CAPP to access the video on your local drive, to configure it further in CAPP, or to view the video directly on the web.
For additional video editing, users must download the video and use third party software such as Final Cut Pro, or other professional video editing applications.


EOS Rebel Series


EOS DSLR Series


EOS M Mirrorless Series


PowerShot Series


Close-Up / Handheld

The Canon EOS Rebel Series offers beginner-friendly DSLR cameras with solid image quality, intuitive controls, and versatile features. Ideal for photography enthusiasts, these cameras provide reliable autofocus, vari-angle touchscreens, and Full HD or 4K video recording.
Connection
Resolution (MP)
Resolution
The Canon EOS DSLR Series delivers high-quality images, fast autofocus, and versatility, making it ideal for both photography and video production.
Connection
Resolution (MP)
Resolution
The Canon EOS M Mirrorless Series combines compact design with DSLR-like performance. Featuring interchangeable lenses, fast autofocus, and high-quality image sensors, these cameras are great for travelers and content creators seeking portability without sacrificing image quality.
Connection
Resolution (MP)
Resolution
The Canon PowerShot Series offers compact, user-friendly cameras for casual shooters and enthusiasts. With models ranging from simple point-and-shoots to advanced zoom cameras, they provide convenience, solid image quality, and features like image stabilization and 4K video.
Connection
Resolution (MP)
Resolution
The Canon Close-Up & Handheld Cameras are designed for detailed, up-close photography and video. Compact and easy to use, they offer precision focus, high-resolution imaging, and versatile macro capabilities—perfect for vlogging, product photography, and creative close-ups.


