How to Create a Fashion Product Photography Style Guide
In this PhotoRobot tutorial, we share how to create a fashion product photography style guide that converts and ensures consistency.
Fashion Photography: How to Make a Brand Style Guide
Following a style guide is crucial to creating a brand’s image and ensuring consistency in visual content. It makes brands look professional, and it gives consumers a more effective way to discover and compare products. In this fashion photography tutorial, we’ll share how to create a style guide that is both consistent and efficient.
A style guide is simply a set of instructions to follow for all photoshoots. It tells stylists and photographers how to present and photograph different products. In fashion product photography, it’s for example how to photograph apparel & clothing, accessories, footwear, etc.
The style guide specifies elements such as how to style garments, flatlay vs mannequin photography, or still & 360 degree product photos. They contain angles to photograph from as well as file naming conventions, editing & post processing parameters, and more.
PhotoRobot software allows users to both create and save style guides with all of these parameters as “Presets”. Users can then apply configurable Presets across all photoshoots of similar products, making consistency quick & easy to achieve. Today we’ll share how, starting first with how to make a style guide, and concluding with how to automate it.
Establishing your brand’s style
The majority of brands and retailers already have a brand style. Style guides ensure they stay consistent, and also help in developing the brand style further. Overall, the primary goals behind brand styling are to appear unique and to make a memorable impression. Consumers should be able to associate the look with the brand as well as a certain lifestyle.
To accomplish this, brands must firstly consider the target audience. Who are your shoppers, and what lifestyle are you catering to? Perhaps it’s a sportswear brand, in which case you want more active colors, lifestyle photography, or product videos showcasing movement. There should be an emphasis on certain colors, as well as athleticism and healthy living.
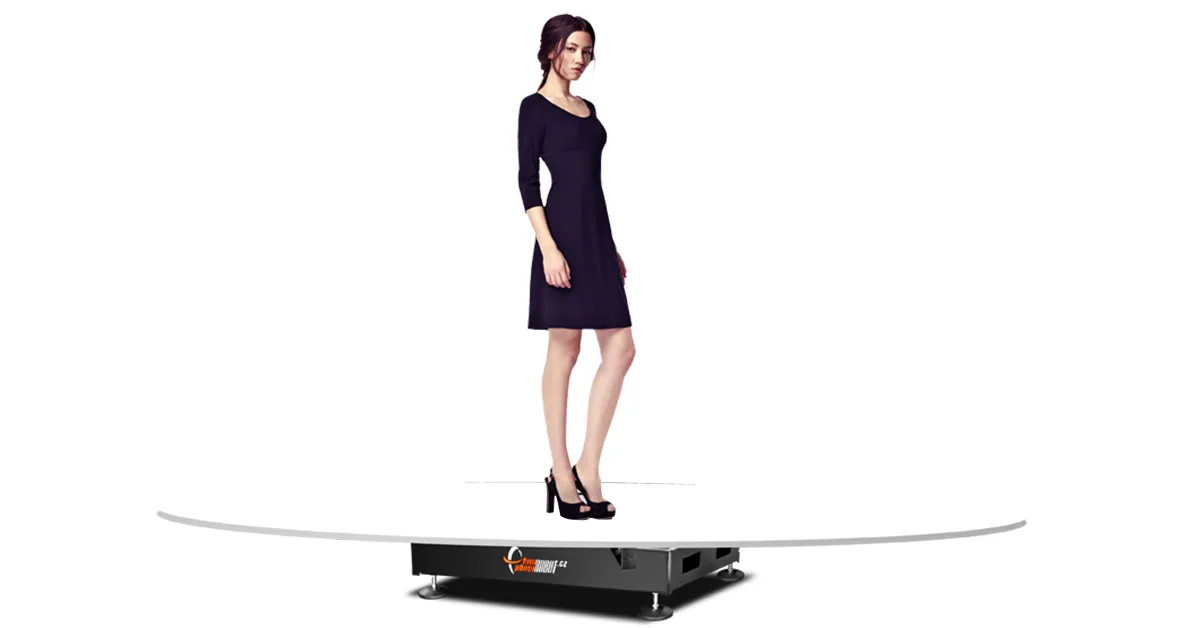
Whatever the fashion, whether it's a blazer or photographing a spaghetti dress, if you don’t have a style guide, start by identifying who the brand should appeal to most. Then, with this in mind, begin building instructions for visual content around the brand’s purpose. Consider color themes, photography scenes, styling, and how to photograph your fashion products to best reach consumers.
Choosing types of photographs
At the heart of any style guide is information about the angles at which you photograph an object. This includes different angles as well as distances to take photos from so they highlight specific features of products.
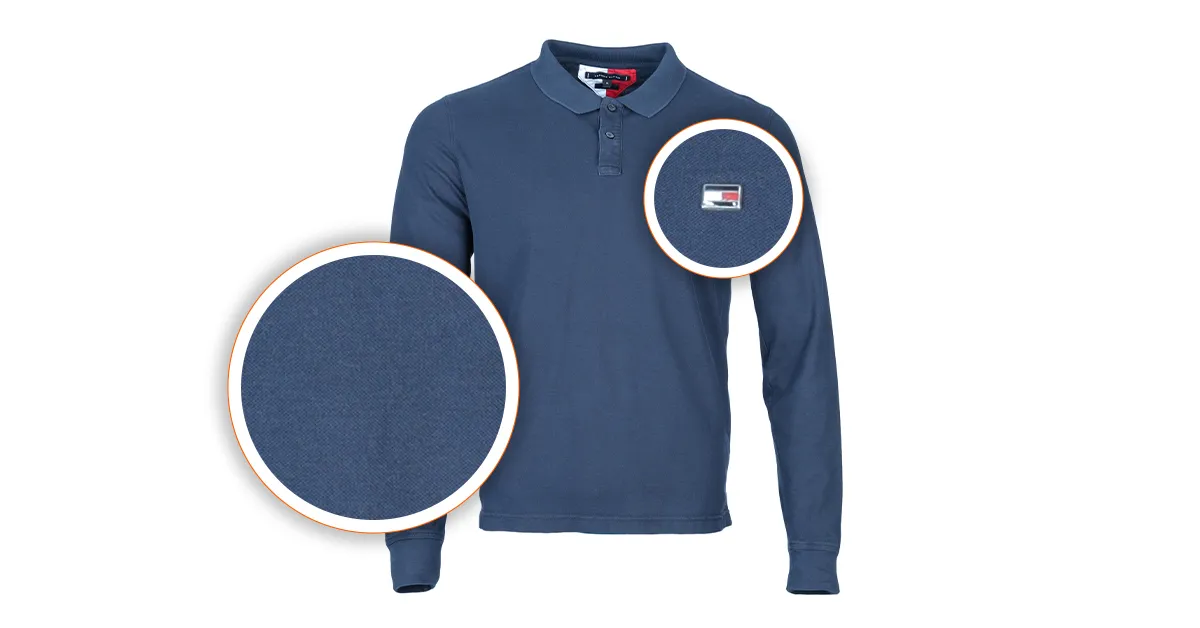
Let’s imagine a very simple style guide, for example how to photograph a men's t-shirt. Here, the style guide might include three basic shots: the front view, the back, and a detailed shot. The detailed shot might consist of a close-up view of the fabric. It might be zooming into a logo or a distinguishing feature you want to highlight.
Your style guide will tell photographers and stylists what types of photos to take, and how to photograph each view. Instructions should be clear and straightforward, and provided in a simple grid for at-a-glance referencing. Your team can then follow the instructions across entire collections of similar products to ensure consistency in all visual content.
Describing visual information
After detailing what shots to take, style guides must include text descriptions for all visual product information. These guidelines will tell photographers and stylists exactly how to style products and how to take each type of photo.
Take photographing coats for example. There might be instructions to always photograph on an invisible mannequin rather than flat lay. This checklist will describe how to photograph a coat on the mannequin, and how to style the sleeves and cuffs. It will detail the different types of shots, including distances to photograph from and other parameters. There might also be requirements for the detailed shot, such as distinguishing features to photograph.
The number of items on your checklist will ultimately determine how much creative control stylists have over photoshoots. If you want to allow for more freedom, you can always provide less instructions. For higher levels of control over styling consistency, however, obviously the more instructions the better.
Beyond these details, styling guidelines should also include file naming conventions for each type of photo. This ensures ease of access to all of your visual content, and is ultimately necessary for overall digital asset management.
How to Automate Style Guides with PhotoRobot
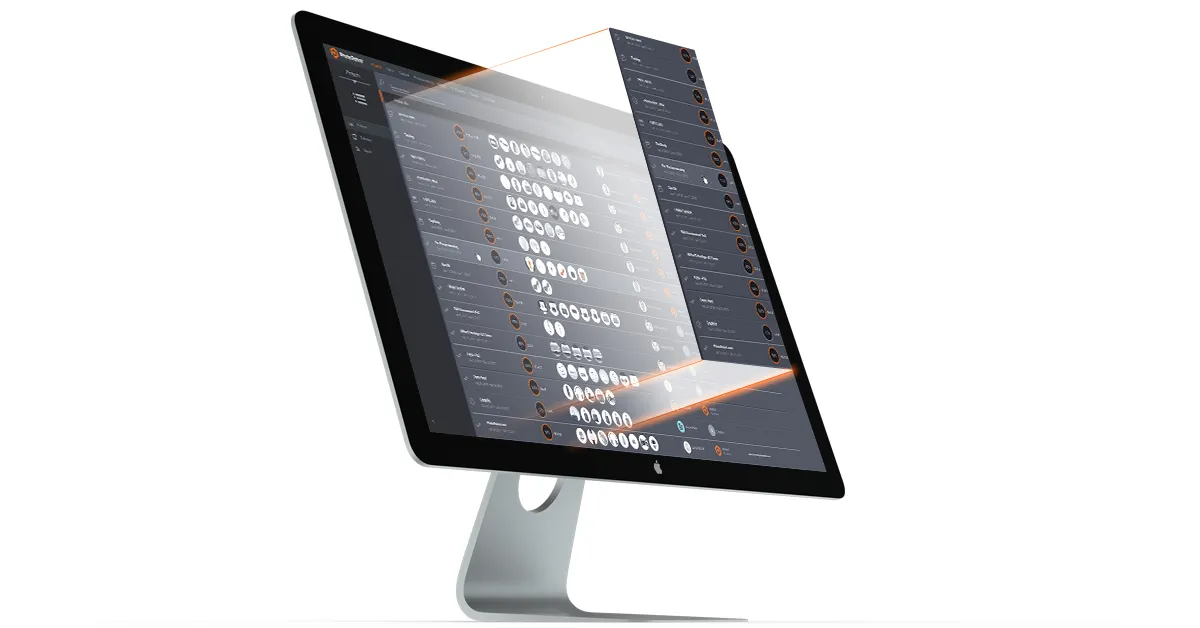
One of the most important parts of any style guide is the information about the angles at which to photograph the object. With PhotoRobot_Controls, we can define these angles in the software as “Presets” to apply across batches of similar type products.
Save Presets for not only angles, but also camera settings, lighting, post processing and other parameters. Configure settings once, and then deploy again and again to achieve images exactly according to your brand style guide.
Begin by importing a shot list of items. Each item will have a barcode, often from the supplier, which the system will recognize. In this way, you can quickly scan a barcode, and the software loads any presets you have for the product.
Simply Scan Products and Automate the Process
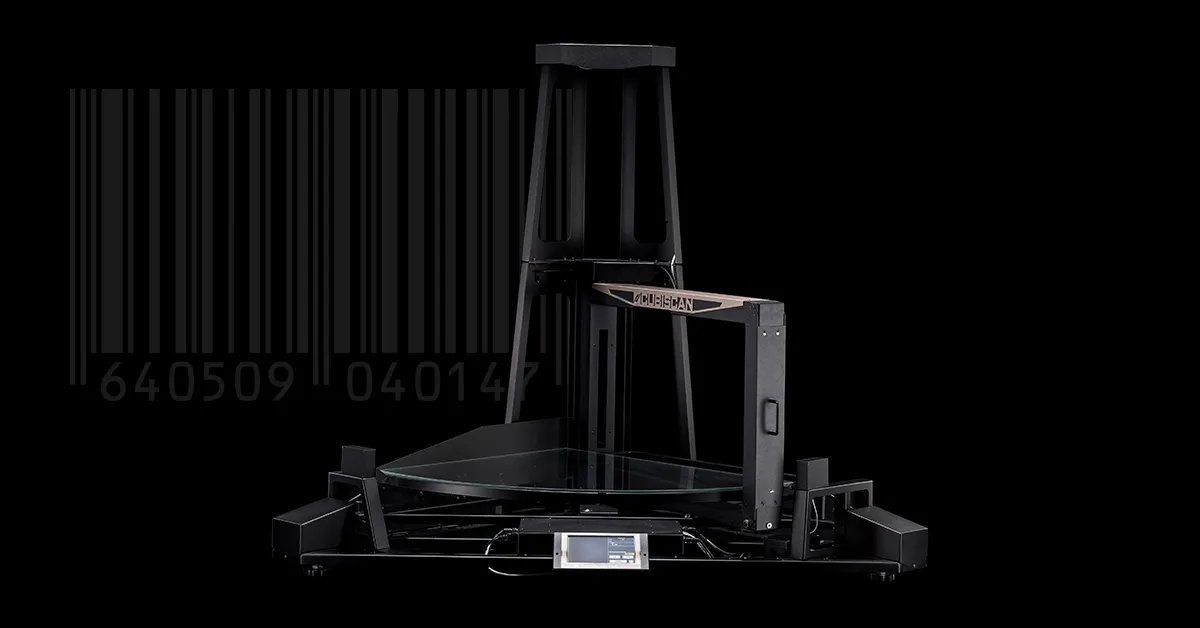
After importing a shot list, which includes product names and barcodes as well as presets, the process takes no time. Place the product onto whatever PhotoRobot you’re using, style it accordingly, and simply scan its barcode using CubiScan.
The CubiScan robot is for weighing and measuring items. It also stores item dimensions in the system. CubiScan detects the object’s size and shape, and then after weighing & measuring it, archives the item.
We can then attach presets to individual items, and the entire photoshoot happens automatically. It often takes no longer than a minute to apply the style guide, and it’s even possible to control multiple robots from a single workstation. All without changing any settings in the software.
Simply scan an additional barcode of a macro at the control station. This switches to the second workstation, and takes all photos without needing to touch the computer or cameras.
Additional tips for fashion photography style guides
- Avoid technical jargon. Write all instructions as clearly as possible so that anybody reading will understand, even without technical knowledge.
- Implement a Digital Asset Management (DAM) system. This will include file naming conventions for each type of photo of different products. It can be for example, ‘menswear-blazer-stylecode-front.jpg and ‘menswear-blazer-stylecode-back.jpg.
- Include instructions for lighting setups, working with shadows, brightness and exposure.
- Compare other brand’s style guides to get a better idea of how brands distinguish themselves from the competition.
- Revisit and further develop your style guide over time. Look for small improvements that can either make life easier for photographers and stylists, or improve your brand style overall.
PhotoRobot - High Levels of Consistency and Automation
At PhotoRobot, we aim to help users achieve more through robotic process automation and state-of-the-art product photography software. Don’t hesitate to contact us today to discover our eCommerce photography solutions for yourself.
Also find us on LinkedIn and YouTube, or sign up for our newsletter below. We regularly share new content - including product photography blogs, news, tutorials, and videos. No matter if it’s photographing fashion, electronics, or cars & heavy machinery, PhotoRobot has tools for the job.


