Professional Tips for Footwear Product Photography
Get actionable insights into footwear product photography, post-production, and eCommerce product image best practices.
Product Image Best Practices: Footwear Product Photography
Managing a successful footwear photoshoot requires more than simply choosing a pair of sneakers and taking pictures on set. If you want your product portfolio to impress, quality product photography is key to creating a positive online shopping experience. Basic footwear images, and blurry or poorly-lit pictures of shoes simply won’t convince shoppers to buy your product.
However, with the right cameras & lenses, sharpness, appropriate lighting, editing software and some technique, products begin to sell themselves. The key is in preparation as well as some essential best practices to ensure smoother workflows and more effective photoshoots. After all, there’s no time to lose, which rings especially true in fashion eCommerce photography.
In this tutorial, we’ll provide our 10 most essential tips on how to take pictures of shoes to sell online. Get insights on product image best practices for shooting footwear: from prep, to types of photography, editing photos, and publishing.
1 - Prep and setting the scene to take pictures of shoes
Always, the first and most important stage to any eCommerce photography is in photoshoot preparation. In fact, sometimes, just a few seconds more spent on prep can amount to minutes saved in post-processing. Either the photographer or a product stylist should ensure both your shoes and the scene are in pristine condition. This will help your shoe photography progress with as little unnecessary work as possible.
For every shoot, you’ll want various styling accessories and tools on-hand for cleaning shoes and photographing different types of shoes. Use things like brushes, polishing cloth and canned air (for final touches) to prep footwear for photos. Meanwhile, scissors, paper tissue, and chopsticks can be useful for styling, stuffing, or straightening shoes (like ballet flats).

If following a brand style guide, the stylist will know exactly how to prep the footwear. A style guide tells team members not only how to present products but also other elements. Among which angles to photograph, style guides can specify types of product photos, editing parameters, background removal, and best lighting. These instructions give stylists everything they need to manually prep for a photoshoot.
2 - How to light shoes correctly for eCommerce images
For the best lighting to take pictures of shoes, use a soft overall light setup. PhotoRobot supports two types of lights: strobes from FOMEI and Broncolor, and any type of LED lights with DMX support.
Be sure your product photography lighting allows light to shine on both sides of the shoe. Obviously, if you’re using a motorized photography turntable like PhotoRobot’s Centerless Table or the_Cube, this is a lesser concern.

Overall, a nice even light will make the shoe stand out more, and you want to keep the contact shadow at the sole of the shoe. If there are any distinguishing features like metal-work around lace holders or as a design, consider giving it some shine. You can use a reflector to direct light, and experiment with exposure to find the appropriate brightness levels.
3 - Which cameras, lenses and equipment to use
It’s important that firstly the camera lens you choose is suitable to keep the shoes in sharp focus. To avoid distortion, check your angle from a good f stop to get all parts you want to showcase in focus. Also pay attention to how this affects depth of field.
A decent lens for taking pictures of shoes is typically 15mm or above. However, be careful the lens isn’t changing the shape of the shoe. Some distort the look of the product, with wide angle lenses typically unsuitable for shoe photography.
When choosing the best camera for product photos, PhotoRobot systems support mid to high-end DSLR and mirrorless Canon camera models. Set up the camera (or cameras) on the Robotic Camera Arm, or PhotoRobot’s Multi-Camera system to use any shutter speed you like.

Camera tripods like the Robotic Arm and Multi-Cam allow operators to reduce ISO, denoise imagery, and get cleaner product pictures. These devices can capture either single or multi-row 3D product photography when combined with motorized photography turntables. And while your f stop remains steady, shutter speed is no longer a concern.
4 - Capture the best angles to sell shoes online
Put your best foot forward, they always say. When deciding on the best angles to photograph shoes for sale, consider the types of photoshoots you want to do. Are 360-degree product spins the end-goal? Do you need product images for Amazon? Will still images or a few white-background packshots be enough to meet the requirements of your style guide? What are the most important angles you need to show?
The type of footwear photoshoots will depend on firstly your style guide, and secondly on your photography equipment and software. Certainly, PhotoRobot excels with 360 and 3D photography, but in fact many of our clients capture still product images.
And for stills, there are some general angles that work well when photographing shoes. These are:
- The single angle profile shot - Take only one shot of a shoe from the side, showcasing its profile.

- The 3 / 4 side shot - Take pictures of a pair of shoes together, turning the toes of the shoes slightly from the profile angle towards the camera.

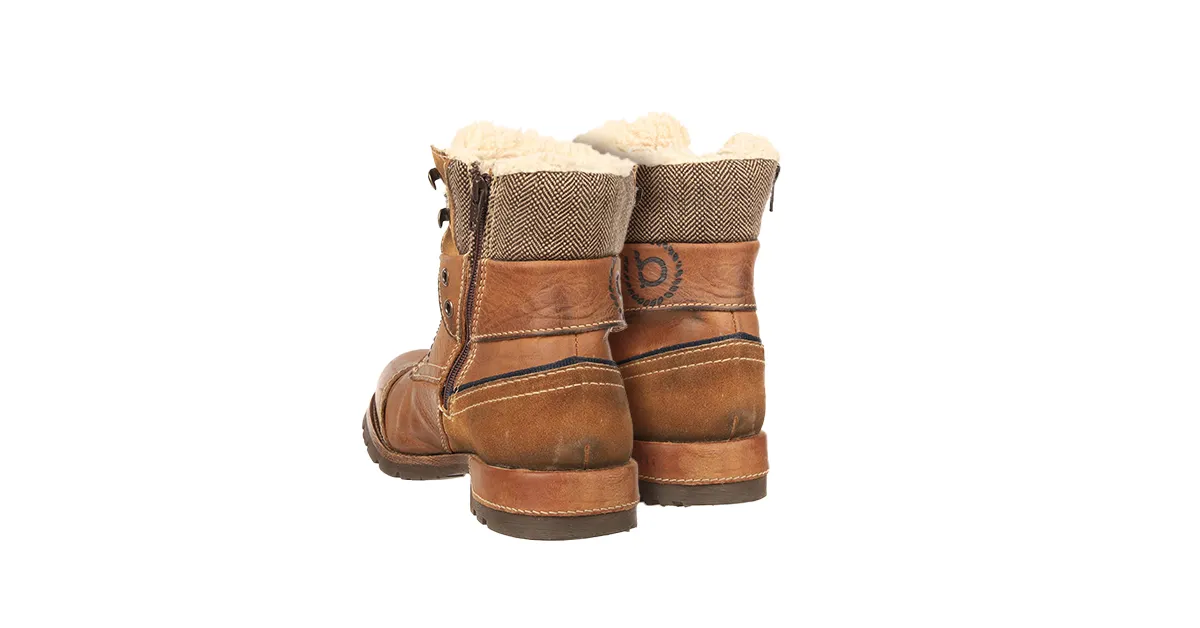
- The backside 3 / 4 shot - Capture photos with the backside of the shoe forward, creating a detailed shot. Be sure to style distinguishing features, and use zoom to showcase a polished look.
- The front angle shot - Position shoes for pictures with the toes of the shoe pointing slightly forward, heels back. Focus on the toes of the shoe closest to the camera, taking pictures to emphasize the front shot.

5 - Choose the right file format to edit and publish photos
Are your product photos going straight to the web, or do you retouch imagery first? If publishing immediately, JPG is the standard choice of file format. However, if you do need to retouch or edit product images further, use a RAW file.
In PhotoRobot Controls software, you can then mark files for retouching to share with internal team members or external retouchers. Retouch Access Controls allow you to clearly communicate and share tasks, anytime and from anywhere.
Specify single photos or entire folders of multiple items for retouching. Project managers can also add instructions in comments before sharing files by marking them as “Ready to retouch”. The responsible retoucher will then have access to the files, be able to download them and do their magic.
As soon as they upload the files, the software automatically labels items as “Retouch done”. Project managers can now approve or reject changes, and publish final images in the desired format for publishing.
6 - Never take pictures of footwear laying flat
Now, for some common mistakes to avoid when shooting footwear, let’s start first with how to position shoes for photography. Shoes simply are not a good candidate for flat lay photography.
Laying flat, footwear looks limp and lifeless, providing very limited information to help customers with their purchase decision. Even when positioning shoes to show different angles, shoppers will struggle to imagine how the shoes will look when worn.
Instead, what you want to do is create the illusion that the shoe is worn by an invisible person. Some ways to do this revolve around product styling: stuffing shoes with tissue paper, flattening shoes with chopsticks, etc.
Taking it a step further, consider using different types of product images. Animations, 360 spins, 3D models, product configurators and videos can really add the third dimension to your footwear product portfolio.
7 - Do not clutter the frame of your pictures
In many cases, a simple colored background would better serve shoe pictures than a lifestyle setting. Cluttered backgrounds are a major crime in product photography. If your background is too busy, shoppers won’t focus where you want them to: on the product.
Instead, plan for a simple product photography background. Keep true to the brand style guide, and try to keep everything in-frame simple and clean. This will draw more attention to the footwear, and allow you to effectively showcase any distinguishing features.
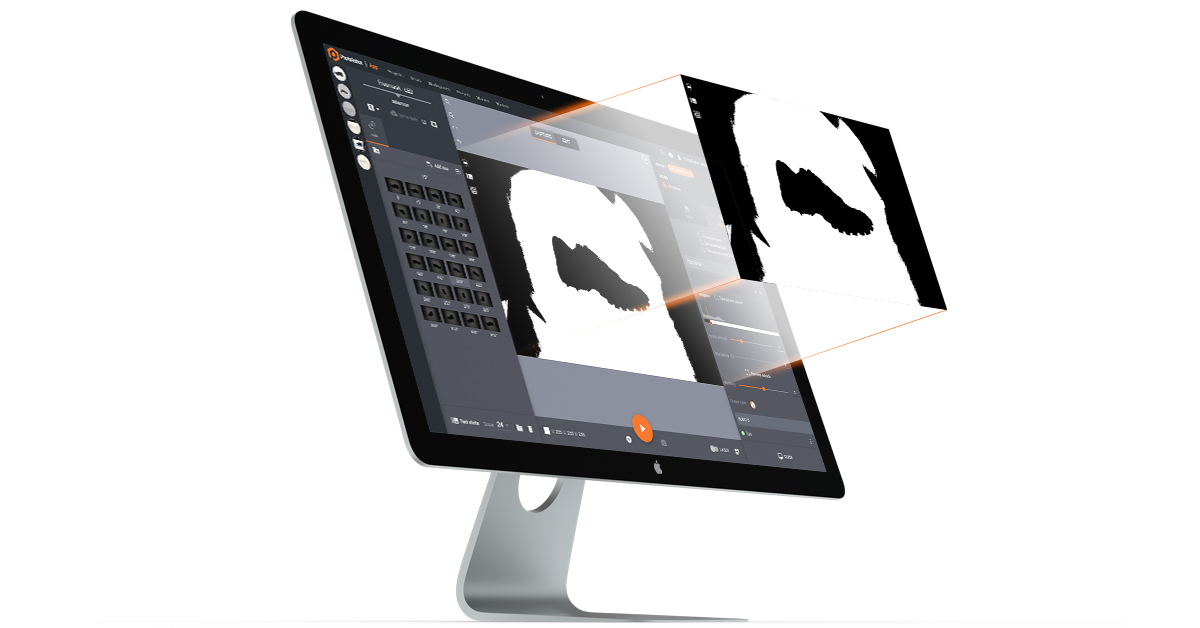
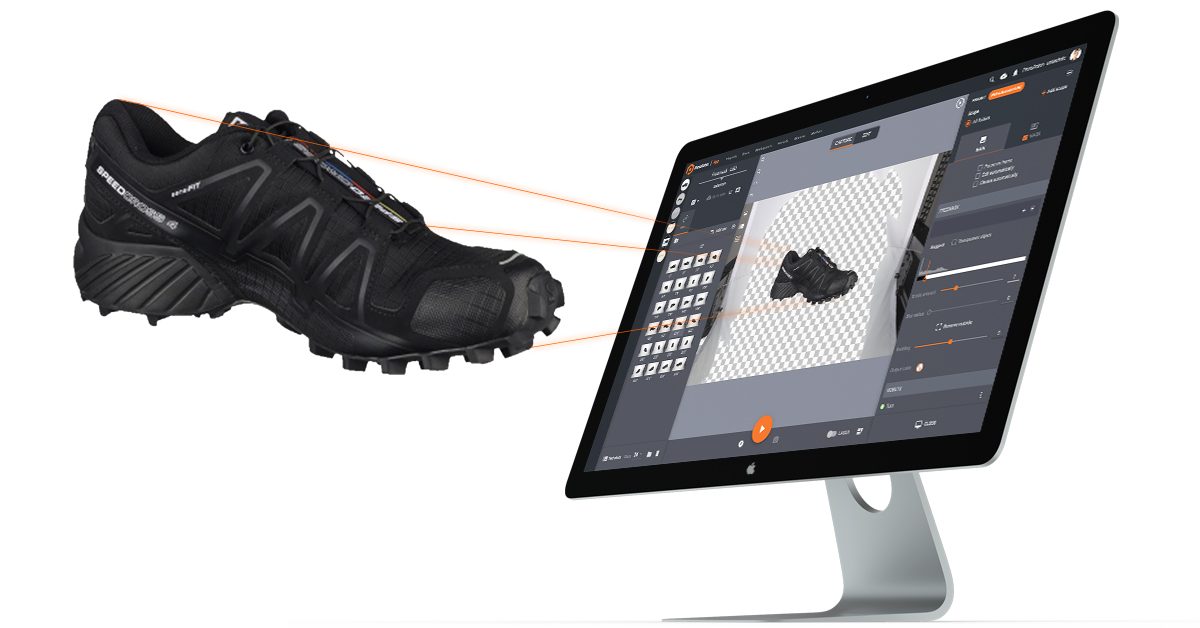
Even if props might serve personal branding purposes, best practice is usually photographing the shoes alone. Then, with PhotoRobot, it’s easy to automate background removal, and change the background to fit your style guide.
8 - Avoid using harsh lighting setups
If you want to save time both in photography production and post-production, lighting is key. This cannot be understated. Harsh, direct lighting can emphasize imperfections, warp colors, and create deep shadows. These issues lead to considerable time in post-production, when minutes would have sufficed with the right lighting.
PhotoRobot lighting supports both FOMEI and Broncolor strobes, and LED lights with DMX support. Combine these to find the perfect lighting for each product and every shoot. Aim to create a soft, natural light for easy background removal and minimal editing later on.
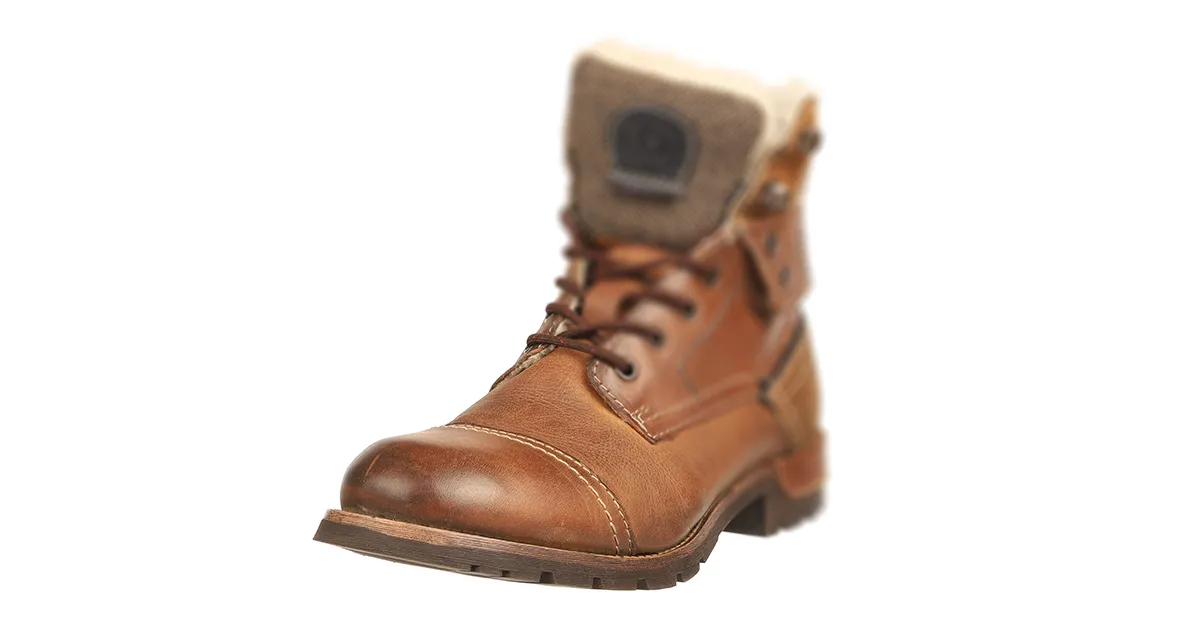
9 - Don’t get creative with blurry or soft focus
While a product photographer might consider artistic expression through soft focus, avoid the temptation. With pictures of shoes, the more your images are out of focus, the more guesswork shoppers will have to do.
Be sure customers can see every detail of the shoes in the picture in sharp focus. Use a higher aperture like f/11 on a DSLR, and a camera arm like the Robotic Arm to minimize shake.
10 - Never provide only a few angles
Be sure to showcase as many angles and views in your pictures of shoes as possible. Especially with footwear, consumers want to see every detail, side, and angle of the product. If they can’t get a complete idea of the footwear, your shoes simply won’t fly off the shelves.
Include in the portfolio everything from the full set of shoes, to straight-on side shots, angled side shots, fronts and backs. You also want top views and the bottoms of the shoes. Then, add detailed shots to showcase distinguishing features, like: logos, texture, design, laces, etc.
Finally, beware of ineffectively cropping product photos. Shoppers will notice if one image appears more close-up than another. They will also see any inconsistencies in zoom or distance from camera to the product, lighting, focus and more.

Check that your product portfolio is consistent from image to image, and frame to frame. PhotoRobot editing software helps here, with auto product centering as well as manual or auto crop control.
Ensure photos never leave shoppers guessing
Following these essential rules to footwear photography will ensure your product photos not only engage and inform, but equally impress. After all, the end-goal is in optimizing the shopping experience to the fullest. And at PhotoRobot, this is our area of expertise. To learn more about how to take pictures of shoes, or product photography in general, you know where to find us.


